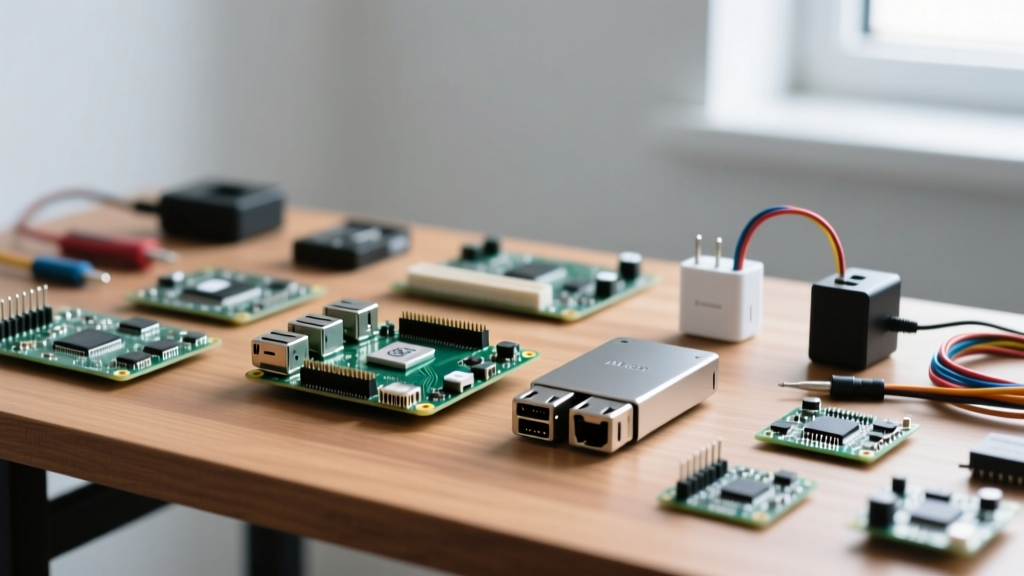

Hardware Prerequisites: Pi 4 vs. Pi 5 for Home Assistant
Building a localized, privacy-first smart home starts with a reliable hub. For thousands of DIY enthusiasts, installing Home Assistant on Raspberry Pi hardware remains the gold standard for balancing cost, power efficiency, and community support. However, a naive installation using default settings and cheap storage often leads to corrupted databases and frustrating downtime. This definitive setup and configuration guide bypasses the fluff, focusing on enterprise-grade hardware selection, installation methodologies, and critical post-boot configurations to ensure your single-board computer runs flawlessly for years.
Before flashing any images, you must match your Raspberry Pi model to your smart home's scale. Home Assistant's core database (SQLite by default) and add-ons like Frigate NVR or Node-RED are highly resource-intensive. While a Pi 3B+ can technically boot the OS, it is entirely unsuitable for modern deployments due to thermal throttling and USB 2.0 bottlenecks.
The Raspberry Pi hardware documentation outlines the architectural leaps between generations. Below is a decision matrix for selecting the right board based on entity count and peripheral requirements.
| SBC Model | RAM | Recommended Entity Count | I/O & Storage Notes |
|---|---|---|---|
| Pi 4 Model B | 4GB | Up to 250 | USB 3.0 boot supported; requires active cooling. |
| Pi 4 Model B | 8GB | 250 - 600 | Best value for heavy add-ons; USB 3.0 SATA enclosures. |
| Pi 5 | 4GB | Up to 400 | PCIe 2.0 enables native NVMe HATs; vastly faster I/O. |
| Pi 5 | 8GB | 600 - 1500+ | Future-proof; handles local AI Whisper/Piper pipelines. |
Critical Power Warning: Never use third-party USB-C phone chargers. The Pi 4 requires the official 5.1V / 3.0A power supply. The Pi 5 requires the official 27W USB-C PD power supply. Under-voltage will cause random NVMe disconnects and SD card corruption during heavy database writes.
Choosing Your Installation Method
The official Home Assistant Raspberry Pi installation guide presents multiple paths. Choosing the wrong one limits your ability to use one-click add-ons or automated snapshots. Here is the technical breakdown of the big three methods.
| Method | Supervisor Included? | Add-on Store? | Host OS Control | Target Audience |
|---|---|---|---|---|
| Home Assistant OS (HAOS) | Yes | Yes | Locked (Appliance) | 90% of users; set-and-forget. |
| Supervised (Debian) | Yes | Yes | Full (Strict Prerequisites) | Advanced Linux sysadmins. |
| Container (Docker) | No | No | Full | Custom stack builders; manual updates. |
| Core (Python venv) | No | No | Full | Deprecated; core developers only. |
For a dedicated smart home hub, HAOS is the undisputed choice. It treats the Raspberry Pi as an appliance, managing the underlying Docker containers, overlay filesystems, and network interfaces automatically. If you want to run Pi-hole or a NAS alongside HA, use a separate device or a Proxmox cluster rather than compromising the HAOS appliance model.
Step-by-Step: Installing Home Assistant on Raspberry Pi via HAOS
Follow this exact sequence to flash and deploy HAOS. We will use the Raspberry Pi Imager for its built-in headless configuration capabilities.
1. Download the Correct Image
Navigate to the Home Assistant OS GitHub Releases page. Download the .xz archive specifically labeled for your architecture (e.g., rpi4-64 or rpi5-64). Do not use the generic 32-bit images, as they limit RAM utilization to 3GB.
2. Flash and Configure Headless Access
Open Raspberry Pi Imager, select your downloaded HAOS image, and choose your target storage media. Before clicking 'Write', click the gear icon (or press Ctrl+Shift+X) to open Advanced Options:
- Hostname: Set to
homeassistant(or a specific VLAN tag likeha-iot). - Enable SSH: Use password authentication initially, or inject your public RSA key for immediate secure access.
- Wi-Fi: Skip this. Smart home hubs must be hardwired via Ethernet for latency and reliability. Wi-Fi introduces unacceptable jitter for Zigbee/Matter coordinators.
3. The First Boot Sequence
Insert the media into your Pi and connect the Ethernet cable before applying power. The first boot is not instantaneous. HAOS must resize partitions, initialize the overlay filesystem, and pull down the core Supervisor containers. This takes between 10 to 20 minutes. You can monitor the boot progress by visiting http://homeassistant.local:4357 (the Observer port) in your browser.
The #1 Failure Mode: SD Card Exhaustion
The most common reason users abandon Raspberry Pi smart home setups is storage failure. Home Assistant writes to its SQLite database (home-assistant_v2.db) continuously as sensors update. A standard SanDisk Ultra microSD card will exhaust its write-erase cycles and enter read-only mode within 3 to 6 months.
Solution A: High-Endurance MicroSD
If you must use a microSD card, purchase a Samsung PRO Endurance or SanDisk High Endurance card (64GB minimum). These are engineered for continuous dashcam and security camera write cycles, extending lifespan to 2-3 years.
Solution B: USB 3.0 SSD Boot (Pi 4)
For the Pi 4, use a USB 3.0 to SATA adapter with a hardware TRIM-supported controller (like the Sabrent EC-SSGP) paired with a cheap 120GB SATA SSD. Ensure your Pi 4 EEPROM is updated to support USB boot natively.
Solution C: PCIe NVMe Boot (Pi 5)
The Pi 5 changes the game with its exposed PCIe 2.0 interface. Using an M.2 HAT (such as the official Raspberry Pi M.2 HAT+ or the Geekworm X1001) and a 256GB NVMe drive provides desktop-class I/O speeds, completely eliminating storage bottlenecks and database lockups during morning automation rushes.
Critical Post-Installation Configurations
Once the web interface loads on port 8123 and you create your admin account, execute these three configurations immediately to harden your system.
1. Static IP and DNS Resolution
mDNS (.local addresses) is notoriously unreliable on mesh Wi-Fi systems and enterprise networks like UniFi or pfSense. Log into your router and assign a static DHCP reservation to the Pi's MAC address. From then on, access your dashboard via the direct IP (e.g., http://192.168.1.50:8123).
2. Database Optimization
By default, HA records every state change for every entity for 10 days. This bloats the database rapidly. Add the following to your configuration.yaml to filter out noisy sensors (like smartphone battery levels or rapid power meter fluctuations):
recorder:
  purge_keep_days: 5
  commit_interval: 10
  exclude:
    entity_globs:
      - sensor.*_battery_level
      - sensor.*_uptime
3. Automated Backups
Install the official Google Drive Backup or Samba Backup add-on via the Supervisor store. Configure it to run daily at 3:00 AM. A smart home without automated off-site backups is a ticking time bomb.
Troubleshooting Common Boot and Network Issues
- Stuck on 'Preparing Home Assistant': This usually indicates a DNS resolution failure on the host OS preventing Docker from pulling the latest core image. Connect a monitor and keyboard to the Pi, log into the HAOS CLI, and run
network infoto verify your gateway and DNS settings. - Random Reboots: Almost always a power supply issue. Check the HAOS system logs for 'Under-voltage detected' warnings. Replace the cable and power brick.
- Zigbee Dongle Not Found: If using a Sonoff Zigbee 3.0 USB Dongle Plus, plug it into a USB 2.0 port or use a USB extension cable. USB 3.0 ports emit massive 2.4GHz RF interference that will cripple Zigbee and Thread networks.
Final Thoughts on SBC Smart Home Hubs
Installing Home Assistant on Raspberry Pi hardware is a highly rewarding project, provided you respect the hardware limitations and storage realities. By opting for HAOS, utilizing high-endurance storage or NVMe drives, and hardcoding your network configurations, you transform a fragile DIY experiment into a robust, enterprise-grade smart home controller. Welcome to the ultimate local automation ecosystem.


