
The Vision Dilemma: CSI-2 vs. USB UVC
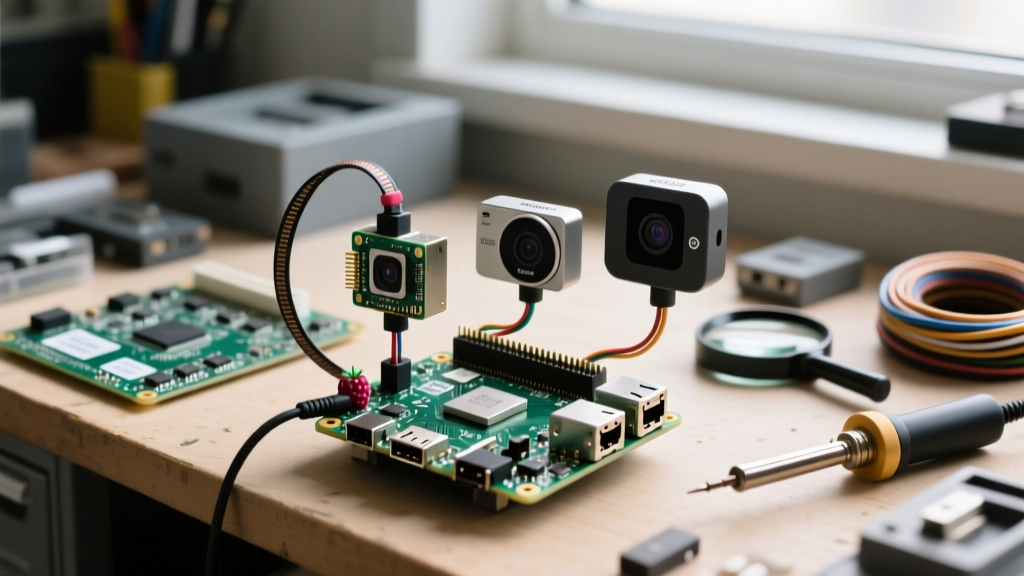
When embarking on computer vision, Home Assistant security, or OctoPrint monitoring projects, selecting the right camera for Raspberry Pi is your most critical hardware decision. Beginners often default to standard USB webcams out of familiarity, but this approach fundamentally misunderstands the Pi's architecture. To build reliable, low-latency vision systems, you must understand the difference between MIPI CSI-2 and USB UVC protocols.
The Raspberry Pi's System on Chip (SoC) features a dedicated MIPI CSI-2 (Camera Serial Interface) hardware receiver. This interface provides a direct, high-bandwidth pipeline from the camera sensor to the image signal processor (ISP) bypassing the USB bus entirely. In contrast, USB webcams rely on the UVC (USB Video Class) driver, consuming precious CPU cycles to decompress MJPEG or YUYV streams, which introduces latency and thermal throttling on older Pi models.
Expert Rule of Thumb: Always choose a native CSI ribbon-cable camera for Raspberry Pi unless your specific project requires a physical separation of more than 2 meters between the lens and the compute board, or you are utilizing a headless USB endoscope for tight-space inspection.
Decoding the Official Raspberry Pi Camera Lineup
The Raspberry Pi Foundation has iterated on its camera modules significantly over the last decade. Understanding the sensor specifications is vital for matching the hardware to your environmental conditions.
Camera Module 3: The Modern Sweet Spot
Released in early 2023, the Camera Module 3 is the definitive starting point for 90% of beginners. Built around the Sony IMX708 sensor, it boasts a 12-megapixel resolution and introduces Hardware HDR (High Dynamic Range) and PDAF (Phase Detection Auto-Focus). The PDAF is a game-changer for DIY macro-photography or 3D printer monitoring, as the motorized lens continuously adjusts focus without the software-based contrast hunting that plagued earlier modules.
HQ Camera: The Interchangeable Powerhouse
If your project involves long-distance surveillance, astrophotography, or custom focal requirements, the HQ Camera is mandatory. It utilizes the Sony IMX477 sensor (12.3MP) but, crucially, omits a fixed lens. Instead, it features a C-mount and CS-mount tripod back. This allows you to attach professional CCTV lenses, telephoto zoom lenses, or specialized macro optics. The larger 1.55 µm pixel size also grants vastly superior low-light performance compared to the Module 3.
Camera Module 2: The Legacy Workhorse
Powered by the Sony IMX219 (8MP), the V2 module is still widely available and heavily documented. While it lacks HDR and autofocus, its fixed-focus nature makes it highly reliable for set-and-forget applications like time-lapse construction monitoring or basic barcode scanning where the focal distance remains constant.
Specification Comparison Chart
| Module | Sensor | Resolution | Lens Type | Key Feature | Best Use Case |
|---|---|---|---|---|---|
| Module 3 | Sony IMX708 | 12 MP | Fixed / Motorized AF | PDAF & HDR | OctoPrint, Smart Home, AI Vision |
| HQ Camera | Sony IMX477 | 12.3 MP | Interchangeable (C/CS) | Large Pixel Size | Surveillance, Telemetry, Astro |
| Module 2 (V2) | Sony IMX219 | 8 MP | Fixed Focus | Low Cost / Legacy | Time-lapse, Basic Robotics |
| Global Shutter | Sony IMX296 | 1.58 MP | C-Mount / Fixed | No Rolling Shutter | High-speed motion, Conveyor OCR |
Third-Party Innovations: Arducam and Global Shutters
The official ecosystem does not cover every edge case. For high-speed industrial automation or capturing fast-moving objects (like reading serial numbers on a conveyor belt), standard CMOS sensors suffer from the "jello effect" due to rolling shutters. In these scenarios, you must look to third-party manufacturers like Arducam. Their Global Shutter modules (often utilizing the Sony IMX296) expose all pixels simultaneously, eliminating motion distortion. Furthermore, Arducam provides multi-camera adapter boards (MUX shields) that allow a single Pi to poll up to four CSI cameras sequentially, which is invaluable for multi-angle 3D scanning rigs.
The Hardware Trap: Ribbon Cable and CSI Port Survival
The most common point of failure for beginners setting up a camera for Raspberry Pi is physical damage to the FPC (Flexible Printed Circuit) ribbon cable or the ZIF (Zero Insertion Force) connector on the Pi board. The CSI-2 interface relies on high-speed differential pairs; even a micro-tear in the ribbon cable will cause packet loss, resulting in green screen artifacts or complete I2C timeout errors.
Proper ZIF Connector Handling
- Power Down Completely: Never hot-swap a CSI camera. The MIPI lanes are directly tied to the SoC. Hot-plugging can induce voltage spikes that permanently fry the SoC's camera receiver block.
- Lift the Collar: The black or white plastic collar on the CSI port is a locking wedge. Gently pull it outward (away from the board) by its edges using your fingernails. Do not pry it upward, or the plastic hinges will snap.
- Seat the Cable: Insert the ribbon cable with the blue stiffener facing away from the PCB (towards the Ethernet/USB ports on a Pi 4/5). Ensure the copper contacts are fully seated and perfectly straight.
- Lock the Collar: Push the plastic collar back in evenly on both sides to clamp the cable.
Note on Pi Zero and Pi 5: The Raspberry Pi Zero series and the Pi 5 utilize a smaller, higher-density 22-pin 0.5mm pitch CSI connector, whereas the Pi 3, 4, and older boards use the standard 15-pin 1mm pitch connector. Ensure you purchase the correct adapter cable if mixing and matching boards.
The Software Paradigm Shift: Libcamera vs. Legacy
Beginners following outdated tutorials from 2019 will quickly encounter errors when trying to run raspistill or the original Python picamera library. The Raspberry Pi OS has transitioned entirely to a DRM/KMS (Direct Rendering Manager / Kernel Mode Setting) display pipeline.
The modern standard is libcamera and its Python wrapper, Picamera2. Libcamera acts as an abstraction layer that handles the complex ISP tuning, auto-exposure algorithms, and multi-threaded buffer management. When writing Python scripts for Home Assistant integrations or basic motion detection, you must initialize the camera via the Picamera2 API, which grants access to the raw sensor data and the hardware-accelerated H.264/H.265 video encoders.
from picamera2 import Picamera2, MappedArray
import cv2

# Initialize the modern camera stack
picam2 = Picamera2()
picam2.start()

# Capture a frame using OpenCV integration
frame = picam2.capture_array()
cv2.imwrite("vision_capture.jpg", frame)
Troubleshooting First-Boot Connection Issues
If your system fails to detect the sensor, follow this diagnostic hierarchy before assuming dead hardware:
- Verify I2C Detection: Run
vcgencmd get_camerain the terminal. If it returnssupported=1 detected=0, the physical connection is faulty. Reseat the ribbon cable. - Check Boot Config: On older Pi OS versions, ensure
start_x=1andgpu_mem=128are set in/boot/config.txt. (Note: Modern Bookworm-based OS versions handle this via kernel device trees automatically). - Inspect for ESD Damage: If the Pi reboots randomly when the camera is triggered, the camera module's voltage regulator may be failing, drawing excessive current from the Pi's 3.3V rail. Test with a known-good module.
By prioritizing native CSI-2 hardware, respecting the physical fragility of the FPC interconnects, and adopting the modern libcamera software stack, you will bypass the most common pitfalls and build a robust foundation for your Raspberry Pi vision projects. For comprehensive hardware schematics and sensor tuning guides, always refer to the official Raspberry Pi camera documentation.