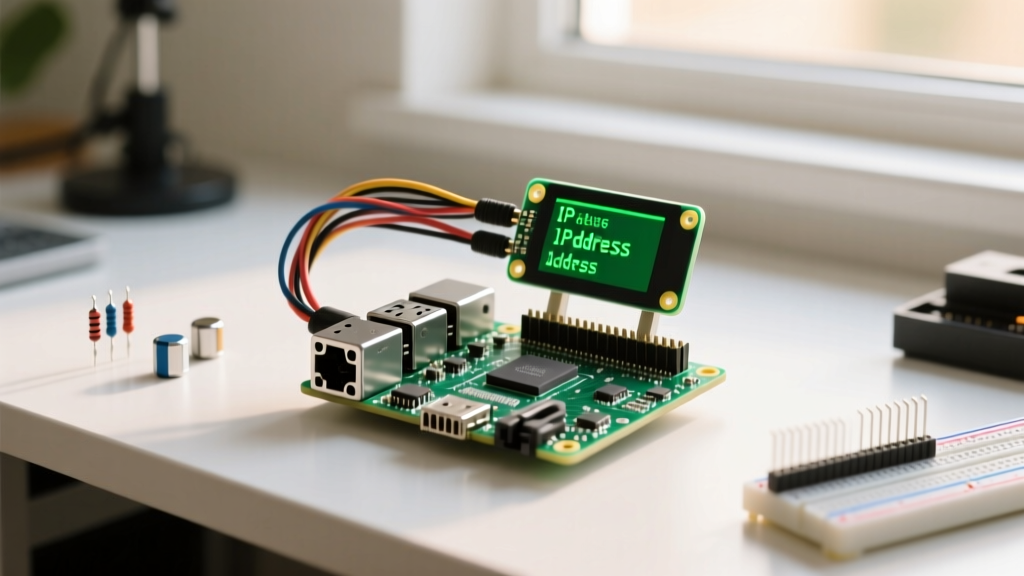
To build a reliable, high-precision weather station Raspberry Pi project, pair a Raspberry Pi 5 (4GB variant) with a Bosch BME280 I2C sensor. This combination delivers temperature (±1°C), relative humidity (±3%), and barometric pressure (±1 hPa) readings without the severe high-humidity drift and polling bottlenecks that plague cheaper alternatives. The code provided below targets the Raspberry Pi 5 4GB, but remains fully backward-compatible with the Raspberry Pi 4 Model B.
Estimated Time: 45 minutes for hardware assembly and software configuration.
The Sensor Decision: Why BME280 Wins for Pi Weather Stations
Choosing the right environmental sensor is where most DIY weather station builds fail long-term. You need a sensor that handles rapid I2C polling, resists saturation drift, and provides barometric data for altitude and weather trend calculations. Here is the decision matrix for the three most common hobbyist sensors:
| Sensor Model | Protocol & Speed | Outputs | Known Failure Modes | Verdict |
|---|---|---|---|---|
| DHT22 | Custom 1-Wire (Slow, 2s polling limit) | Temp, Humidity | Blocks CPU during read; drifts heavily above 90% RH. | Reject for Pi builds. |
| AHT20 | I2C (Fast) | Temp, Humidity | No pressure data; susceptible to condensation shorts. | Good for indoor only. |
| BME280 | I2C / SPI (Up to 3.4MHz) | Temp, Humidity, Pressure | Requires 3.3V logic (5V destroys it). | DEFAULT PICK. Use Adafruit STEMMA QT variant. |
The Decision Path: If your station is outdoors and needs to predict weather fronts via pressure drops, you must have a barometer. The AHT20 and DHT22 lack this. Therefore, the Adafruit BME280 STEMMA QT (Product ID: 2652) is the definitive pick. It includes onboard level shifting and a voltage regulator, protecting the sensor from minor power rail noise common in Pi setups.
Hardware Spec Sheet & Pin Mapping
Below is the exact bill of materials (BOM) and the physical wiring map. Prices reflect typical 2026 retail pricing for genuine components.
Parts List
- Compute: Raspberry Pi 5 (4GB RAM) - ~$60.00
- Sensor: Adafruit BME280 I2C/SPI Breakout (STEMMA QT) - ~$24.95
- Cabling: STEMMA QT to Male Jumper Cable (4-pin) - ~$2.95
- Storage: 32GB SanDisk Extreme A2 microSD - ~$12.00
- Power: Official Raspberry Pi 27W USB-C PD Power Supply - ~$12.00
Pin Mapping Table (I2C1 Bus)
The Raspberry Pi 5 routes its primary user-accessible I2C bus (I2C1) to specific pins on the 40-pin GPIO header. Do not use the I2C0 pins (pins 27/28), as those are reserved for EEPROM communication on the HAT ID.
| BME280 STEMMA QT Pin | Wire Color (Standard) | Raspberry Pi 5 Physical Pin | Pi GPIO / Function |
|---|---|---|---|
| VIN (or 3Vo) | Red | Pin 1 | 3.3V Power |
| GND | Black | Pin 6 | Ground |
| SCL | Yellow | Pin 5 | GPIO 3 (SCL1) |
| SDA | Blue | Pin 3 | GPIO 2 (SDA1) |
Step-by-Step Assembly & I2C Configuration
Before writing code, you must enable the I2C interface at the hardware level and verify the Linux kernel sees the sensor.
- Flash the OS: Use Raspberry Pi Imager to install Raspberry Pi OS (64-bit, Bookworm or newer). Ensure you enable SSH and configure WiFi in the advanced settings.
- Wire the Sensor: Connect the STEMMA QT cable to the BME280 and plug the male jumpers into the Pi's 40-pin header according to the pin mapping table above.
- Boot and SSH: Power up the Pi and SSH into the terminal.
- Enable I2C: Run
sudo raspi-config. Navigate to Interface Options > I2C and select Yes to enable the ARM I2C interface. Reboot the Pi. - Install I2C Tools: Run
sudo apt update && sudo apt install i2c-tools python3-smbus -y. - Verify Hardware Connection: Run
i2cdetect -y 1. You should see a grid output with77(or76) highlighted. This confirms the Pi is successfully handshaking with the BME280 over the I2C1 bus.
The Python Code: Polling, Error Handling, and Logging
We will use the adafruit-circuitpython-bme280 library via the Blinka compatibility layer. This handles the complex Bosch compensation algorithms internally, preventing the floating-point math errors common in raw smbus2 implementations.
First, set up your virtual environment and install the dependencies:
python3 -m venv env
source env/bin/activate
pip3 install adafruit-circuitpython-bme280
Create a file named weather_station.py and paste the following complete, compilable code:
import time
import board
import busio
import adafruit_bme280
import logging
from datetime import datetime

# --- PIN DEFINITIONS & BUS SETUP ---
# Target: Raspberry Pi 5 / 4
# SDA -> Physical Pin 3 (GPIO 2)
# SCL -> Physical Pin 5 (GPIO 3)
# The 'board' module maps these automatically to I2C1
i2c = busio.I2C(board.SCL, board.SDA)

# Configure logging to file and console
logging.basicConfig(
    level=logging.INFO,
    format='%(asctime)s - %(levelname)s - %(message)s',
    handlers=[
        logging.FileHandler('weather_log.csv'),
        logging.StreamHandler()
    ]
)

def initialize_sensor():
    """Initializes the BME280 with specific I2C address and oversampling."""
    try:
        # Default Adafruit address is 0x77. Change to 0x76 if using generic boards.
        sensor = adafruit_bme280.Adafruit_BME280_I2C(i2c, address=0x77)

        # Set oversampling to reduce noise (x16 for temp/press, x1 for humidity)
        sensor.oversampling_temperature = 16
        sensor.oversampling_pressure = 16
        sensor.oversampling_humidity = 1

        # Set IIR filter to smooth out sudden spikes (e.g., door slamming)
        sensor.iir_filter_coefficient = 4

        logging.info('BME280 initialized successfully.')
        return sensor
    except ValueError as e:
        logging.critical(f'Failed to find BME280 chip. Check I2C address. Error: {e}')
        raise SystemExit(1)

def main_loop():
    sensor = initialize_sensor()

    # Write CSV header if file is empty
    with open('weather_log.csv', 'r+') as f:
        if f.read() == '':
            f.write('Timestamp,Temperature_C,Humidity_%,Pressure_hPa,Altitude_m\n')

    while True:
        try:
            temp_c = sensor.temperature
            humidity = sensor.relative_humidity
            pressure = sensor.pressure

            # Calculate altitude based on standard sea level pressure (1013.25 hPa)
            altitude = sensor.altitude

            timestamp = datetime.now().strftime('%Y-%m-%d %H:%M:%S')

            # Log to console and file
            logging.info(f'{timestamp},{temp_c:.2f},{humidity:.2f},{pressure:.2f},{altitude:.2f}')

            # BME280 needs time between reads to prevent self-heating errors
            time.sleep(60)

        except OSError as e:
            # Catches I2C bus drops and Remote I/O errors
            logging.error(f'I2C Bus Communication Error: {e}. Retrying in 10s...')
            time.sleep(10)
            sensor = initialize_sensor() # Re-initialize bus connection
        except KeyboardInterrupt:
            logging.info('Script terminated by user.')
            break

if __name__ == '__main__':
    main_loop()
Debugging: Fixing I2C Faults and Remote I/O Errors
The most notorious point of failure in any weather station Raspberry Pi build is the I2C bus dropping out due to electrical noise or clock-stretching bugs. If your script crashes, you will likely see this exact error string:
OSError: [Errno 121] Remote I/O error
or
FileNotFoundError: [Errno 2] No such file or directory: '/dev/i2c-1'
The First Three Things to Check When It Fails
- Verify the I2C Overlay: Run
cat /boot/firmware/config.txt | grep i2c. Ensuredtparam=i2c_arm=onis present and not commented out with a#. If it's missing, the kernel module isn't loading, causing the/dev/i2c-1file not found error. - Run i2cdetect: Execute
i2cdetect -y 1. If the grid is entirely empty (only dashes), your SDA/SCL wires are swapped, or the 3.3V rail isn't reaching the sensor. If you seeUUinstead of77, another kernel driver has claimed the chip; reboot the Pi to release it. - Measure the Pull-up Voltage: Use a multimeter to measure the voltage between the Pi's 3.3V pin (Pin 1) and GND (Pin 6). If it reads below 3.1V under load, the Pi's power supply is browning out, causing the I2C transceivers to fail mid-packet.
Ranked Causes for the "Remote I/O Error" (Errno 121)
| Rank | Cause | Fix / Mitigation |
|---|---|---|
| 1 | Loose STEMMA QT Connection | The friction-fit Qwiic/STEMMA connectors vibrate loose in outdoor wind. Apply a dab of hot glue over the connector joint or solder the header directly. |
| 2 | I2C Clock Stretching Timeout | The BME280 holds the SCL line low while calculating. The Pi's hardware I2C sometimes times out too fast. Add dtparam=i2c_arm_baudrate=10000 to config.txt to slow the bus to 10kHz. |
| 3 | Capacitance on Long Wires | Running I2C wires longer than 30cm (1 foot) introduces parasitic capacitance, rounding off the square-wave clock edges. Move the Pi closer to the sensor, or use an I2C bus extender (like the LTC4311). |
Extending or Simplifying Your Build
A base BME280 setup is just the beginning. Depending on your deployment environment, you should make a definitive choice to either scale up the station's capabilities or scale down the compute footprint.
How to Extend: Adding Wind and Rain (The Pro Route)
To turn this into a full meteorological station, you need mechanical sensors. Do not use analog voltage outputs for wind speed; use a mechanical anemometer with a reed switch (like the Davis 6410).
Wiring: Connect one side of the reed switch to Pi GPIO 17 (Physical Pin 11) and the other to GND. Enable the internal pull-up resistor in software and use a hardware interrupt library like gpiozero to count pulses. Each pulse equals a specific fraction of a mile/kilometer per hour. Log these interrupts into a local SQLite database alongside your BME280 CSV data, and push the aggregated JSON to the Weather Underground API via their PWS (Personal Weather Station) protocol.
How to Simplify: Dropping the Pi for an ESP32 (The Remote Route)
If your weather station is located at the edge of your property where WiFi is weak and running a 27W USB-C cable is impractical, abandon the Raspberry Pi entirely. The Pi 5 draws roughly 5W at idle, which will drain a 12V 20Ah lead-acid battery in a few days without a massive solar array. The Fix: Switch to an ESP32-C3 SuperMini (approx. $4.00). The ESP32 can deep-sleep at 5µA, wake up every 15 minutes to read the BME280 via I2C, transmit the payload over ESP-NOW or MQTT to a base station, and return to sleep. A single 18650 Li-ion cell paired with a 5W 6V solar panel will run an ESP32 weather node indefinitely through winter.
For further reading on sensor calibration and I2C bus electrical characteristics, refer to the Bosch Sensortec BME280 official documentation and the Adafruit BME280 Learning Guide. For Linux-level I2C configuration, consult the official Raspberry Pi configuration documentation.