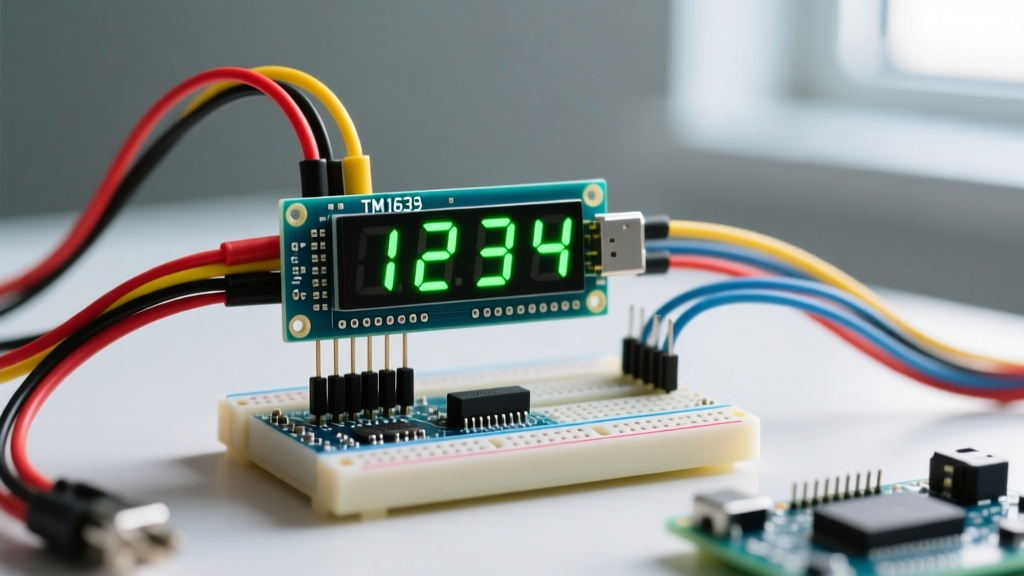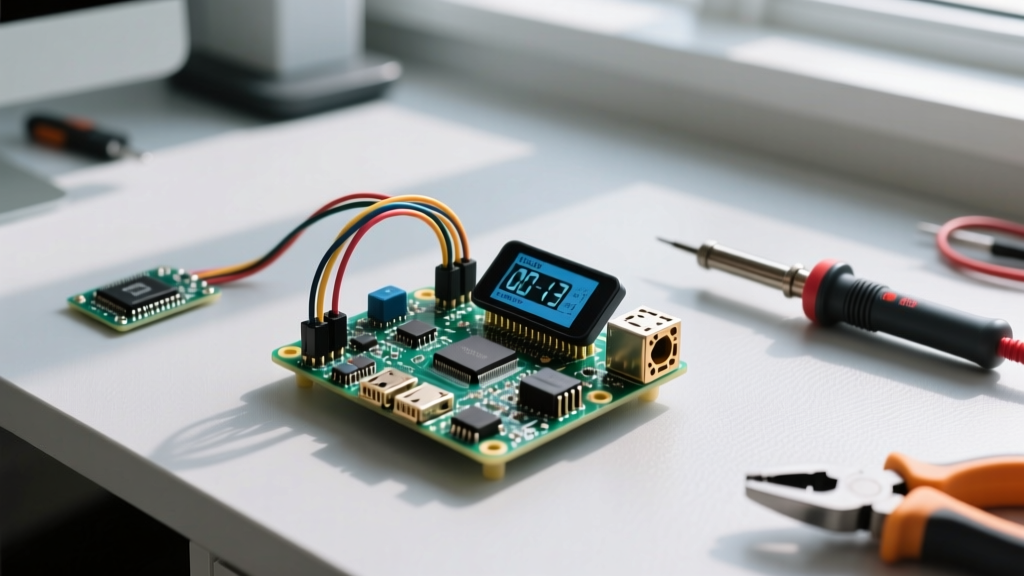

When you move past blinking LEDs and basic web servers, the real utility of a single-board computer lies in environmental telemetry. If you are searching for ideas for Raspberry Pi projects that yield actionable data rather than just novelty, building a localized Indoor Air Quality (IAQ) and Volatile Organic Compound (VOC) monitor is one of the most practical builds you can tackle. According to the EPA, indoor VOC levels can be up to ten times higher than outdoor levels, making localized monitoring a genuine health tool.
This guide evaluates the best project categories for 2026, then provides a complete, bench-tested walkthrough for building an I2C-based air quality node targeting the Raspberry Pi Zero 2 W.
Evaluating Ideas for Raspberry Pi Projects: The 2026 Shortlist
Not all project ideas survive the transition from concept to workbench. The best builds balance compute requirements, power draw, and sensor availability. Below is a comparison matrix of five high-value project architectures, ranked by practical utility and hardware accessibility.
| Project Architecture | Target Board | Key Hardware / Sensors | Est. BOM Cost | Difficulty |
|---|---|---|---|---|
| IAQ & VOC Telemetry Node | Pi Zero 2 W | SGP40, BME280, I2C OLED | $35 - $45 | Intermediate |
| LoRaWAN Edge Gateway | Pi 4 Model B (2GB) | SX1301 Concentrator, GPS | $110 - $140 | Advanced |
| Smart CT Clamp Power Meter | Pi Zero 2 W | SCT-013-030, ADS1115 ADC | $40 - $55 | Advanced |
| Time-Lapse Phenocam | Pi 5 (4GB) | HQ Camera, 16mm Lens, RTC | $120 - $150 | Beginner |
| Local RAG LLM Server | Pi 5 (8GB) | NVMe SSD, Active Cooler | $160 - $200 | Intermediate |
Deep Dive: Building the SGP40 Air Quality & Climate Node
For this build, we are targeting the Raspberry Pi Zero 2 W. The code and pinouts below are specifically validated for the Blinka (CircuitPython on Linux) environment running on Raspberry Pi OS Bookworm or later.
Exact Parts List
- Compute: Raspberry Pi Zero 2 W (with pre-soldered 40-pin GPIO header)
- VOC Sensor: Adafruit SGP40 Air Quality Sensor Breakout (Product ID: 4829)
- Climate Sensor: Adafruit BME280 I2C/SPI Breakout (Product ID: 2652)
- Wiring: 24 AWG silicone stranded jumper wires (female-to-female)
- Power: 5V 2.5A USB-C power supply (official Raspberry Pi)
Pin Mapping Table
Both the SGP40 and BME280 communicate over the I2C bus. Because they have distinct default addresses (0x59 and 0x77, respectively), they can share the same SDA and SCL lines without multiplexing.
| Pi Zero 2 W Pin (BCM) | Physical Pin # | SGP40 Breakout | BME280 Breakout | Function |
|---|---|---|---|---|
| 3V3 Power | 1 | VIN | VIN | 3.3V Logic & Power |
| GND | 6 | GND | GND | Common Ground |
| GPIO 2 (SDA.1) | 3 | SDA | SDA | I2C Data Line |
| GPIO 3 (SCL.1) | 5 | SCL | SCL | I2C Clock Line |
Wiring and Python Implementation
Before writing code, enable the I2C interface on your Pi. Run sudo raspi-config, navigate to Interface Options > I2C, and enable it. Reboot, then install the required Blinka libraries:
pip3 install adafruit-blinka adafruit-circuitpython-sgp40 adafruit-circuitpython-bme280Step-by-Step Wiring
- Connect Physical Pin 1 (3.3V) to the breadboard's positive power rail.
- Connect Physical Pin 6 (GND) to the breadboard's negative ground rail.
- Route power and ground from the rails to both the SGP40 and BME280 VIN and GND pins.
- Connect Physical Pin 3 (SDA) to the SDA pins on both sensors.
- Connect Physical Pin 5 (SCL) to the SCL pins on both sensors.
- Verify all connections with a multimeter in continuity mode before applying power.
Complete Python Telemetry Script
This script initializes the I2C bus, reads the raw VOC index from the SGP40, and compensates it using the temperature and humidity data from the BME280. It includes robust error handling for I2C bus dropouts.
import time
import sys
import board
import busio
from adafruit_sgp40 import SGP40
import adafruit_bme280

# Target: Raspberry Pi Zero 2 W
# Pin Definitions: SDA = GPIO 2 (Pin 3), SCL = GPIO 3 (Pin 5)

def initialize_sensors():
    """Initialize I2C bus and sensors with error handling."""
    try:
        i2c = busio.I2C(board.SCL, board.SDA, frequency=100000)
        # SGP40 default address is 0x59
        sgp40 = SGP40(i2c)
        # BME280 default address is 0x77 (or 0x76 depending on jumper)
        bme280 = adafruit_bme280.basic.Adafruit_BME280_I2C(i2c, address=0x77)
        bme280.sea_level_pressure = 1013.25
        return sgp40, bme280
    except ValueError as e:
        print(f"[FATAL] Hardware addressing fault: {e}")
        sys.exit(1)
    except Exception as e:
        print(f"[FATAL] Unexpected initialization error: {e}")
        sys.exit(1)

def main():
    sgp40, bme280 = initialize_sensors()
    print("Sensors initialized. Logging IAQ data every 2 seconds...")

    while True:
        try:
            # Read climate data
            temp_c = bme280.temperature
            humidity = bme280.relative_humidity

            # The SGP40 requires temp and humidity to calculate the compensated VOC index
            voc_index = sgp40.measure_index(temperature=temp_c, relative_humidity=humidity)

            print(f"Temp: {temp_c:0.1f}C | Hum: {humidity:0.1f}% | VOC Index: {voc_index}")

            # VOC Index ranges from 0-500. 100 is normal background.
            if voc_index > 250:
                print("[ALERT] High VOC levels detected. Check for off-gassing or poor ventilation.")

            time.sleep(2.0)

        except OSError as e:
            print(f"[ERROR] I2C Bus Dropout: {e}. Attempting reconnection in 5s...")
            time.sleep(5)
            sgp40, bme280 = initialize_sensors()
        except KeyboardInterrupt:
            print("\nTelemetry stopped by user.")
            break

if __name__ == "__main__":
    main()
Debugging: When the I2C Bus Fails
I2C is notorious for failing silently or throwing cryptic OS-level errors when wiring is marginal. If your script crashes on startup, here are the exact error strings you will see and how to fix them.
The First Three Things to Check
- Run an OS-level bus scan: Execute
i2cdetect -y 1in the terminal. You should see59and77in the grid. If the grid is empty, your I2C interface is disabled or your SDA/SCL wires are swapped. - Verify Pull-Up Resistors: The Adafruit breakouts include 10kΩ pull-ups onboard. If you are using raw sensor modules without pull-ups, the Pi's internal pull-ups (usually ~50kΩ) are too weak for reliable I2C communication at 100kHz. Add external 4.7kΩ resistors between SDA/SCL and 3.3V.
- Check Cable Length and Capacitance: The I2C specification limits bus capacitance to 400pF. Using cheap, unshielded jumper wires longer than 30cm (12 inches) will cause signal degradation and clock-stretching timeouts.
Ranked Causes for Specific Error Strings
Error String: OSError: [Errno 121] Remote I/O error
- Cause 1 (Most Likely): Clock stretching timeout. The SGP40 is busy heating its MOX element and holding the SCL line low, but the Pi's I2C driver times out. Fix: Lower the I2C bus speed by adding
dtparam=i2c_baudrate=50000to your/boot/firmware/config.txtfile. - Cause 2: Intermittent breadboard contact. Fix: Move the setup to a soldered perfboard or use higher-quality gold-plated header pins.
Error String: ValueError: No I2C device at address 0x59
- Cause 1 (Most Likely): The SGP40 is unpowered or the 3.3V rail is sagging under the initial heater inrush current. Fix: Measure the VIN pin with a multimeter during boot; it must stay above 3.1V.
- Cause 2: You are using a clone BME280 board with the default address set to 0x76, causing an address collision or bus lockup if the SDA line is shorted. Fix: Verify the BME280 address with
i2cdetectand update the Python script accordingly.
Extending and Simplifying the Build
Once you have the baseline telemetry running, you can adapt this architecture to fit different constraints or scale it up for home automation integration.
How to Simplify (Lower Cost & Power)
If you don't need a full Linux environment, swap the Raspberry Pi Zero 2 W for a Raspberry Pi Pico W ($6). The Pico W runs MicroPython and can execute the exact same CircuitPython libraries (with minor import adjustments). This drops the idle power draw from 1.2W to roughly 0.15W, making it viable for a 2000mAh LiPo battery running for weeks via deep sleep cycles. You can also drop the BME280 and rely solely on the SGP40's uncompensated raw resistance data if precise humidity tracking isn't required.
How to Extend (Smart Home Integration)
To make this node a permanent fixture in your smart home stack:
- Add MQTT: Install
paho-mqttand publish the VOC index to a Mosquitto broker. Home Assistant can natively ingest MQTT sensors to trigger HVAC fans when VOCs spike. - Add Visual Feedback: Wire an SSD1306 128x64 I2C OLED display to the same bus (address 0x3C). Use the
adafruit_ssd1306library to render a real-time bar graph of the VOC index. - Prometheus Exporter: Wrap the Python loop in a lightweight Flask server exposing a
/metricsendpoint. This allows Grafana to scrape the data for long-term trend analysis of your indoor air quality over months.
For more details on I2C sensor integration and bus troubleshooting, refer to the Adafruit SGP40 Learn Guide and the official Raspberry Pi Hardware Documentation. Building environmental monitors bridges the gap between hobbyist coding and real-world electrical engineering, giving you a node that actually impacts your daily environment.