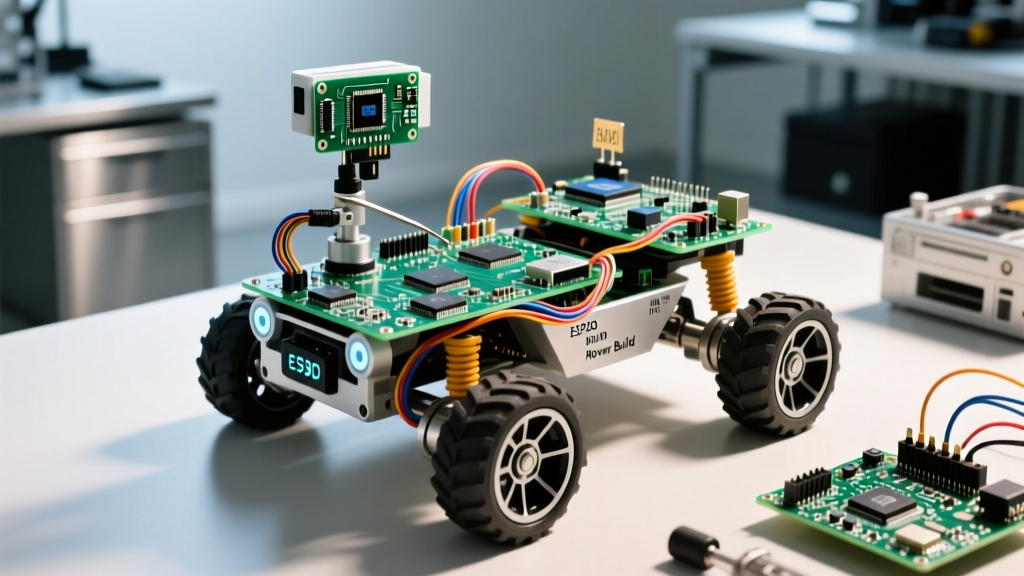
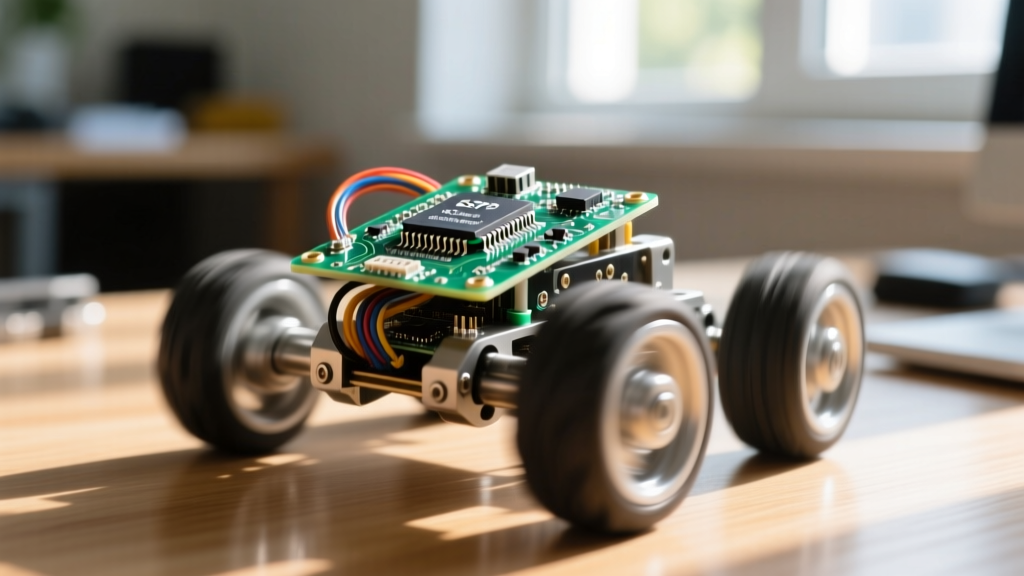
When searching for cool things to do on a Raspberry Pi, most listicles suggest setting up a Pi-hole ad blocker or a retro gaming emulator. While those are fine weekend projects, they barely scratch the surface of what the hardware can do. If you want a project that bridges the gap between software and the physical world, building a hard-wired, multi-sensor environmental hub is one of the most practical and rewarding builds you can tackle.
This guide walks you through building a smart home sensor node using a Raspberry Pi 5, an I2C environmental sensor, and a PIR motion detector. We will cover exact hardware selection, the physics of I2C bus capacitance on the Pi 5, complete Python code with error handling, and how to debug the most notorious I2C failure mode.
Hardware Spec Sheet & Sensor Selection
The core of any environmental hub is the sensor. Many beginners default to the DHT22 because it is cheap and ubiquitous, but it suffers from slow read times and high self-heating errors. For a reliable smart home node, the Bosch BME280 is the undisputed champion. It measures temperature, humidity, and barometric pressure over a digital I2C interface with minimal self-heating.
| Sensor Model | Interface | Accuracy (Temp / RH / Press) | 2026 Avg Price | Best Use Case |
|---|---|---|---|---|
| Bosch BME280 | I2C / SPI | ±1.0°C / ±3% / ±1 hPa | $12 - $16 | Best all-rounder; low self-heating |
| Bosch BME688 | I2C / SPI | ±1.0°C / ±3% / ±1 hPa | $18 - $24 | Adds VOC gas sensing for air quality |
| Aosong AHT20 | I2C | ±0.3°C / ±2% / N/A | $3 - $6 | Budget builds; no pressure reading |
| Amafu DHT22 | 1-Wire (Custom) | ±0.5°C / ±2% / N/A | $5 - $9 | Legacy projects; slow 2s read cycle |
Exact Parts List
- Compute Module: Raspberry Pi 5 (8GB variant) - The 8GB model handles local MQTT brokers and Home Assistant containers without swapping.
- Environmental Sensor: Adafruit BME280 I2C/SPI Breakout (Product ID: 2652)
- Motion Sensor: Panasonic EKMC1603111 PIR Motion Sensor (12V/5V tolerant, digital out)
- Wiring: 22 AWG solid core hookup wire (stranded is fine, but solid grips breadboards better)
- Power: Official Raspberry Pi 27W USB-C Power Supply (Crucial for Pi 5 to prevent USB current limiting)
Pin Mapping & Wiring Procedure
The Raspberry Pi 5 introduced a significant change to the I2C bus hardware: the internal pull-up resistors on the SDA and SCL lines were reduced from 4.7kΩ (on the Pi 4) to 1.8kΩ. This means the Pi 5 can drive I2C lines harder, but it also means you must be careful about adding external pull-ups on your sensor breakouts, which can drag the bus voltage down and cause logic errors. The Adafruit BME280 breakout has onboard 10kΩ pull-ups, which parallel perfectly with the Pi 5's 1.8kΩ internal pull-ups, resulting in a safe ~1.5kΩ total pull-up.
| Component | Breakout Pin | Pi 5 Physical Pin | Pi 5 GPIO / Function |
|---|---|---|---|
| BME280 | VIN | Pin 1 | 3.3V Power |
| BME280 | GND | Pin 6 | Ground |
| BME280 | SCL | Pin 5 | GPIO 3 (SCL1) |
| BME280 | SDA | Pin 3 | GPIO 2 (SDA1) |
| PIR Sensor | VCC | Pin 2 | 5V Power |
| PIR Sensor | GND | Pin 9 | Ground |
| PIR Sensor | OUT | Pin 11 | GPIO 17 (Input) |
config.txt to 10kHz.
Python Control Code (Target: Raspberry Pi 5)
This code targets the Raspberry Pi 5 running Raspberry Pi OS Bookworm (64-bit). It uses Adafruit's CircuitPython libraries for the BME280 and the native gpiozero library for the PIR sensor. Both libraries handle the low-level hardware abstraction beautifully.
Before running the code, install the dependencies via the terminal:
sudo apt update
sudo apt install python3-gpiozero python3-pip
pip3 install adafruit-circuitpython-bme280 --break-system-packages
Note: As of 2026, PEP 668 enforces externally managed environments on Pi OS. The --break-system-packages flag is required unless you are using a Python virtual environment (venv), which is recommended for production deployments.
import time
import sys
import board
import adafruit_bme280
from gpiozero import MotionSensor

# --- PIN & BUS DEFINITIONS ---
PIR_GPIO_PIN = 17
I2C_BUS = board.I2C()
BME280_I2C_ADDRESS = 0x76  # Adafruit breakouts default to 0x77; check yours

# --- SENSOR INITIALIZATION WITH ERROR HANDLING ---
try:
    bme280 = adafruit_bme280.Adafruit_BME280_I2C(I2C_BUS, address=BME280_I2C_ADDRESS)
    bme280.sea_level_pressure = 1013.25  # Calibrate for your local elevation
    print('BME280 sensor initialized successfully.')
except ValueError as e:
    print(f'FATAL: Sensor not found on I2C bus. Error: {e}')
    sys.exit(1)
except OSError as e:
    print(f'FATAL: I2C Bus communication failure. Error: {e}')
    sys.exit(1)

pir = MotionSensor(PIR_GPIO_PIN)
print('PIR Motion Sensor initialized on GPIO 17.')
print('Starting environmental monitoring loop...\n')

# --- MAIN LOOP ---
try:
    while True:
        # Read Environmental Data
        temp_c = bme280.temperature
        humidity = bme280.relative_humidity
        pressure = bme280.pressure
        altitude = bme280.altitude

        # Check Motion State
        motion_status = 'DETECTED' if pir.motion_detected else 'Clear'

        # Format and Print Output
        print(f'[{time.strftime("%H:%M:%S")}] Temp: {temp_c:.1f}C | '
              f'Hum: {humidity:.1f}% | Press: {pressure:.1f}hPa | '
              f'Alt: {altitude:.1f}m | Motion: {motion_status}')

        # The BME280 needs a brief pause between reads to prevent self-heating
        time.sleep(5.0)

except KeyboardInterrupt:
    print('\nMonitoring stopped by user.')
    sys.exit(0)
Debugging: Fixing the 'Remote I/O Error'
If your script crashes immediately upon initialization, you will likely see this exact error string:
OSError: [Errno 121] Remote I/O error
or
ValueError: No I2C device at address: 0x76
This is the most common failure mode in Raspberry Pi embedded projects. It means the Linux kernel attempted to clock the I2C bus, but the sensor did not acknowledge (ACK) the address. Here are the first three things to check when this happens:
- Run the I2C Detective: Open your terminal and type
sudo i2cdetect -y 1. If you see a grid of empty dashes (--), your Pi cannot see the sensor at all. If you see76or77, the hardware is fine, and your Python address variable is wrong. - Verify SDA/SCL Swap: I2C is not auto-negotiating. If you swap the SDA and SCL wires, the bus will physically short the clock line to the data line, resulting in an immediate Errno 121. Double-check against Table 2.
- Check the Power Rail: Use a multimeter to probe the VIN and GND pins on the BME280 breakout. You must read exactly 3.3V (±0.1V). If you read 0V, your ribbon cable or breadboard power rail is disconnected.
Ranked Causes for Persistent I2C Failures
| Rank | Root Cause | Diagnostic Metric | Fix |
|---|---|---|---|
| 1 | Incorrect I2C Address | i2cdetect shows 77, code uses 76 |
Change BME280_I2C_ADDRESS = 0x77 in Python |
| 2 | I2C Interface Disabled in OS | ls /dev/i2c* returns 'No such file' |
Run sudo raspi-config -> Interface Options -> Enable I2C |
| 3 | Bus Capacitance Overload | Signal rise time > 300ns on oscilloscope | Shorten wires or add a dedicated I2C bus extender (e.g., LTC4311) |
| 4 | Missing Pull-up Resistors | SDA/SCL lines float at 1.2V instead of 3.3V | Add 4.7kΩ resistors from SDA/SCL to 3.3V (rarely needed on Pi 5) |
For deeper hardware debugging, the Raspberry Pi Foundation I2C Documentation provides excellent schematics of the internal pull-up configurations for the BCM2712 chip used in the Pi 5.
Extending and Simplifying the Build
Once your sensor hub is reliably printing data to the terminal, you have two paths forward depending on your end goal.
How to Extend: MQTT and Home Assistant
To make this a true smart home node, strip out the print() statements and integrate the Paho MQTT library. By publishing the sensor readings as a JSON payload to an MQTT broker (like Mosquitto running on your router), you can ingest the data into Home Assistant.
Add import paho.mqtt.client as mqtt to your script, and inside the while loop, publish the data:
payload = f'{{"temp": {temp_c:.1f}, "hum": {humidity:.1f}, "motion": {str(pir.motion_detected).lower()}}}'
client.publish('home/livingroom/sensor', payload)
This transforms your Pi from a standalone logger into a distributed IoT node. The Adafruit BME280 Guide includes further details on calibrating the sensor's internal oversampling registers for high-humidity environments like greenhouses.
How to Simplify: Drop the PIR and Go Headless
If you don't need motion detection and want to minimize the physical footprint, drop the Panasonic PIR sensor entirely. Remove the gpiozero import, delete the motion logic, and run the script as a background systemd service. You can power the Pi 5 via the GPIO header (Pins 2 and 4 for 5V, Pin 6 for GND) using a 5V/5A buck converter, allowing you to mount the entire setup inside a 3D-printed PVC enclosure without a bulky USB-C cable.
Building a hard-wired sensor hub is easily one of the most cool things to do on a Raspberry Pi because it forces you to understand the electrical realities of digital buses. Master the I2C protocol on this build, and you will have the foundation to drive OLED displays, motor controllers, and ADC chips in future projects.