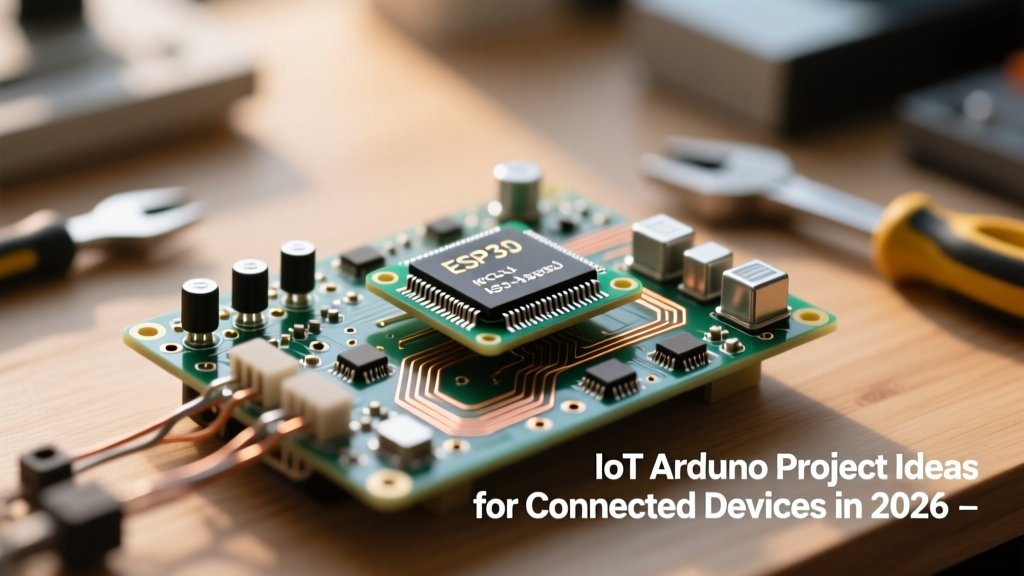

The Evolution of Connected Arduino Project Ideas
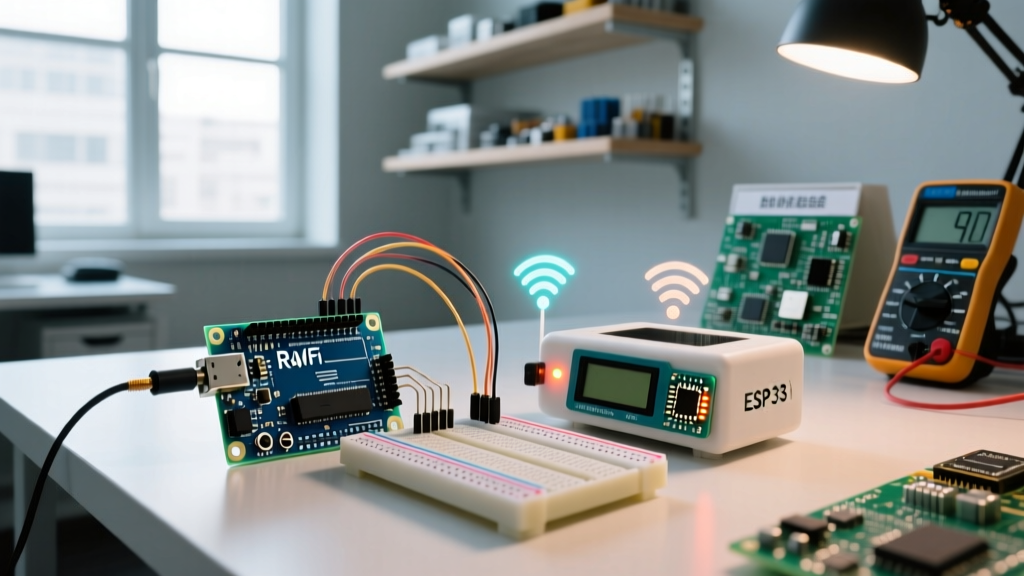
When browsing for advanced arduino project ideas, most makers stumble upon standalone systems that log data to an SD card or trigger local relays. While excellent for learning, the modern electronics landscape demands edge-to-cloud connectivity. In 2026, the most valuable IoT Arduino project ideas leverage Wi-Fi-enabled microcontrollers, lightweight telemetry protocols, and deep integration with local smart home hubs like Home Assistant.
Transitioning from an Arduino Uno to an ESP32 or Arduino Nano 33 IoT unlocks the ability to build distributed sensor networks. This guide explores three high-impact, IoT-connected project architectures that solve real-world problems, complete with specific component selections, wiring topologies, and failure-mode analysis.
'The true power of IoT microcontrollers isn't just in collecting data, but in acting as decentralized edge nodes that communicate via publish/subscribe protocols like MQTT, reducing latency and cloud dependency.' — Adapted from Random Nerd Tutorials MQTT Guide.
Why MQTT Dominates These IoT Arduino Project Ideas
Before diving into the hardware, it is critical to understand the communication layer. HTTP REST APIs are too heavy for battery-operated or low-latency IoT nodes. MQTT (Message Queuing Telemetry Transport) is the industry standard for these arduino project ideas. Using the PubSubClient library in the Arduino IDE, an ESP32 can publish sensor telemetry to a local Mosquitto broker in under 5 milliseconds, keeping payloads under 100 bytes.
Project 1: HVAC Predictive Maintenance Node
Industrial and residential HVAC systems often fail catastrophically due to worn blower motor bearings. This IoT node monitors both environmental conditions and high-frequency vibration to predict failures weeks in advance.
Hardware Bill of Materials (BOM)
- MCU: ESP32-WROOM-32U ($4.50) - Chosen for its dual-core processing, allowing one core to handle Wi-Fi/MQTT while the other samples sensors.
- Environmental Sensor: Bosch BME280 ($2.50) - Measures temperature, humidity, and barometric pressure via I2C.
- Vibration Sensor: SW-420 or ADXL345 ($3.00 - $8.00) - The ADXL345 is preferred for FFT (Fast Fourier Transform) analysis to detect specific bearing defect frequencies.
Circuit Design & Integration
Wire the BME280 to the ESP32's default I2C pins (SDA to GPIO 21, SCL to GPIO 22). Critical E-E-A-T Tip: Always include 4.7kΩ pull-up resistors on the I2C lines if your breakout board lacks them, and ensure the BME280's I2C address jumper is set correctly (usually 0x76 or 0x77). The ADXL345 connects via SPI to avoid I2C bus congestion during high-speed 3200Hz sampling.
Using the ArduinoFFT library, the ESP32 calculates the frequency spectrum of the motor's vibration. A spike in the 100Hz-200Hz range typically indicates outer race bearing wear. This data is published as a JSON payload via MQTT to Home Assistant, triggering a maintenance alert.
Project 2: Smart Hydroponics Nutrient Doser
Automating liquid nutrient dosing requires precise analog sensing and high-current inductive load switching. This project bridges the gap between low-voltage logic and 12V peristaltic pumps.
Hardware BOM & Power Topology
- MCU: Arduino Nano 33 IoT ($18.00) - Features built-in Wi-Fi (NINA-W102 module) and a robust 3.3V logic regulator.
- Sensor: Gravity: Analog TDS (Total Dissolved Solids) Sensor ($15.00) - Measures water conductivity to estimate nutrient concentration.
- Actuator: 12V Peristaltic Dosing Pump ($22.00).
- Driver: IRLZ44N Logic-Level MOSFET ($1.50).
MOSFET Gate Drive Circuit
Never drive a peristaltic pump directly from a microcontroller pin. The IRLZ44N MOSFET is a logic-level N-channel transistor that fully turns on at 3.3V. Connect the TDS sensor's analog out to A0. Connect the MOSFET gate to GPIO 5 via a 100Ω series resistor (to dampen high-frequency ringing), and add a 10kΩ pull-down resistor between the gate and ground to prevent the pump from turning on during MCU boot-up. Always place a 1N4007 flyback diode in reverse parallel across the pump terminals to suppress inductive voltage spikes that could fry the ESP32's voltage regulator.
Project 3: Grid-Tied Solar Inverter Monitor
For makers looking at energy-focused arduino project ideas, monitoring AC mains safely is paramount. This node reads voltage, current, power factor, and accumulated energy from a solar inverter's output.
Hardware BOM
- MCU: ESP32-S3 DevKitC ($7.00) - Offers native USB and extra GPIO pins.
- Energy Monitor: PZEM-004T v3.0 ($12.00) - An isolated Modbus RTU energy monitoring IC.
Isolation and Modbus RTU
The PZEM-004T uses an optocoupler-isolated TTL serial interface to communicate with the ESP32. Connect the TX/RX pins to the ESP32's Hardware Serial 2 (GPIO 16 and 17). Using the ModbusMaster library, the ESP32 polls the PZEM's holding registers at 9600 baud. Because the PZEM handles the dangerous AC mains isolation internally, the low-voltage side remains completely safe to interface with your IoT network. Data is pushed to a local Grafana dashboard via MQTT for long-term solar yield trending.
Microcontroller Selection Matrix for IoT Nodes
Choosing the right brain for your IoT Arduino project ideas dictates your power budget, memory limits, and antenna design. Below is a comparison of top contenders for 2026:
| Microcontroller | Approx. Price | Wi-Fi / BLE | SRAM | Best Use Case |
|---|---|---|---|---|
| ESP32-WROOM-32U | $4.50 | Wi-Fi 4 / BT 4.2 | 520 KB | High-speed sampling, FFT, multi-sensor hubs |
| Arduino Nano 33 IoT | $18.00 | Wi-Fi 4 / Crypto Chip | 32 KB | Secure cloud APIs, compact wearable IoT |
| Raspberry Pi Pico W | $6.00 | Wi-Fi 4 (CYW43439) | 264 KB | MicroPython/Arduino hybrid, low-cost nodes |
| ESP32-C3 SuperMini | $2.80 | Wi-Fi 4 / BT 5.0 | 400 KB | Battery-powered deep-sleep telemetry nodes |
Real-World Failure Modes & Troubleshooting
Building IoT devices in the lab is easy; deploying them in the field introduces harsh electrical realities. Here are the most common failure modes encountered when deploying these arduino project ideas, and how to engineer around them.
1. ESP32 Brownout Detector Triggering
Symptom: The ESP32 continuously reboots with the error Brownout detector was triggered when connecting to Wi-Fi.
Cause: During Wi-Fi transmission (TX bursts), the ESP32 can draw peak currents exceeding 500mA. If powered by a standard AMS1117-3.3 LDO on a cheap dev board, the voltage dips below the 2.4V brownout threshold.
Solution: Add a 100µF electrolytic capacitor and a 0.1µF ceramic decoupling capacitor directly across the 3.3V and GND pins on your custom PCB. Alternatively, use a switching buck converter (like the TPS5430) capable of delivering 2A continuous current. Refer to the Espressif Hardware Design Guidelines for exact PCB trace width recommendations.
2. MQTT Dropped Packets and Keep-Alive Timeouts
Symptom: The device connects to the broker but drops offline every 60 seconds, causing missed sensor readings.
Cause: The router's NAT table or the MQTT broker's firewall is aggressively closing idle TCP connections.
Solution: In your PubSubClient setup, explicitly define the keep-alive interval: client.setKeepAlive(30);. This forces the ESP32 to send an MQTT PINGREQ packet every 30 seconds, keeping the TCP tunnel open through the router's NAT.
3. TDS Sensor Analog Noise
Symptom: Hydroponics nutrient readings fluctuate wildly (e.g., jumping from 400 ppm to 850 ppm) despite stable water conditions.
Cause: The ESP32's ADC (Analog-to-Digital Converter) is notoriously noisy, and Wi-Fi RF interference couples into high-impedance analog traces.
Solution: Do not rely on a single analogRead(). Implement a software moving average filter (sampling 50 times and averaging). Furthermore, place a 0.01µF ceramic capacitor between the analog signal pin and GND to create a hardware low-pass filter, cutting off high-frequency RF noise before it hits the ADC.
Integrating with Home Assistant via MQTT Discovery
To make these IoT Arduino project ideas truly 'smart', avoid hardcoding IP addresses or manual MQTT topic subscriptions. Instead, utilize Home Assistant's MQTT Discovery protocol. By publishing a specific JSON configuration payload to the homeassistant/sensor/your_device/config topic, your ESP32 will automatically register its sensors, entities, and dashboards in Home Assistant without writing a single line of YAML. This transforms a raw DIY electronics project into a polished, consumer-grade smart home appliance.
Conclusion
The best arduino project ideas in 2026 are not just about making things move or light up; they are about creating resilient, network-aware edge devices. By mastering MQTT, selecting the appropriate logic-level drivers, and engineering for real-world electrical noise and power spikes, you elevate your work from a breadboard prototype to a robust IoT deployment. Whether you are monitoring solar yields, automating agriculture, or predicting mechanical failures, the architecture remains the same: sense locally, process efficiently, and publish globally.