
Welcome to the ElectricalFlux Community Showcase
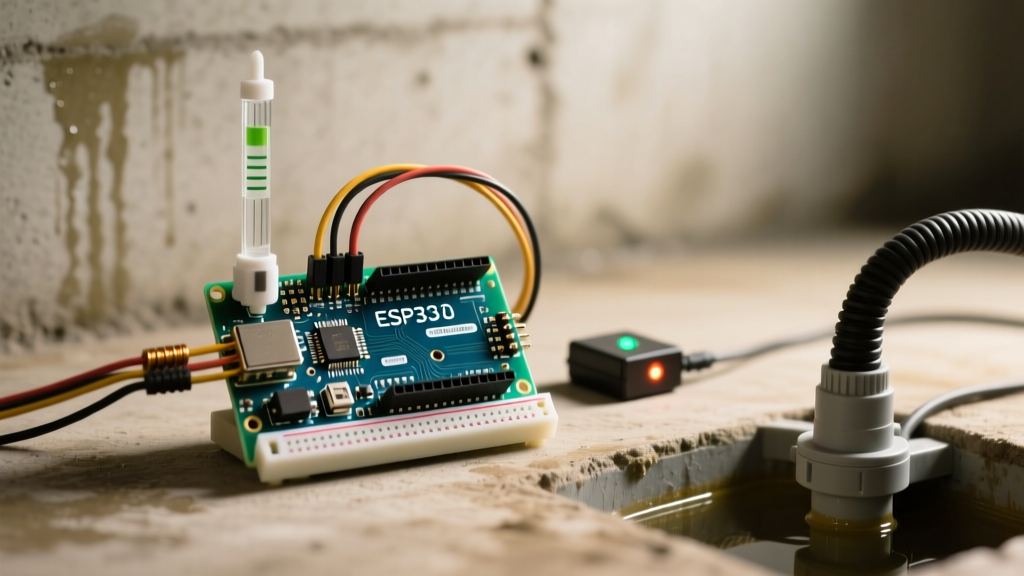
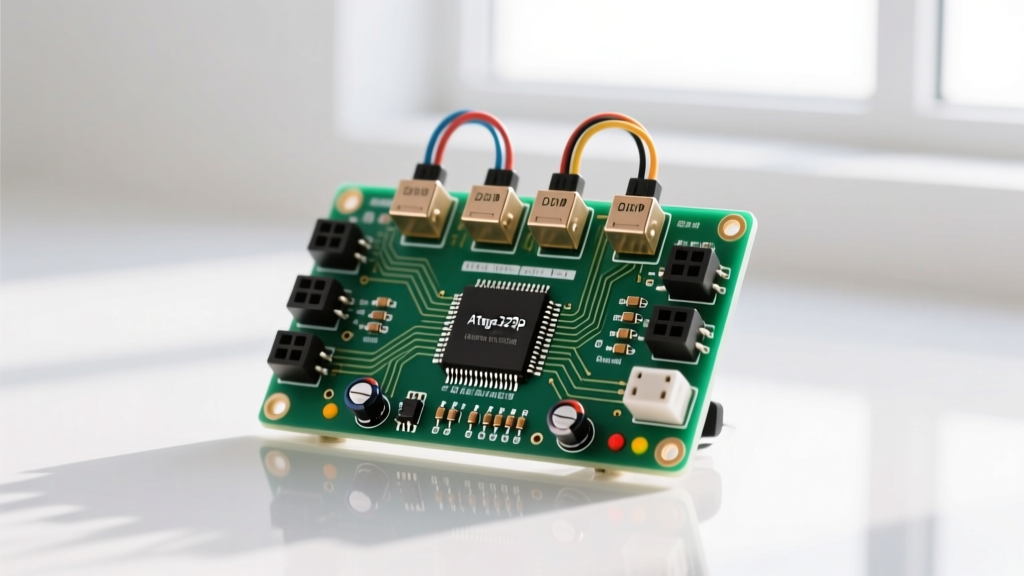
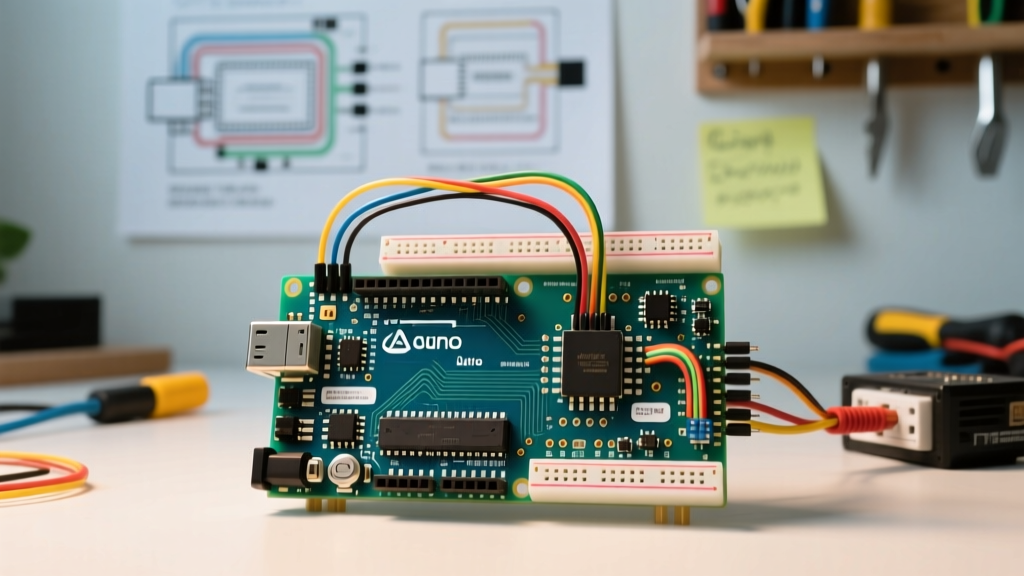
Every month, our forums are flooded with brilliant iterations of the classic microcontroller. While newer boards like the ESP32-S3 and Raspberry Pi Pico dominate high-speed IoT, the ATmega328P remains the undisputed king of reliability for harsh-environment prototyping. In this edition of the ElectricalFlux Community Showcase, we are highlighting three exceptional builds submitted by our members. We aren't just showing off glossy photos; we are tearing down the schematics, analyzing the Bill of Materials (BOM), and exposing the real-world failure modes these makers encountered. If you are planning your next project Arduino Uno, these community-tested insights will save you hours of debugging and a few blown components.
Build #1: High-Efficiency Dual-Axis Solar Tracker
Submitted by forum member @SiliconSunrise, this build abandons the traditional, highly inefficient L298N motor driver in favor of modern MOSFET-based alternatives. The goal was to create a solar tracking mount that consumes less power in standby than the solar panel generates, a common pitfall in amateur renewable energy projects.
Component Breakdown & Cost Analysis
The sensing array uses four GL5528 Light Dependent Resistors (LDRs) arranged in a voltage divider configuration, feeding the Uno's 10-bit ADC pins (A0-A3). However, the real star of this build is the motor control stage.
| Feature | L298N (Traditional) | TB6612FNG (Community Pick) |
|---|---|---|
| Typical Price (2026) | $2.50 | $4.85 |
| Voltage Drop | ~2.0V (Bipolar Junction) | ~0.2V (MOSFET) |
| Max Continuous Current | 2A per channel | 1.2A per channel |
| PWM Frequency Support | Up to 25 kHz | Up to 100 kHz |
| Logic Level | 5V (TTL) | 2.7V to 5.5V |
Addressing the 2-Volt Dropout Nightmare
When powering a 6V solar panel gimbal, losing 2 volts across an L298N leaves the motors starving at 4V, resulting in stalled rotors and overheated silicon. By switching to the Pololu TB6612FNG Motor Driver Carrier, @SiliconSunrise recovered that lost voltage. The TB6612FNG utilizes MOSFETs, dropping only about 0.2V. The trade-off is a lower continuous current limit (1.2A), but for small NEMA-17 steppers or 130-size DC gear motors drawing 400mA under load, this is the superior engineering choice.
'I initially tried to filter the LDR noise using software averaging, but the PWM switching from the L298N was injecting massive ground bounce into the Uno's ADC reference. Switching to the TB6612FNG and adding a dedicated star-ground topology completely eliminated the phantom tracking movements.' — @SiliconSunrise
Build #2: TCA9548A I2C Multiplexed Micro-Climate Station
Member @WeatherWarden built an environmental monitoring station designed to sit inside a Stevenson screen. The challenge? Integrating three identical BME280 temperature/humidity/pressure sensors to measure micro-gradients across a single garden bed. Since the BME280 only supports two I2C addresses (0x76 and 0x77), a standard bus setup is impossible.
Solving the Address Collision
Instead of hacking the SDO pads on the sensors (which risks destroying the fragile LGA package), this build utilizes the TCA9548A I2C Multiplexer. As detailed in the Adafruit TCA9548A Guide, this chip acts as an I2C switchboard, allowing up to eight devices with identical addresses to coexist on separate sub-buses. The Uno communicates with the multiplexer at 0x70, then toggles the specific channel before polling the BME280 at 0x76.
Pull-Up Resistor Calculations & Bus Capacitance
The most critical failure mode in this project was I2C bus capacitance. Each BME280 breakout board includes its own 4.7kΩ pull-up resistors. When connected to the multiplexer, the parallel resistance drops drastically, pulling the I2C lines too hard and causing the ATmega328P's internal I2C buffers to fail, resulting in a frozen sketch. The fix involved physically desoldering the 4.7kΩ resistors from two of the three BME280 modules, leaving only a single 2.2kΩ pull-up pair on the master bus side of the TCA9548A. This ensured clean, sharp square waves on the SDA/SCL lines, even with 2 meters of unshielded CAT5e cable running to the remote sensors.
The 'Magic Smoke' Ledger: Community Mistakes & Fixes
No community showcase is complete without honoring the components sacrificed in the name of learning. Here are the top three hardware failures reported by our makers this quarter, and how to avoid them in your own project Arduino Uno endeavors:
- The NRF24L01 Brownout: The popular 2.4GHz radio module requires burst currents up to 120mA during transmission. The Uno's onboard 3.3V linear regulator (LP2985) is only rated for 150mA and often overheats or drops voltage when paired with an SD card module. The Fix: Bypass the onboard regulator and use a dedicated AMS1117-3.3 buck/linear module powered directly from the Uno's 5V pin, buffering the radio's VCC with a 10µF tantalum capacitor.
- Inductive Kickback on Relays: Several members reported the Uno randomly resetting when switching off 12V solenoid water valves via standard 5V relay modules. The collapsing magnetic field in the solenoid generates high-voltage spikes that couple back into the Uno's ground plane via the relay's optocoupler or flyback diode parasitics. The Fix: Always use a snubber diode (1N4007) directly across the solenoid coil, and power the relay coil from a completely separate 5V supply, sharing only the ground reference.
- Servo Jitter from USB Power: Powering even a single SG90 micro servo directly from the Uno's 5V USB rail causes severe ADC noise and serial communication drops. The Fix: Servos must be powered by an external 5V/6V battery pack. Connect the battery ground to the Uno's GND, but never route servo power through the board's copper traces.
Memory Optimization: Squeezing the ATmega328P
With only 2KB of SRAM, memory management is crucial. A recurring issue in complex projects is the exhaustion of dynamic memory (heap) due to excessive use of the Serial.print() function with string literals. When you pass a string literal to the serial monitor, the Arduino compiler stores it in SRAM by default. In a data-logging project featuring extensive debug statements, this can easily consume 40% of your available RAM, leading to stack collisions and unpredictable reboots.
Community expert @CodeCrafter recommends strictly utilizing the F() macro. By wrapping your strings like this: Serial.println(F("Initializing I2C Bus..."));, you force the compiler to store the string in the 32KB Flash memory (PROGMEM) and fetch it byte-by-byte during execution. This simple habit frees up hundreds of bytes of SRAM, leaving ample room for sensor arrays and PID control variables. For a deeper dive into the microcontroller's architecture, refer to the official Arduino Uno Rev3 Documentation.
Submit Your Next Build
The beauty of the maker community lies in shared failure and collective triumph. Whether you are designing a high-voltage Tesla coil interrupter or a simple automated pet feeder, the lessons learned from power decoupling, I2C bus management, and memory allocation apply universally. Have you recently completed a project that pushed the limits of the ATmega328P? Head over to the ElectricalFlux forums, post your schematics, your C++ code, and most importantly, your mistakes. Your next submission might just be the headline of our next Community Showcase.