
The Anatomy of Push Button Failures in Microcontrollers
Building a simple input interface is a foundational milestone in embedded systems, yet a seemingly basic push button circuit Arduino project accounts for nearly 30% of all beginner and intermediate MCU debugging sessions. When your serial monitor spits out erratic ones and zeros, or a single physical press registers as a dozen rapid-fire triggers, the issue rarely lies with the microcontroller itself. Instead, the culprits are usually rooted in high-impedance floating nodes, mechanical contact bounce, or breadboard contact fatigue.
In 2026, with the widespread adoption of the Arduino Uno R4 Minima (powered by the Renesas RA4M1 ARM Cortex-M4) alongside legacy ATmega328P boards, understanding the nuanced electrical behavior of GPIO pins is more critical than ever. This diagnostic guide dissects the five most common failure modes in push button circuits and provides actionable, multimeter-backed solutions to get your logic levels stable.
Error 1: The Floating Pin Phenomenon
The most frequent cause of ghost readings in a push button circuit Arduino setup is the "floating pin." When a tactile switch is in the open (unpressed) state, the microcontroller's input pin is physically disconnected from both VCC (5V/3.3V) and GND. In this high-impedance state, the pin acts like a tiny antenna, picking up ambient electromagnetic interference (EMI) from nearby wiring, switching power supplies, or even your finger.
According to the official Arduino digital pins documentation, an unconnected pin will yield essentially random HIGH and LOW readings.
The Fix: Internal vs. External Pull-Up Resistors
To anchor the pin to a known logic state, you must use a pull-up resistor. You have two primary options:
- Internal Pull-Up (Software): By configuring the pin mode as
INPUT_PULLUP, you activate the microcontroller's internal resistor (typically 20kΩ to 50kΩ on the ATmega328P, and roughly 5kΩ to 50kΩ on the Uno R4's RA4M1). This pulls the pinHIGHwhen the button is open. Pressing the button connects the pin to GND, readingLOW(Active-LOW logic). - External Pull-Up (Hardware): For environments with high EMI or long wire runs (over 12 inches), the internal resistor may be too weak. Adding an external 10kΩ carbon film resistor (costing roughly $0.02 per unit in bulk) between VCC and the input pin provides a much stiffer, noise-immune pull-up.
Error 2: Switch Bounce Masquerading as Logic Errors
If your serial monitor shows multiple triggers for a single physical press, you are experiencing switch bounce. Standard 6x6mm through-hole tactile switches (like the ubiquitous Omron B3F series, which cost about $0.08 each in 2026) rely on a metal leaf spring. When pressed, the metal contacts physically bounce against each other for 1 to 5 milliseconds before settling. To a microcontroller executing millions of instructions per second, this mechanical flutter looks like a rapid sequence of button presses.
Hardware vs. Software Debouncing
As detailed in the Arduino built-in Debounce example, software debouncing involves tracking the time elapsed since the last state change using millis() and ignoring subsequent changes within a 20ms to 50ms window. While effective, software debouncing can complicate state machines in complex sketches.
Alternatively, hardware debouncing offloads the work to an RC (resistor-capacitor) low-pass filter. By placing a 100nF (0.1µF) ceramic capacitor in parallel with the switch, or between the input pin and GND, the capacitor absorbs the high-frequency bounce spikes. The voltage across the capacitor rises and falls smoothly, presenting a clean, single edge to the Schmitt trigger input of the GPIO pin.
Diagnostic Matrix: Symptom to Root Cause
Use the following matrix to quickly isolate the failure mode in your push button circuit Arduino build based on observable symptoms and multimeter readings.
| Observed Symptom | Probable Root Cause | Multimeter Reading (DC Voltage) | Corrective Action |
|---|---|---|---|
| Random 1s and 0s when button is NOT pressed | Floating input pin (High Impedance) | Fluctuating between 0.5V and 4.2V | Enable INPUT_PULLUP or add external 10kΩ pull-up resistor. |
| Multiple triggers per single physical press | Mechanical switch contact bounce | Clean 5V/0V, but oscilloscope shows 1-5ms ripple | Implement 50ms software debounce or add 100nF hardware capacitor. |
Button reads HIGH when pressed, but logic expects LOW |
Pull-down vs. Pull-up topology confusion | 0V (unpressed) -> 5V (pressed) | Invert logic in code (if (state == HIGH)) or rewire as Active-LOW. |
| Button works intermittently when wires are wiggled | Breadboard contact fatigue or broken jumper | Voltage drops to 2.1V under slight physical pressure | Replace breadboard; use 22 AWG solid core wire instead of stranded. |
| Microcontroller resets or brownouts when button is pressed | VCC to GND short circuit (Missing current limiting) | VCC rail dips from 5.0V to 2.8V momentarily | Verify wiring; ensure button connects Pin to GND, NOT VCC to GND. |
Error 3: Pull-Up vs. Pull-Down Topology Confusion
A frequent logical error occurs when makers wire a circuit for an Active-HIGH (pull-down) topology but write code expecting an Active-LOW (pull-up) topology.
- Pull-Down (Active-HIGH): A 10kΩ resistor connects the input pin to GND. The button connects the input pin to VCC. Unpressed =
LOW, Pressed =HIGH. This requires an external resistor, as most standard AVRs lack reliable internal pull-down resistors. - Pull-Up (Active-LOW): The resistor connects the pin to VCC. The button connects the pin to GND. Unpressed =
HIGH, Pressed =LOW. This is the industry standard because it leverages internal MCU resistors and provides better noise immunity (grounding a signal is generally less susceptible to EMI than pulling it up to VCC).
If your LED toggles in reverse to your expectations, check your topology. As explained in SparkFun's comprehensive guide to pull-up resistors, defaulting to Active-LOW configurations will save you hours of hardware debugging and component sourcing.
Error 4: Breadboard Contact Fatigue and Voltage Drops
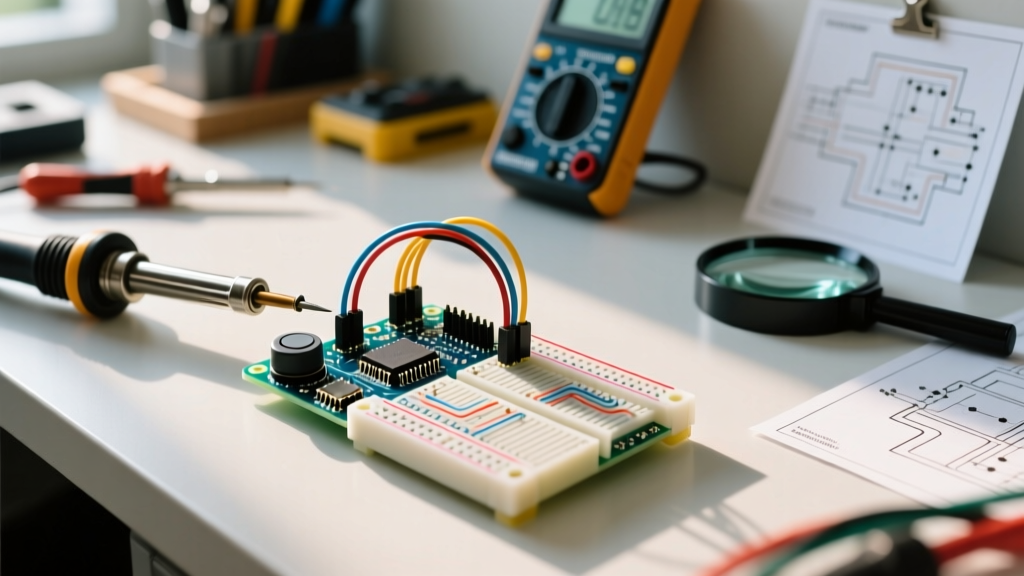
Solderless breadboards are notorious for degraded internal metal clips, especially after repeated insertion of thick component leads. A degraded clip introduces series resistance—sometimes upwards of 5Ω to 15Ω per contact point. While this doesn't affect high-impedance digital inputs much, if your push button circuit shares a power rail with high-draw components (like a 5V relay module or an LED matrix), the voltage drop across the breadboard can cause the MCU's brown-out detector (BOD) to trigger a reset the moment the button is pressed and the secondary load activates.
Actionable Advice: Always use a digital multimeter (like the AstroAI DM6000AR or Fluke 117) in continuity mode to test the breadboard rails. If the resistance reads above 1.0Ω across a 10-strip span, retire the breadboard for prototyping and move to a soldered perfboard or PCB.
Error 5: Exceeding GPIO Limits via Incorrect LED Wiring
While a push button itself draws virtually zero current (it merely bridges a potential difference), beginners often wire an indicator LED in parallel with the button without a current-limiting resistor, or they attempt to source power for an external load directly through the GPIO pin. The ATmega328P has an absolute maximum rating of 40mA per I/O pin (20mA recommended). The Renesas RA4M1 on the Uno R4 is even more sensitive, with strict limits depending on the specific port group. Shorting a pin or drawing excessive current will permanently fuse the internal silicon traces, rendering that specific GPIO pin dead while the rest of the MCU appears to function normally.
Step-by-Step Multimeter Verification Protocol
Before uploading new code to chase phantom bugs, perform this 3-minute hardware verification:
- Power Off: Disconnect the Arduino from USB/Barrel jack.
- Continuity Check: Set multimeter to continuity (beep mode). Place probes on the switch terminals. Press the button. You should hear a clean beep. If it crackles or fails to beep, the tactile switch is oxidized or broken.
- Short Circuit Check: Place one probe on the VCC rail and one on the GND rail. Ensure there is no continuity (infinite resistance). If there is a short, pressing the button will brown-out the board.
- Voltage Verification: Power the board. Set multimeter to DC Voltage. Place the black probe on GND and the red probe on the input pin. With the button unpressed, it should read a stable 4.9V - 5.1V (if using pull-up). Press the button; it should drop to 0.0V - 0.05V. Any deviation indicates a wiring fault or a damaged internal pull-up resistor.
Summary and Preventative Best Practices
Diagnosing a push button circuit Arduino setup requires looking past the code and examining the physical realities of mechanical switches and high-impedance silicon. By standardizing on Active-LOW pull-up topologies, implementing robust 50ms software debouncing (or 100nF hardware filtering), and routinely verifying breadboard integrity with a multimeter, you will eliminate the vast majority of input-related anomalies. Treat your GPIO pins with respect, anchor your logic levels, and your embedded projects will respond with the precision you expect.