
Why LabVIEW and Arduino Serial Connections Fail
Integrating LabVIEW and Arduino microcontrollers for Data Acquisition (DAQ) or Hardware-in-the-Loop (HIL) testing is a staple in modern engineering labs. However, as test bench complexity grows in 2026, so do the points of failure in serial communication. Whether you are streaming high-frequency sensor data from an Arduino Uno R4 WiFi or sending control commands to a custom Mega 2560 shield, serial drops, buffer overflows, and VISA resource locks can halt automated testing entirely.
This troubleshooting guide bypasses generic advice and dives deep into the exact National Instruments (NI) VISA error codes, hardware driver conflicts, and Arduino C++ sketch optimizations required to stabilize your LabVIEW and Arduino integration.
The Architecture Divide: Raw VISA vs. LabVIEW LINX
Before troubleshooting, you must identify which communication layer you are using, as the failure modes are entirely different:
- Raw VISA Serial: You write custom C++ code on the Arduino using
Serial.print()and parse the incoming string in LabVIEW using the VISA Read and Scan From String nodes. This offers maximum flexibility and speed but requires manual buffer management. - LabVIEW LINX (formerly MakerHub): You flash a pre-compiled LINX firmware sketch to the Arduino. LabVIEW communicates via a proprietary binary protocol to call Arduino functions directly (e.g., Analog Read, I2C Write). This is easier for beginners but prone to firmware-sync errors and slower for high-speed DAQ.
Troubleshooting Matrix: Common LabVIEW and Arduino Errors
Below is a diagnostic matrix for the most frequent errors encountered when linking LabVIEW to Arduino hardware via USB serial.
| LabVIEW Error Code / Symptom | Root Cause | Actionable Fix |
|---|---|---|
| VISA: Resource not found (-1073807339) | The COM port is locked by another application, typically the Arduino IDE 2.x Serial Monitor. | Close the Arduino IDE Serial Monitor. In LabVIEW, use a property node to query available VISA resources dynamically rather than hardcoding 'COM3'. |
| VISA: Timeout expired (-1073807252) | LabVIEW is waiting for a termination character that the Arduino never sends, or the baud rates mismatch. | Ensure Arduino uses Serial.println() (sends \r\n) and LabVIEW VISA Read is configured to stop on '\n' (ASCII 10). |
| Garbage Data / Shifted Arrays | Buffer overflow. The Arduino's 64-byte hardware UART buffer overruns before LabVIEW's OS-level USB stack can poll it. | Implement software flow control (handshaking) or reduce the Arduino polling rate to match the LabVIEW loop iteration time. |
| LINX: Sync Error / Firmware Mismatch | The LINX firmware on the Arduino is outdated and incompatible with your current LabVIEW 2024/2025 LINX toolkit. | Re-flash the latest LINX firmware via the Arduino IDE using the official Digilent LabVIEW LINX Repository. |
Deep Dive: Resolving VISA Timeout Errors (-1073807252)
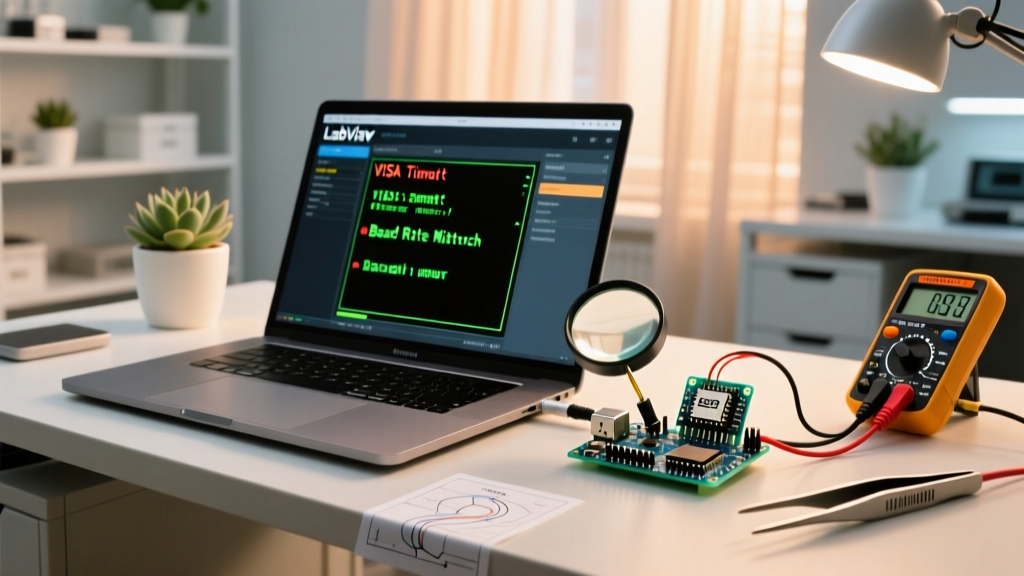
The -1073807252 timeout error is the most notorious issue in LabVIEW and Arduino serial communication. It occurs when the VISA Read node is instructed to read until a specific termination character, but that character never arrives within the default 10-second timeout window.
The Termination Character Trap
By default, LabVIEW's VISA Read node looks for a Line Feed (LF, ASCII 10, or \n). However, if your Arduino sketch uses Serial.print(data) instead of Serial.println(data), no termination character is ever transmitted. LabVIEW will wait 10 seconds, time out, and throw the error.
Pro-Tip for 2026 Test Benches: Never rely solely on termination characters for mission-critical DAQ. Instead, use the Bytes at Port property node to check exactly how many bytes are sitting in the OS serial buffer, and read that exact integer. This prevents partial string reads that break the Scan From String formatting.
Fixing the Arduino Sketch for Deterministic Parsing
To ensure LabVIEW's Scan From String node (configured with a format string like %f,%f,%f\n) never fails, your Arduino must output strictly formatted CSV data. Avoid using the delay() function, as it blocks the UART interrupt handler, causing incoming LabVIEW commands to be dropped.
Use a non-blocking millis() approach:
unsigned long lastTransmit = 0;
void loop() {
if (millis() - lastTransmit >= 50) {
Serial.print(sensor1); Serial.print(',');
Serial.print(sensor2); Serial.print(',');
Serial.println(sensor3); // Sends the crucial \r\n
lastTransmit = millis();
}
}
For a complete breakdown of Arduino serial buffer mechanics and hardware UART limits, refer to the official Arduino Serial Reference.
Hardware-Level Fixes for Noisy Industrial Environments
Software troubleshooting only goes so far if the physical layer is compromised. In 2026, many labs use Arduino clones to cut costs on disposable test fixtures. These clones often use the CH340 or CH341 USB-to-Serial chip instead of the genuine ATmega16U2 or FTDI chips found on official boards.
The CH340 Driver and DTR Reset Bug
CH340 chips are notorious for latent DTR (Data Terminal Ready) signal issues on Windows 11. When LabVIEW opens the VISA session, the DTR line toggles, which is hardwired to the Arduino's RESET pin. If the CH340 driver holds DTR low for too long, the Arduino will boot-loop continuously, and LabVIEW will receive nothing but bootloader garbage data.
The Fix: You have three options to resolve this hardware-level bug:
- Disable Auto-Reset: Place a 10µF electrolytic capacitor between the Arduino's RESET pin and GND. This absorbs the DTR voltage spike and prevents the MCU from resetting when LabVIEW opens the COM port.
- Switch to Genuine FTDI: Use boards based on the FT232R chip. You can ensure driver stability by downloading the latest certified FTDI VCP Drivers, which handle DTR toggling flawlessly.
- Use USB Isolators: In high-noise environments (e.g., testing switching power supplies or motor controllers), ground loops will corrupt serial packets. Insert a Texas Instruments ISO7241-based USB 2.0 isolator between the PC and the Arduino to break the ground loop and protect the LabVIEW DAQ PC from voltage spikes.
Optimizing Baud Rates and Buffer Limits
A common misconception is that pushing the Arduino to Serial.begin(2000000) (2 Mbps) will yield faster DAQ in LabVIEW. In reality, the bottleneck is rarely the UART baud rate; it is the USB polling interval and the LabVIEW loop execution speed.
The 115200 vs. 57600 Baud Rate Reality
While 115200 baud is the modern standard, it requires precise timing tolerances. The ceramic resonators found on cheap Arduino Nano clones have a high frequency drift (up to 1.5%). At 115200 baud, a 1.5% drift causes framing errors, resulting in LabVIEW receiving NaN (Not a Number) or null characters.
If you are using clone boards with ceramic resonators, drop your baud rate to 57600 or 38400. The wider bit-timing windows at lower baud rates easily absorb the resonator's frequency drift, eliminating phantom framing errors without noticeably impacting DAQ throughput for most sensor applications.
Summary Checklist for Stable Integration
Before deploying your LabVIEW and Arduino test fixture to the production floor, run through this final verification checklist:
- Port Management: Implement a VISA Close node on the block diagram's error wire to guarantee the COM port is released if the VI crashes.
- Data Framing: Always use
Serial.println()in C++ and configure the LabVIEW VISA Configure Serial Port node to use '\n' (ASCII 10) as the termination character. - Flow Control: If transmitting more than 64 bytes per loop iteration, implement an RTS/CTS hardware handshake or a software 'ACK' protocol to prevent UART buffer overruns.
- Hardware Verification: If using CH340 clones, verify DTR reset behavior or install the 10µF reset capacitor to prevent boot-looping upon VISA initialization.
By addressing the physical layer, respecting the UART buffer limits, and utilizing deterministic string parsing in LabVIEW, you can transform a fragile prototype into a robust, 24/7 industrial test system.