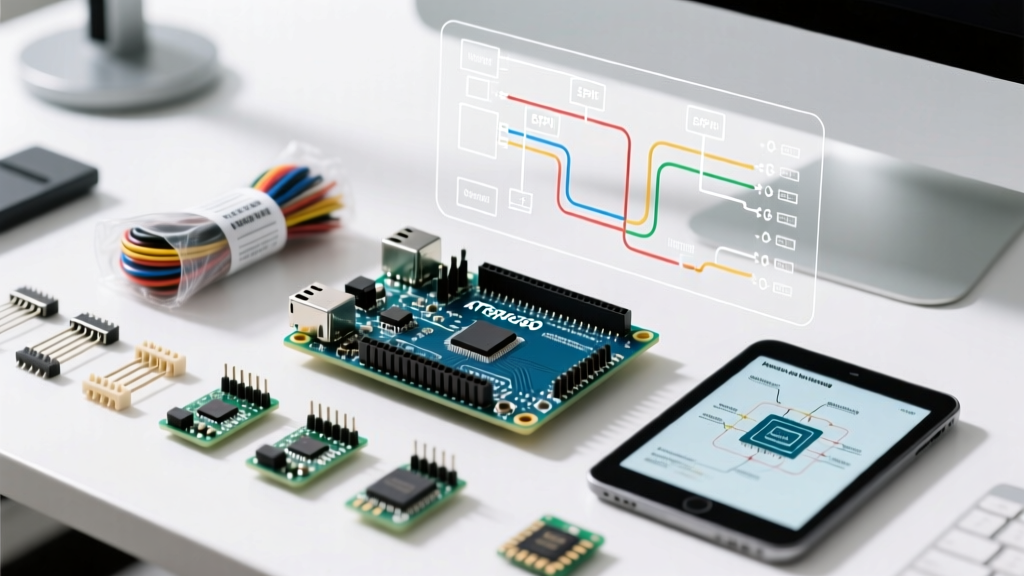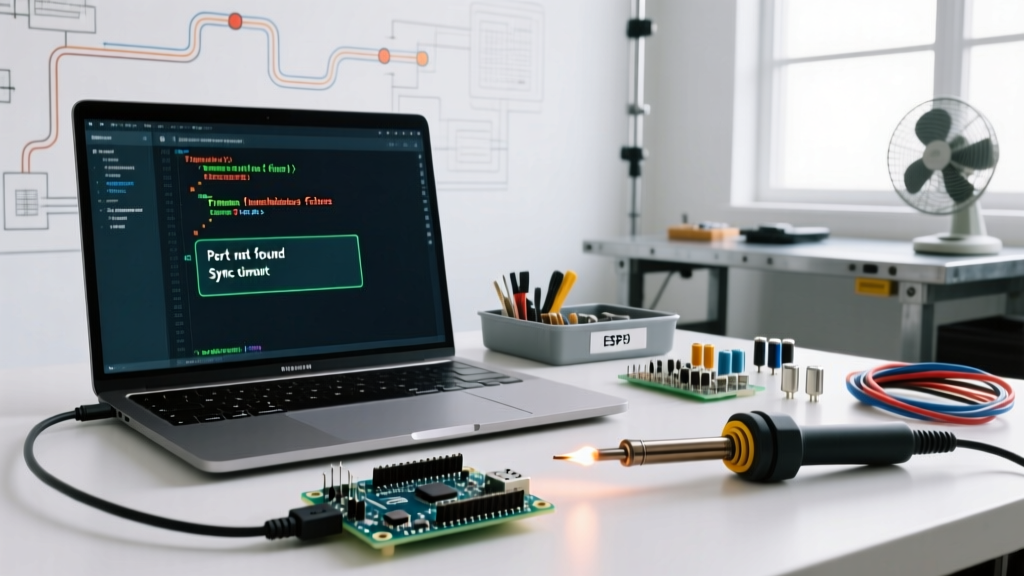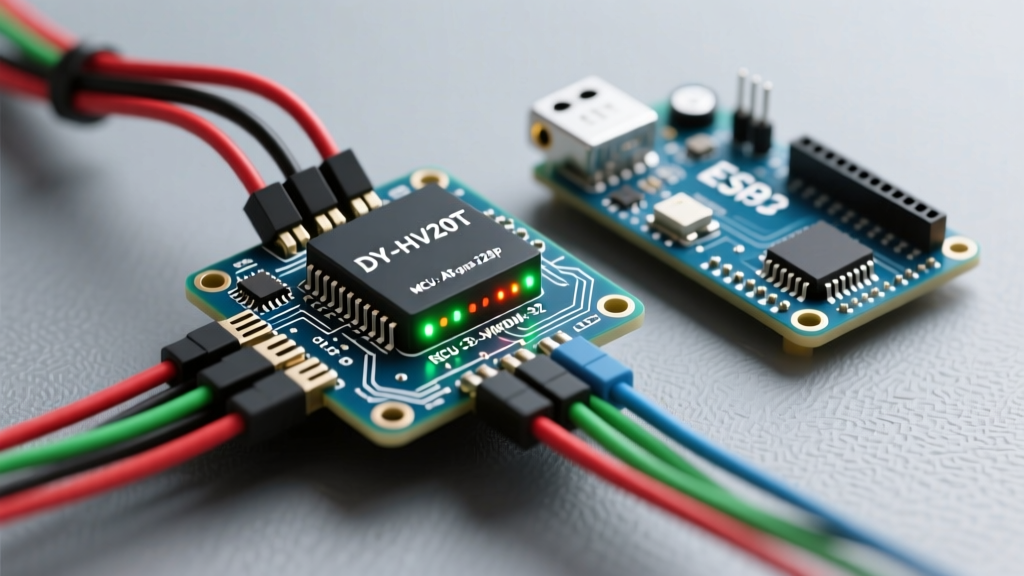

The DFPlayer Mini Crisis: Why Migrate in 2026?
For years, the DFPlayer Mini has been the default audio module for embedded maker projects. However, as of 2026, the market is flooded with heavily degraded DFPlayer clones utilizing counterfeit or sub-par MP3 decoder ICs. Makers are increasingly reporting catastrophic failure modes: the notorious 'busy' pin floating, random UART lockups, and complete failure to read standard micro-SD cards. If you are building escape room props, interactive art installations, or reliable consumer prototypes, the dy hv20t arduino combination has emerged as the definitive upgrade path.
The DY-HV20T (often sold under the HV20A or HV20T monikers) solves the core architectural flaws of the DFPlayer. It features an onboard SPI flash memory option (eliminating mechanical SD card failures entirely), a vastly superior UART acknowledgment protocol, and a built-in 3W amplifier that actually delivers its rated wattage without clipping. This guide provides a comprehensive, step-by-step migration framework to transition your existing Arduino sketches and hardware from the DFPlayer Mini to the DY-HV20T.
Hardware Comparison Matrix
Before rewiring your breadboard or PCB, it is crucial to understand the exact hardware differences. The table below contrasts the legacy DFPlayer Mini with the DY-HV20T and the older JQ6500 module.
| Feature | DFPlayer Mini (Legacy) | DY-HV20T (Upgrade Target) | JQ6500 (Obsolete) |
|---|---|---|---|
| Storage Medium | Micro-SD Only | Onboard SPI Flash (4MB-32MB) OR Micro-SD | Onboard Flash Only (Limited) |
| UART Stability | Poor (Crashes on rapid polling) | Excellent (Hardware checksum validation) | Moderate (USB/Serial conflicts) |
| Busy Pin | Notorious for floating/locking HIGH | Reliable LOW/HIGH state transitions | N/A (Requires polling) |
| Avg. Price (2026) | $1.20 - $1.80 | $2.80 (Flash) / $4.50 (SD Slot) | $3.50+ |
| Logic Levels | 3.3V (Often damaged by 5V) | 3.3V tolerant, but 5V safe with divider | 3.3V Strict |
Wiring & Logic Level Shifting
The most common mistake when migrating to the DY-HV20T is assuming it is strictly 5V tolerant on the RX pin. While the module's VCC can accept 3.3V to 5V (and up to 4.2V from a LiPo battery directly), the UART RX pin operates at 3.3V logic. Feeding a 5V Arduino Uno's TX pin directly into the HV20T's RX pin will cause long-term degradation of the module's internal logic gate.
The Voltage Divider Circuit
To safely interface a 5V Arduino with the DY-HV20T, implement a simple voltage divider on the TX line:
- Arduino TX connects to a 1kΩ resistor.
- The other end of the 1kΩ resistor connects to the DY-HV20T RX pin.
- A 2kΩ resistor connects from the DY-HV20T RX pin to GND.
- Arduino RX connects directly to the DY-HV20T TX (The Arduino will reliably read 3.3V as a logic HIGH).
Power Supply Decoupling
Audio amplifiers draw massive transient current when a track starts. According to embedded power design principles outlined by SparkFun's hardware tutorials and general analog design rules, you must place a decoupling capacitor as close to the module's VCC and GND pins as possible. Solder a 100µF to 470µF electrolytic capacitor directly across the VCC and GND header pins on the DY-HV20T. This prevents the Arduino from brown-out resetting when the audio track initializes.
UART Protocol & Command Architecture
Unlike the DFPlayer Mini, which relies on the bloated DFRobotDFPlayerMini library, the DY-HV20T uses a highly efficient, checksum-validated byte protocol. This allows you to strip thousands of bytes of library overhead from your Arduino sketch, which is critical for ATtiny85 or low-memory AVR migrations.
As documented in the official Arduino Serial Reference, managing raw bytes via Serial.write() is significantly faster and non-blocking compared to string parsing. The DY-HV20T UART protocol runs at 9600 baud and follows this exact frame structure:
Frame Structure: [Header: 0xAA] [Command: 1 Byte] [Param High: 1 Byte] [Param Low: 1 Byte] [Checksum: 1 Byte]
Checksum Formula: (Header + Command + Param High + Param Low) & 0xFF
Critical Command Hex Codes
- Play Track by Index: Command
0x02. (e.g., Track 1 is0x00 0x01) - Pause/Resume: Command
0x03. (Param:0x00 0x00) - Stop Playback: Command
0x04. (Param:0x00 0x00) - Set Volume: Command
0x13. (Param:0x00to0x1Efor 0-30 volume)
Non-Blocking Arduino Implementation
Relying on delay() for audio timing destroys the responsiveness of interactive projects. Following the state-machine philosophies detailed in Adafruit's multi-tasking guides, we use a lightweight, non-blocking C++ function to handle the DY-HV20T UART commands.
#include <SoftwareSerial.h>

SoftwareSerial hv20tSerial(10, 11); // RX, TX

void setup() {
  hv20tSerial.begin(9600);
  delay(500); // Module boot time
  hv20tSetVolume(20); // Set volume to 20 (Max 30)
  hv20tPlayTrack(1);
}

void loop() {
  // Your non-blocking interactive code here
}

void hv20tSendCmd(uint8_t cmd, uint16_t param) {
  uint8_t paramHigh = (param >> 8) & 0xFF;
  uint8_t paramLow = param & 0xFF;
  uint8_t checksum = (0xAA + cmd + paramHigh + paramLow) & 0xFF;

  hv20tSerial.write(0xAA);
  hv20tSerial.write(cmd);
  hv20tSerial.write(paramHigh);
  hv20tSerial.write(paramLow);
  hv20tSerial.write(checksum);
}

void hv20tPlayTrack(uint16_t trackIndex) {
  hv20tSendCmd(0x02, trackIndex);
}

void hv20tSetVolume(uint8_t vol) {
  if (vol > 30) vol = 30;
  hv20tSendCmd(0x13, vol);
}

void hv20tPauseResume() {
  hv20tSendCmd(0x03, 0x0000);
}

void hv20tStop() {
  hv20tSendCmd(0x04, 0x0000);
}
This implementation requires zero external libraries, compiles in milliseconds, and leaves your main loop entirely free to handle sensor inputs, LED matrices, or motor controls.
Edge Cases & Troubleshooting
When migrating legacy hardware, you will inevitably encounter edge cases. Below is a diagnostic matrix for the most common DY-HV20T integration issues.
| Symptom | Root Cause | Engineering Solution |
|---|---|---|
| Module plays Track 1 repeatedly on boot | Default I/O trigger mode is active. The module defaults to parallel button mode if UART is not initialized quickly. | Send a dummy UART command (like Volume set) within 200ms of power-on, or ground the appropriate config pin if using the raw IC variant. |
| Arduino resets instantly when audio starts | Voltage sag on the 5V rail due to speaker transient draw. | Add a 470µF capacitor on the HV20T VCC/GND. Power the speaker directly from the main battery rail, not the Arduino's 5V regulator. |
| SD Card files are skipped or play out of order | FAT32 allocation unit size or hidden macOS/Windows indexing files. | Format SD card using SD Formatter tool. Set Allocation Unit Size to 32KB. Delete hidden 'System Volume Information' folders. |
| Module ignores UART commands after 10 minutes | Internal watchdog timer or buffer overflow from noisy TX line. | Ensure the voltage divider is physically close to the RX pin to prevent antenna-like noise pickup on the wire. |
Final Migration Checklist
Before deploying your upgraded project into the field, verify the following:
- Storage Formatting: If using the Micro-SD variant, ensure the card is formatted strictly to FAT32 (not exFAT), and audio files are named with a 4-digit prefix (e.g.,
0001_intro.mp3). - Flash Memory Loading: If using the onboard SPI flash variant, you must use the manufacturer's proprietary USB-to-Serial flashing tool to upload MP3s. The flash chip does not mount as a standard USB mass storage device.
- Impedance Matching: If driving a 4Ω speaker instead of the standard 8Ω, ensure your power supply can deliver at least 1.5A continuous current to prevent thermal shutdown of the HV20T's internal amplifier.
By migrating to the DY-HV20T, you eliminate the most frustrating points of failure in embedded audio design. The combination of robust UART checksums, onboard flash options, and predictable logic states makes it the undisputed champion for 2026 maker audio projects.