
Mastering Arduino Library Installation: The Complete Protocol Guide
When working with microcontrollers, writing bare-metal register code for every I2C sensor or SPI peripheral is inefficient. Libraries abstract these complex communication protocols into simple, reusable functions. However, many beginners search for how to install a arduino library and quickly become overwhelmed by dependency errors, architecture mismatches, and version conflicts.
In this guide, we break down the three definitive methods to install Arduino libraries in 2026: the official Library Manager, manual ZIP injection, and direct Git repository cloning. Whether you are deploying a LoRaWAN node with an ESP32 or debugging an I2C EEPROM on an ATmega328P, understanding these installation protocols is critical for stable firmware development.
Method 1: The IDE Library Manager (The Standard Protocol)
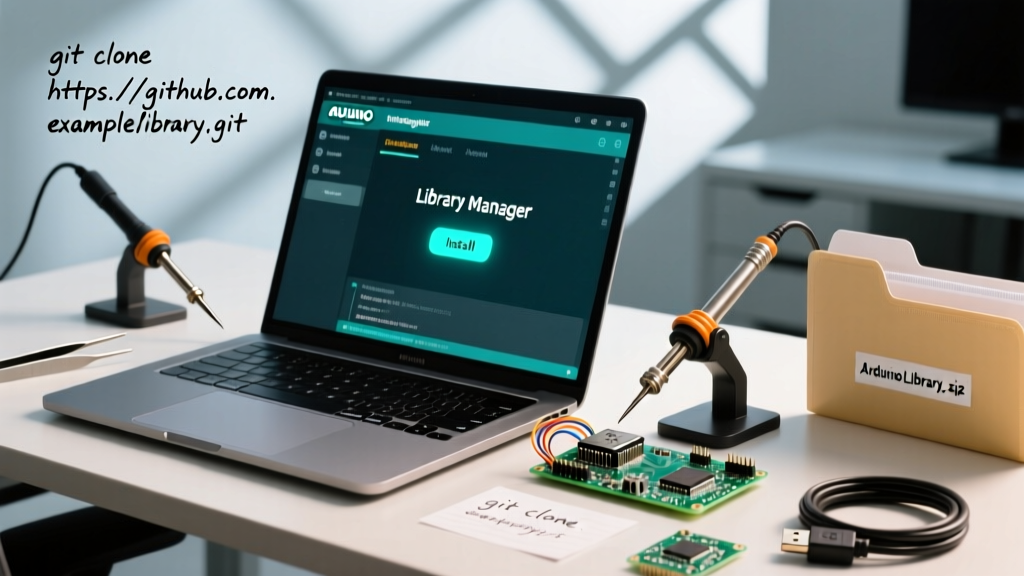
The Arduino Library Manager is the default, most secure method for installing verified libraries. It automatically handles dependency resolution—a crucial feature when a sensor library relies on a secondary bus library (e.g., Adafruit sensor libraries depending on Adafruit BusIO).
Step-by-Step Installation
- Open Arduino IDE 2.3.x (or newer).
- Navigate to Sketch > Include Library > Manage Libraries (or press
Ctrl+Shift+I/Cmd+Shift+I). - In the search bar, type the exact name of the library (e.g.,
Adafruit BME280). - Filter by Type: Updatable or Topic: Communication to narrow down the results.
- Select your desired version from the dropdown. Pro Tip: Unless you need a specific beta feature, always select the latest stable release.
- Click Install. If prompted to install missing dependencies, always click Install All.
Expert Insight: The Library Manager pulls from a centralized index hosted on the Arduino servers. If a library is missing from this index, it means the author has not submitted a valid library.properties file to the official Arduino Library Registry. In such cases, you must use Method 2 or 3.
Method 2: Manual ZIP Installation (The Offline Protocol)
When working in air-gapped environments, using proprietary vendor libraries, or modifying an existing library for a custom PCB layout, the ZIP method is your best approach. This method bypasses the registry and injects the code directly into your local sketchbook.
Execution Steps
- Download the library source code as a
.ziparchive from the vendor or GitHub. - In the Arduino IDE, navigate to Sketch > Include Library > Add .ZIP Library...
- Select the downloaded archive. The IDE will unpack it and place it in your local
librariesdirectory.
Locating Your Local Libraries Directory
If you need to manually edit the library files post-installation, you must know your OS-specific sketchbook path:
- Windows:
C:\Users\[YourUsername]\Documents\Arduino\libraries - macOS:
/Users/[YourUsername]/Documents/Arduino/libraries - Linux:
~/Arduino/libraries
Note: Never manually extract a ZIP file directly into the Arduino IDE installation folder (e.g., C:\Program Files\Arduino IDE). The compiler will ignore it and fail to link the headers.
Method 3: Git Clone & Symlinking (The Developer Protocol)
For advanced firmware engineers contributing to open-source communication protocols or tracking bleeding-edge commits, cloning directly via Git is the superior workflow. This method allows you to pull updates via git pull without redownloading archives.
The Git Workflow
- Open your terminal or command prompt.
- Navigate to your local Arduino libraries folder (paths listed above).
- Run the clone command:
git clone https://github.com/author/library-name.git - Restart the Arduino IDE to index the new
srcandexamplesfolders.
Edge Case Warning: If the Git repository uses submodules (common in complex RF stacks like LoRaMac-node), you must append the recursive flag:git clone --recursive [URL]. Failing to do so will result in fatal#includeerrors during compilation.
Installation Method Comparison Matrix
| Feature | Library Manager | ZIP Import | Git Clone |
|---|---|---|---|
| Dependency Resolution | Automatic | Manual | Manual (via submodules) |
| Update Mechanism | 1-Click via IDE | Re-download & Overwrite | git pull via CLI |
| Offline Capability | No (Requires Internet) | Yes | Yes (after initial clone) |
| Best Use Case | Standard production code | Proprietary/Air-gapped | Active development/CI/CD |
| Version Control | IDE managed | None | Full Git history |
Deep Dive: Anatomy of library.properties
To truly understand how the Arduino build system (arduino-builder) indexes and compiles libraries, you must examine the library.properties metadata file located in the root of every compliant library. According to the official Arduino Library Specification, this file dictates compatibility and dependency mapping.
Critical Metadata Fields
name: The unique identifier. Must not contain spaces or special characters.version: Semantic versioning (e.g.,1.2.4). The IDE uses this to prompt updates.architectures: A comma-separated list of supported MCU cores. If a library is hardware-agnostic (like a math parser), it uses*. If it relies on specific hardware timers, it will specifyavr,samd,esp32. If your target board is not listed here, the IDE will hide the library from the Include menu.depends: Lists required external libraries. The Library Manager reads this to trigger recursive installations.
Troubleshooting Common Installation Failures
Even with perfect installation protocols, compilation errors occur. Here is how to resolve the most frequent library-related failures in 2026.
1. The 'Multiple Libraries Found' Warning
The Error: Multiple libraries were found for "Wire.h"
The Cause: You have duplicate versions of a library installed in different directories, or a built-in core library is conflicting with a third-party fork.
The Fix: The Arduino compiler prioritizes libraries that match the target architecture. If the warning persists, navigate to your libraries folder and manually delete the deprecated or duplicate folders. Alternatively, use the Arduino IDE v2 Library Manager to uninstall older versions cleanly.
2. Missing Dependency Errors
The Error: fatal error: Adafruit_BusIO_Register.h: No such file or directory
The Cause: You installed a sensor library via ZIP, which bypasses automatic dependency fetching.
The Fix: Open the library.properties file of the library you just installed, locate the depends= line, and manually install those specific libraries via the Library Manager.
3. Architecture Incompatibility
The Error: Library compiles for Arduino Uno (AVR) but fails on ESP32 with undefined reference to 'PORTB'.
The Cause: The library author used direct AVR port manipulation instead of the abstracted digitalWrite() or GPIO HAL functions.
The Fix: Check the architectures field. If ESP32 is not supported, you must either fork the repository and rewrite the hardware abstraction layer, or find an alternative library that supports the Xtensa/RISC-V architecture of the ESP32.
Advanced Alternative: PlatformIO for CI/CD Pipelines
While the Arduino IDE is excellent for prototyping, professional firmware engineering often requires strict version control and automated testing. PlatformIO (integrated into VS Code) offers a superior library management protocol via the platformio.ini configuration file.
By defining libraries under the lib_deps directive, PlatformIO automatically downloads, caches, and links the exact version specified during the build process. This eliminates the 'it works on my machine' syndrome and ensures that your I2C and SPI communication stacks remain identical across your entire development team.
Summary
Knowing how to properly install and manage Arduino libraries is the foundation of reliable embedded systems design. Use the Library Manager for verified, dependency-heavy communication stacks; rely on ZIP imports for proprietary or offline vendor code; and leverage Git cloning when you need to modify or contribute to the underlying protocol implementations. By understanding the metadata and compiler rules governing these files, you will eliminate build errors and accelerate your firmware development cycle.