
Introduction to I2C Arduino Communication
The Inter-Integrated Circuit (I2C) protocol, originally developed by Philips (now NXP) in 1982, remains the backbone of modern microcontroller sensor integration. For beginners stepping into the Arduino ecosystem, I2C is often the first multi-wire communication protocol they encounter. Unlike analog inputs that read varying voltages, I2C is a digital, synchronous, multi-master, multi-slave packet-switched serial bus. It allows you to daisy-chain up to 128 devices using only two shared microcontroller pins: SDA (Serial Data) and SCL (Serial Clock).
Whether you are interfacing a $4.50 generic 0.96-inch SSD1306 OLED display or a $19.95 Adafruit BME280 environmental sensor, understanding the physical and logical layers of I2C is critical. In this guide, we will bypass the superficial tutorials and dive deep into the hardware requirements, address scanning, and the precise mechanics of the Arduino Wire.h library.
The Physical Layer: Wiring and Pull-Up Resistors
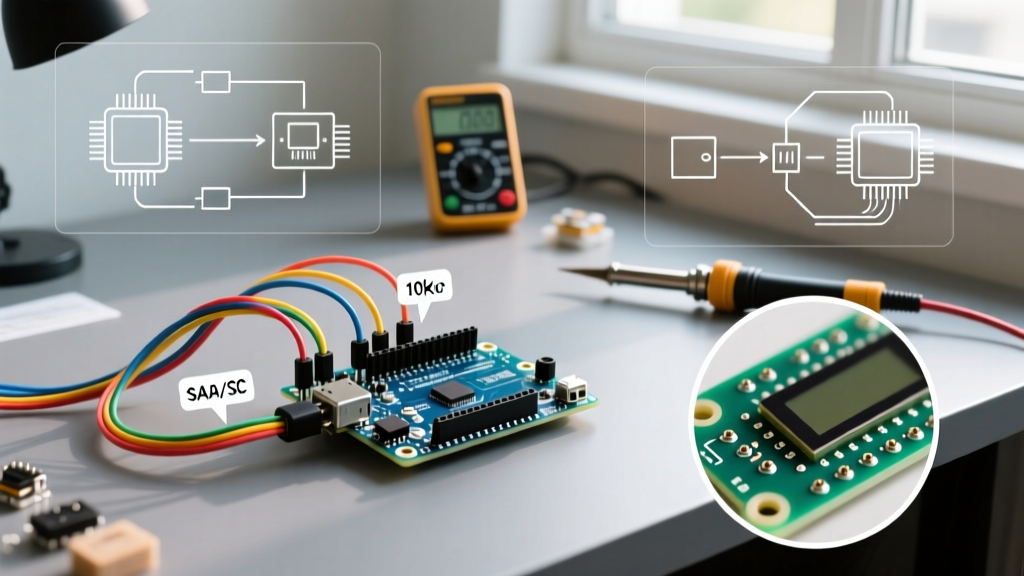
The most common point of failure for beginners is ignoring the electrical requirements of the I2C bus. I2C uses an open-drain (or open-collector) architecture. This means devices can pull the SDA and SCL lines LOW (to ground), but they cannot actively drive them HIGH. To return the lines to a HIGH state, the bus relies on external pull-up resistors connected to the logic voltage (VCC).
Standard Arduino I2C Pinouts
- Arduino Uno / Nano (ATmega328P): A4 (SDA), A5 (SCL)
- Arduino Mega 2560: Pin 20 (SDA), Pin 21 (SCL)
- ESP32 DevKit V1: GPIO 21 (SDA), GPIO 22 (SCL) - Note: ESP32 operates at 3.3V logic.
Selecting the Right Pull-Up Resistor
Most breakout boards (like those from SparkFun or Adafruit) include onboard 4.7kΩ or 10kΩ pull-up resistors. However, if you are wiring raw I2C chips (like the PCF8574 I/O expander) or daisy-chaining multiple modules, you must calculate the bus capacitance. According to the NXP I2C-bus specification (UM10204), the maximum allowable bus capacitance is 400pF for standard mode (100kHz) and fast mode (400kHz).
- 100kHz (Standard Mode): 4.7kΩ to 10kΩ resistors.
- 400kHz (Fast Mode): 2.2kΩ to 4.7kΩ resistors (lower resistance charges the bus capacitance faster).
- 1MHz (Fast Mode Plus): 1kΩ resistors.
Pro Tip: If you connect three different sensor modules that all have 4.7kΩ onboard pull-ups, the parallel resistance drops to roughly 1.5kΩ. This can cause excessive current draw and logic level distortion. If your bus behaves erratically, try cutting the pull-up jumper pads on all but one module.
Logic Level Warning: 5V vs 3.3V
Mixing 5V Arduino boards (like the Uno) with 3.3V sensors (like the BME280 or modern IMUs) without a logic level shifter can degrade or destroy the sensor's silicon over time. While a simple voltage divider on the SDA line works for basic UART, I2C is bi-directional. You must use a dedicated bidirectional I2C level shifter, such as the PCA9306 or a standard MOSFET-based breakout board (costing around $2.00), to safely translate the 5V SDA/SCL signals down to 3.3V.
Step 1: Discovering Devices with an I2C Scanner
Before writing complex driver code, you must verify that the Arduino can physically see the sensor on the bus. Every I2C device has a 7-bit hardware address (e.g., 0x3C for many OLEDs, 0x76 for some BME280s). Because manufacturers sometimes change default addresses based on resistor configurations, guessing the address leads to hours of frustration.
Upload this standard I2C scanner sketch to your Arduino. It sweeps through all 127 possible addresses and reports which ones acknowledge (ACK) the ping.
#include

void setup() {
  Wire.begin();
  Serial.begin(115200);
  while (!Serial); // Wait for serial monitor to open (Leonardo/Micro)
  Serial.println("\nI2C Scanner");
}

void loop() {
  byte error, address;
  int nDevices = 0;

  Serial.println("Scanning...");
  for (address = 1; address < 127; address++) {
    Wire.beginTransmission(address);
    error = Wire.endTransmission();

    if (error == 0) {
      Serial.print("I2C device found at address 0x");
      if (address < 16) Serial.print("0");
      Serial.print(address, HEX);
      Serial.println("  !");
      nDevices++;
    }
  }
  if (nDevices == 0) Serial.println("No I2C devices found\n");
  delay(5000); // Wait 5 seconds before next scan
}
If the Serial Monitor outputs No I2C devices found, stop coding and check your hardware. Verify VCC/GND, ensure SDA is not swapped with SCL, and confirm your pull-up resistors are present. For a comprehensive list of default addresses, consult the Adafruit I2C Address List.
Step 2: Writing and Reading Data via Wire.h
The official Arduino Wire Library Reference abstracts the complex bit-banging of the I2C protocol into simple function calls. However, understanding the underlying packet structure is vital for debugging.
The Write Sequence
To send data to a sensor (e.g., configuring a register), the master initiates a START condition, sends the 7-bit address plus a WRITE bit (0), sends the target register pointer, sends the data byte, and issues a STOP condition.
Wire.beginTransmission(0x3C); // Address + Write bit
Wire.write(0x00);             // Register pointer (e.g., Command Register)
Wire.write(0xAE);             // Data byte (e.g., Turn off OLED display)
Wire.endTransmission();       // Sends STOP condition
The Read Sequence
Reading is a two-step process. First, you must tell the device which register you want to read (a write operation). Then, you issue a repeated START and request the data.
// Step 1: Point to the register
Wire.beginTransmission(0x76); // BME280 Address
Wire.write(0xF7);             // Pressure MSB register
Wire.endTransmission(false);  // 'false' sends a Repeated START, not a STOP

// Step 2: Request the bytes
Wire.requestFrom(0x76, 3);    // Request 3 bytes of pressure data
while (Wire.available()) {
  byte data = Wire.read();
  // Process data...
}
Common I2C Arduino Failure Modes & Fixes
Even with perfect code, environmental factors and hardware quirks can cause I2C communication to fail. Below is a diagnostic matrix for the most frequent issues encountered in real-world DIY builds.
| Symptom | Root Cause | Actionable Solution |
|---|---|---|
Wire.endTransmission() returns 2 (NACK on address) |
Device is unpowered, wrong address, or SDA/SCL swapped. | Verify 3.3V/5V power at the sensor pins with a multimeter. Run the I2C Scanner again. |
Arduino freezes/hangs on Wire.requestFrom() |
Clock stretching timeout or SDA line locked LOW by a crashing slave. | Implement a hardware watchdog timer. To unstick the bus, manually toggle the SCL pin as a standard digital output 9 times, then send a START/STOP condition. |
| Data is mostly correct but occasional corrupted bytes | EMI noise on long wires or bus capacitance exceeding 400pF. | Keep I2C traces under 30cm. Use twisted-pair cables for SDA/SCL. Lower the bus speed using Wire.setClock(100000);. |
| Multiple devices on the same bus fail to initialize | Address collision (e.g., two MPU6050s both defaulting to 0x68). | Use an I2C multiplexer like the TCA9548A ($3.50) to isolate devices on separate sub-buses, or change the address via hardware pins (e.g., bridging the SDO pad on the MPU6050 to set it to 0x69). |
Protocol Comparison: When to Choose I2C
While I2C is incredibly convenient, it is not always the optimal choice for every sensor. Here is how it stacks up against other common Arduino protocols in 2026:
- I2C: Best for low-speed, short-distance configuration and sensor reading (temperature, humidity, OLEDs). Uses only 2 pins regardless of device count. Speed caps at 3.4MHz (High-Speed Mode), but 400kHz is the practical limit for most Arduino libraries.
- SPI: Best for high-speed data transfer (SD cards, TFT displays, audio DACs). Requires 3 shared pins plus 1 Chip Select (CS) pin per device. Much faster (up to 50MHz+), but wiring becomes a nightmare with more than 3 peripherals.
- UART (Serial): Best for point-to-point communication over longer distances or for debugging (GPS modules, cellular modems). Requires dedicated TX/RX pins for every single device, making it impractical for multi-drop sensor networks without hardware multiplexing.
Conclusion
Mastering I2C Arduino communication requires looking past the plug-and-play promises of high-level libraries. By respecting the open-drain electrical requirements, properly sizing your pull-up resistors, and understanding the exact sequence of the Wire.h library functions, you can build robust, multi-sensor projects that survive real-world conditions. Always start with an I2C scanner, verify your logic levels, and keep your bus capacitance in check.