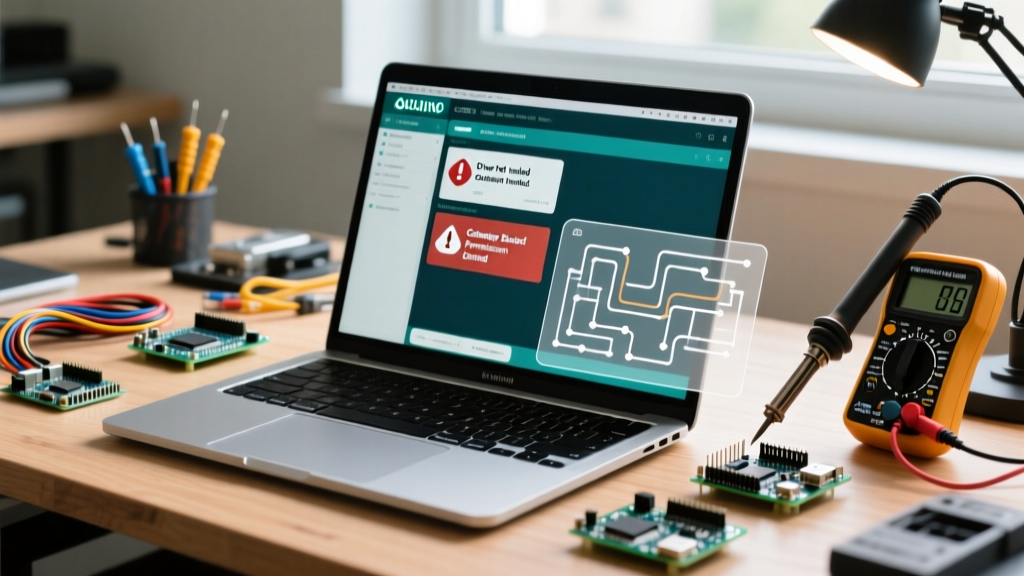

The Shift to Arduino IDE 2.x: Why Installation Errors Happen
Transitioning to local development is a rite of passage for embedded systems engineers, but installing Arduino IDE on modern operating systems is rarely a simple "next-next-finish" process. With the widespread adoption of the Arduino IDE 2.x series (built on the Eclipse Theia framework and powered by the arduino-cli backend), the software architecture has fundamentally changed. While this brings advanced features like auto-completion, real-time debugging, and a split-screen serial monitor, it also introduces new dependency chains, background service requirements, and OS-level security roadblocks.
Whether you are deploying a fleet of ESP32 nodes for an industrial IoT project or just trying to flash a bootloader onto an ATmega328P, installation failures will halt your workflow. Below is a comprehensive, OS-specific error fix guide to bypass security blocks, resolve backend crashes, and fix serial permission denials in 2026.
Expert Note: Unlike the legacy Java-based IDE 1.8.x, the modern IDE relies on a decoupled CLI backend. If your installation completes but the IDE hangs on "Loading..." or fails to compile, the issue is rarely the GUI itself—it is almost always a corrupted CLI configuration or a blocked background executable. For deeper architectural insights, refer to the Arduino IDE Official Documentation.
Windows: SmartScreen Blocks, CLI Crashes, and Clone Drivers
Error 1: Windows Defender SmartScreen Blocks the Installer
When running the .exe NSIS installer downloaded from the web, Windows Defender SmartScreen frequently flags the file as an "unrecognized app" because the executable is dynamically signed or lacks long-term reputation.
- The Fix: Do not abort the installation. Click More info, then select Run anyway. If your enterprise IT policy hard-blocks this, you must manually whitelist the Arduino publisher certificate in the Windows Group Policy Editor (
gpedit.msc) under Computer Configuration > Windows Settings > Security Settings > Public Key Policies.
Error 2: "CLI Backend Crashed" or Infinite "Loading..." Screen
If the IDE installs successfully but freezes on the splash screen or throws a "CLI Backend Crashed" toast notification, your local package index is likely corrupted, or Windows is blocking the arduino-cli.exe background process from establishing local socket connections.
- The Fix: Navigate to
C:\Users\<YourUsername>\AppData\Local\Arduino15. Delete the entireArduino15folder. This forces the IDE to regenerate thepackage_index.jsonand rebuild the core libraries upon the next launch. If the issue persists, addarduino-cli.exe(located inC:\Program Files\Arduino IDE\resources\app\lib\backend\resources) to your Windows Defender Exclusion list.
Error 3: CH340 / CP2102 Clone Board Driver Failures
The official Arduino installer only bundles drivers for genuine FTDI and Atmel/Microchip USB-to-Serial chips. If you are using cost-effective clone boards (like the $4 Uno R3 clones from Amazon or AliExpress), they likely use the WCH CH340G or Silicon Labs CP2102 chips. The IDE will install, but your board's COM port will not appear in the Tools menu.
- The Fix: You must manually install the VCP (Virtual COM Port) drivers. For WCH chips, follow the SparkFun CH340 Driver Installation Guide. For Silicon Labs chips, download the CP210x Universal Windows Driver directly from the Silicon Labs VCP Drivers page. After installation, physically reconnect the USB cable to force Windows to re-enumerate the device tree.
macOS: Gatekeeper Quarantines and USB Privacy Roadblocks
Error 1: "Arduino IDE is damaged and can't be opened"
This is the most common error when installing Arduino IDE on macOS Sonoma or Sequoia. It does not mean the DMG file is actually corrupted. Instead, Apple's Gatekeeper has applied a quarantine extended attribute to the application because it was downloaded via a browser rather than the Mac App Store.
- The Fix: Open the macOS Terminal and strip the quarantine flag using the
xattrcommand. Type the following and press Enter:
xattr -cr /Applications/Arduino\ IDE.app
This recursively clears thecom.apple.quarantineattribute. You can now launch the IDE normally from your Applications folder.
Error 2: Serial Port Greyed Out / No USB Access
Modern macOS versions enforce strict privacy controls over USB accessories. Even if the IDE installs perfectly, the OS will silently block the software from reading the /dev/cu.usbmodem* or /dev/cu.usbserial* directories.
- The Fix: Navigate to System Settings > Privacy & Security > Security. Look for a prompt stating "Arduino IDE is trying to access USB accessories." Click Allow. If the prompt never appeared, you must reset the privacy database by moving the IDE to the trash, emptying the trash, and dragging the app back into the Applications folder to trigger the OS-level permission request again.
Linux: AppImage Execution and Dialout Group Denials
Error 1: AppImage Fails to Launch on Ubuntu 22.04 / 24.04 LTS
Arduino provides Linux builds primarily as AppImages. However, starting with Ubuntu 22.04, Canonical removed the default libfuse2 package in favor of FUSE3. Because the AppImage runtime relies on FUSE2 to mount the virtual filesystem, double-clicking the file will result in a silent failure or a "no such file or directory" error in the terminal.
- The Fix: Open your terminal and install the legacy FUSE library:
sudo apt update && sudo apt install libfuse2
Next, ensure the file has execution permissions:
chmod +x arduino-ide_2.x.x_Linux_64bit.AppImage
You can now execute the IDE via./arduino-ide_2.x.x_Linux_64bit.AppImage.
Error 2: "Permission Denied" When Uploading to /dev/ttyACM0
Linux handles serial ports as device files owned by the root user and the dialout group. By default, standard user accounts are not members of this group, meaning the IDE can compile code but will throw a Permission denied error when attempting to push the binary via avrdude or esptool.py.
- The Fix: Add your current user to the dialout group via the terminal:
sudo usermod -a -G dialout $USER
Critical Step: You must completely log out of your Linux desktop session and log back in (or reboot) for the group membership changes to propagate to your user token. Alternatively, for a temporary bypass during a single terminal session, usenewgrp dialout.
Quick-Reference Troubleshooting Matrix
Use the table below to quickly diagnose and resolve environment-specific blockers during your setup.
| Error Symptom | Target OS | Root Cause | Exact Command / Action |
|---|---|---|---|
| App "damaged" on launch | macOS | Gatekeeper quarantine flag | xattr -cr /Applications/Arduino\ IDE.app |
| CLI Backend Crash / Freeze | Windows | Corrupted package index JSON | Delete %LOCALAPPDATA%\Arduino15 |
| AppImage silent failure | Linux (Ubuntu) | Missing FUSE2 dependency | sudo apt install libfuse2 |
| Upload Permission Denied | Linux (All) | User lacks serial group rights | sudo usermod -a -G dialout $USER |
| COM Port Missing (Clone) | Windows | Missing CH340/CP2102 VCP driver | Manual Device Manager driver update |
Enterprise Networks: Proxy and Firewall JSON Errors
If you are installing Arduino IDE in a university lab or corporate environment, the initial launch will attempt to fetch the Board Manager index from downloads.arduino.cc. If your network uses an authenticated proxy or performs SSL inspection, the IDE will throw a "Network Error" or "Failed to fetch" message, leaving your Board Manager completely empty.
To fix this, you must configure the underlying CLI proxy settings. Locate the arduino-cli.yaml configuration file (usually in ~/.arduino15/ on Mac/Linux or %LOCALAPPDATA%\Arduino15 on Windows) and append your proxy credentials:
network:
  proxy: http://username:password@proxy.corporate.local:8080
  user_agent_ext: "corporate-env"
For environments utilizing strict SSL inspection (like Zscaler or Cisco Umbrella), you may also need to export your organization's root CA certificate and point the IDE's custom CA bundle to it via the network.custom_ca_bundle parameter in the same YAML file.
Final Verification Steps
Once you have bypassed these installation and permission errors, verify your toolchain integrity. Open the IDE, navigate to Help > About, and confirm the CLI version matches the GUI version. Then, plug in a known-good microcontroller (like an official Arduino Uno R4 WiFi), open the Blink.ino example, and execute a full compile-upload cycle. If the serial monitor outputs sensor data or boot logs without throwing avrdude timeouts, your local development environment is fully operational and ready for production firmware engineering.
For ongoing bug tracking and community-driven workarounds for edge-case hardware conflicts, always consult the Arduino IDE GitHub Issue Tracker before assuming your hardware is defective.