
The Reality of the ESP8266MOD in Mesh Networks
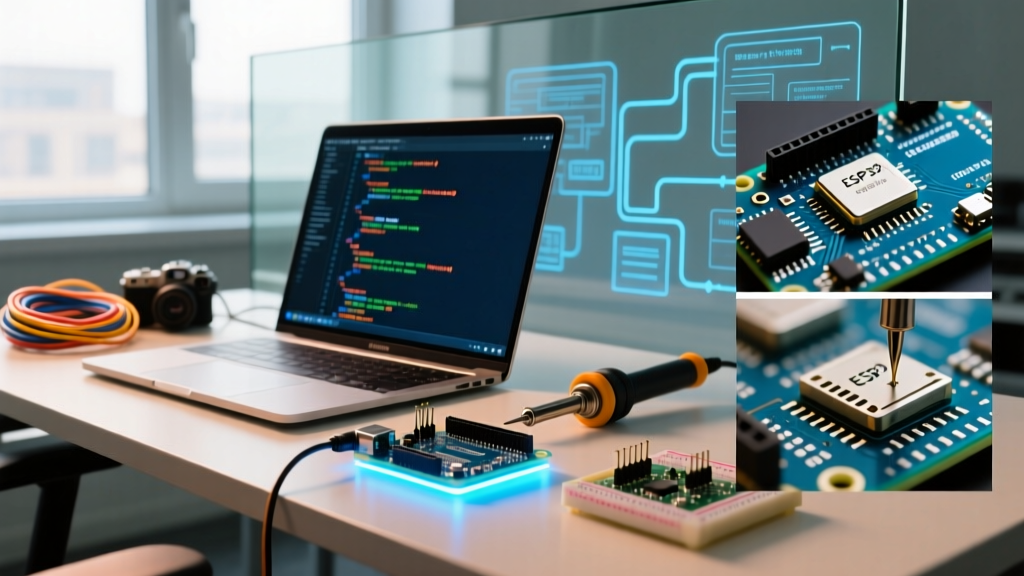
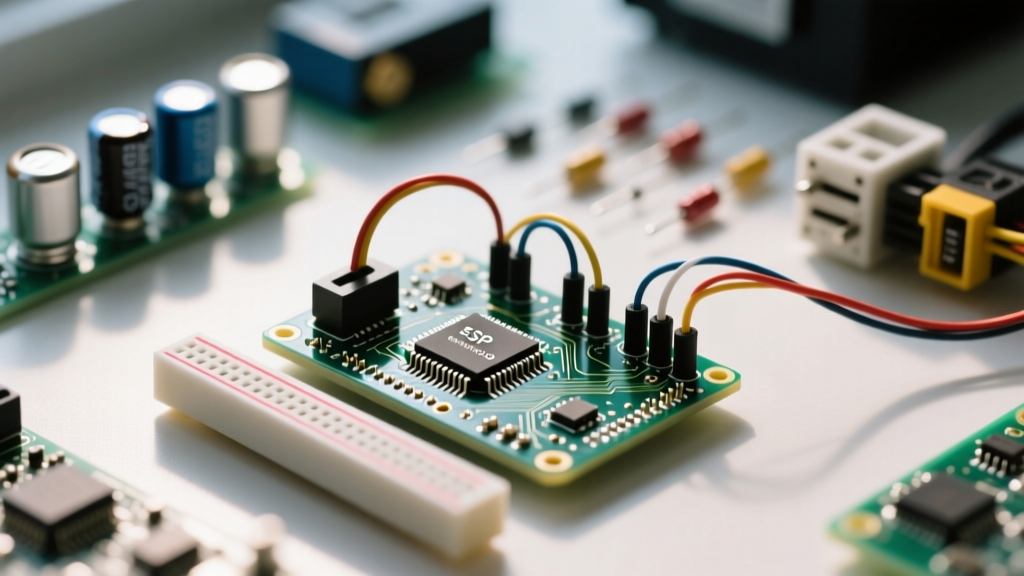
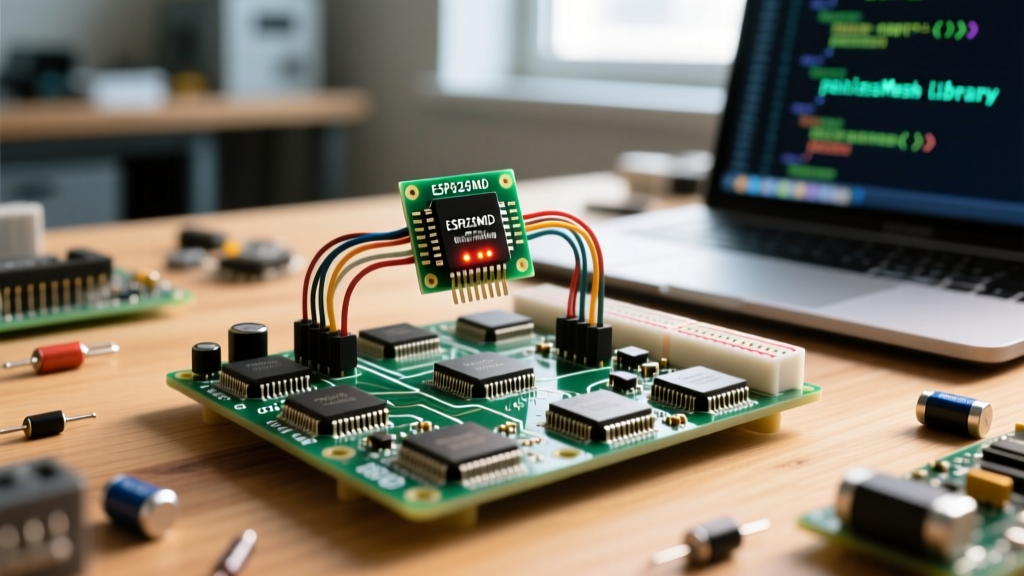
When engineers and hobbyists ask how to use esp8266mod to make mesh to transfer data, there is often a fundamental misunderstanding of the hardware. The 'ESP8266MOD' is not a specific silicon chip; it is the regulatory FCC/CE marking printed on the metal RF shield of the AI-Thinker ESP-12E and ESP-12F modules. Underneath that shield lies the ESP8266EX SoC paired with 4MB of SPI flash. Understanding this distinction is critical because the ESP-12F variant includes an improved PCB antenna trace that offers slightly better RX sensitivity (-91dBm) compared to the older ESP-12E, directly impacting your mesh node-to-node range.
Creating a true mesh network—where data dynamically routes through intermediate nodes to reach a gateway—requires bypassing the traditional Wi-Fi TCP/IP stack. Standard Wi-Fi mesh protocols like 802.11s are computationally heavy and poorly supported on the ESP8266's single-core 80MHz architecture. Instead, professional IoT deployments rely on connectionless MAC-layer protocols to achieve low-latency, multi-hop data transfers.
Protocol Selection: ESP-NOW vs. painlessMesh
To build a reliable communication setup, you must choose the right underlying protocol. The two dominant approaches for the ESP8266MOD are Espressif's proprietary ESP-NOW and the community-driven painlessMesh library.
| Feature | ESP-NOW (Custom Routing) | painlessMesh (TCP/IP) | ESP-WIFI-MESH |
|---|---|---|---|
| Underlying Layer | 802.11 Action Frames (MAC) | TCP/UDP over Wi-Fi AP/STA | 802.11 MAC (Espressif SDK) |
| Max Payload | 250 Bytes per packet | ~1400 Bytes (MTU limited) | 1400+ Bytes |
| Latency (Node-to-Node) | 10ms - 20ms | 100ms - 500ms | 50ms - 150ms |
| Power Consumption | Ultra-Low (can sleep between TX) | High (keeps Wi-Fi AP active) | Moderate |
| Hardware Compatibility | ESP8266 & ESP32 | ESP8266 & ESP32 | ESP32 Only |
For sensor data, telemetry, and control signals, ESP-NOW is vastly superior. It operates by injecting raw action frames directly into the Wi-Fi MAC layer, completely bypassing the WPA2 handshake and DHCP processes. If you need to transfer large files or require a plug-and-play JSON API without writing routing logic, painlessMesh is the better, albeit heavier, alternative.
Hardware Preparation: Powering the RF Stage
Before writing a single line of routing code, you must address the most common failure mode in ESP8266MOD mesh deployments: brownout resets. The module draws an average of 80mA, but during 802.11b/g/n transmission bursts, current spikes can hit 350mA. If your power delivery network (PDN) has high impedance, the voltage will droop below 2.8V, triggering the hardware Watchdog Timer (WDT) and resetting the node mid-transfer.
Expert Hardware Rule: Never rely on a standard breadboard AMS1117-3.3 LDO for mesh nodes. The AMS1117 requires a minimum load and has poor transient response. Use a switching buck converter like the TPS62160 or an AP2112K-3.3 LDO, and place a 10µF tantalum capacitor alongside a 0.1µF ceramic capacitor exactly 2mm from the VCC and GND pins of the ESP-12F module.
Step-by-Step Communication Setup Using ESP-NOW
To use the ESP8266MOD to make mesh to transfer data via ESP-NOW, we must configure the Wi-Fi radio to a static channel and initialize the MAC-layer peer registry. Below is the architectural setup required in the Arduino IDE using the ESP8266 Arduino Core.
1. Initializing the Radio and Channel Alignment
ESP-NOW requires all participating nodes to operate on the exact same 2.4GHz Wi-Fi channel. Channel 1 (2.412 GHz) is generally preferred for mesh networks due to its lower attenuation through obstacles compared to Channel 11.
#include <ESP8266WiFi.h>
#include <espnow.h>

void setup() {
  WiFi.mode(WIFI_STA);
  WiFi.disconnect(); // Crucial: prevents AP scanning interference
  WiFi.channel(1);   // Lock to Channel 1

  if (esp_now_init() != 0) {
    Serial.println('ESP-NOW Init Failed');
    ESP.restart();
  }
}
2. Implementing the Mesh Routing Logic (Flood Routing)
ESP-NOW is inherently a point-to-point or point-to-multipoint (broadcast) protocol. It does not natively route packets across multiple hops. To create a mesh, you must implement a Flood Routing Algorithm with Time-To-Live (TTL) and Sequence IDs.
- Sequence ID: Every transmitted payload must include a unique 16-bit sequence number generated by the origin node.
- TTL (Time-To-Live): Set a starting TTL (e.g., 5). Every time an intermediate ESP8266MOD receives and forwards the packet, it decrements the TTL by 1.
- Deduplication Cache: Each node maintains a small circular buffer of the last 20 Sequence IDs. If a node receives a packet with an ID already in the cache, it drops it. This prevents infinite broadcast storms that would crash the 2.4GHz spectrum.
By registering the broadcast MAC address (0xFF, 0xFF, 0xFF, 0xFF, 0xFF, 0xFF) as an ESP-NOW peer, your node can blindly forward data to all neighbors, relying on the Sequence ID logic to ensure the data eventually reaches the gateway without looping.
Securing the Data Transfer Payload
Because ESP-NOW bypasses WPA2, your data is transmitted in plaintext by default. For industrial or outdoor mesh setups, you must enable AES-128 encryption. The Espressif ESP-NOW API supports two types of keys:
- PMK (Primary Master Key): A 16-byte global key hardcoded into all mesh nodes. It is used to encrypt the LMK.
- LMK (Local Master Key): A unique 16-byte key assigned to specific peers.
For a simple sensor mesh, setting a global PMK across all ESP8266MOD nodes is sufficient to prevent packet sniffing and unauthorized injection. Ensure you call esp_now_set_pmk() before registering any peers.
Real-World Failure Modes and RF Debugging
Even with perfect code, physical layer (PHY) issues will disrupt your mesh. Here is how to debug the most common ESP8266MOD communication failures:
The Hidden Node Problem
In a 2.4GHz mesh, Node A might be able to hear the Gateway, and Node B might hear Node A, but Node B cannot hear the Gateway. If Node B transmits while the Gateway is transmitting to Node A, a collision occurs. Unlike standard Wi-Fi, ESP-NOW does not use RTS/CTS (Request to Send / Clear to Send) handshake frames. Solution: Implement a randomized backoff delay (e.g., random(10, 50) milliseconds) before an intermediate node forwards a packet. This desynchronizes re-transmissions and drastically reduces MAC-layer collisions.
Antenna Keep-Away Zones
The ESP-12F module features a meandering PCB antenna on the top edge. A fatal mistake in custom PCB design is placing ground planes, copper pours, or metallic enclosures within 5mm of this antenna edge. Doing so will detune the antenna, dropping your mesh range from 100 meters (line of sight) to under 15 meters. Always mill out the ground plane directly beneath and in front of the antenna trace.
Conclusion
Learning how to use ESP8266MOD to make mesh to transfer data requires shifting your mindset from traditional TCP/IP networking to raw MAC-layer manipulation. By leveraging ESP-NOW, enforcing strict RF power delivery hardware standards, and implementing a custom Sequence-ID flood routing algorithm, you can build a highly resilient, low-latency mesh network that outperforms standard Wi-Fi solutions in both power efficiency and connection speed.