
The Evolution of ChromeOS for Embedded Development
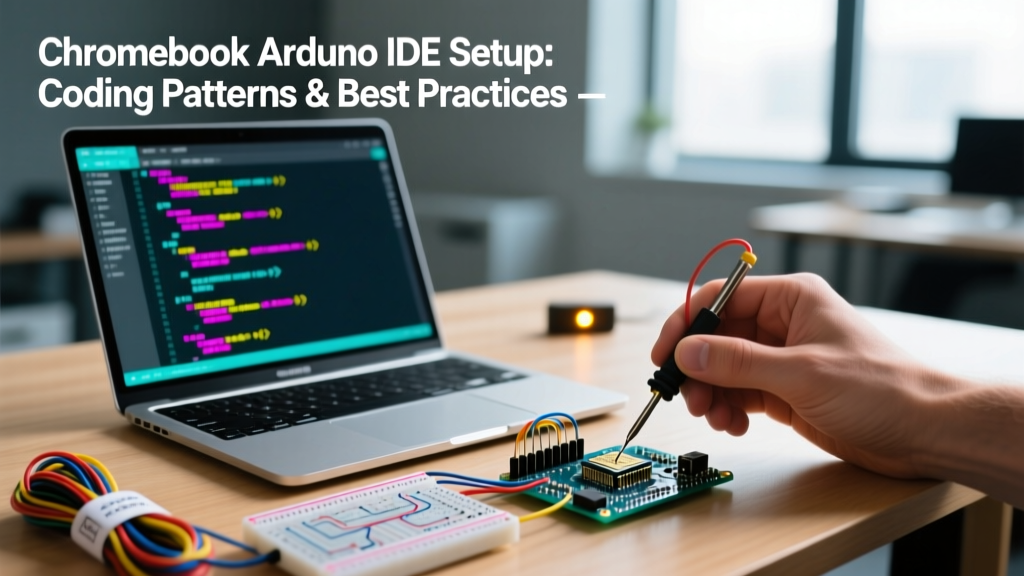
The perception of Chromebooks as mere web-browsing terminals is outdated. With the maturation of the Crostini Linux container and the introduction of high-performance ARM64 and x86_64 silicon (like the MediaTek Kompanio 1300T and Intel Core i3-1215U), the Chromebook Arduino IDE workflow has become a highly viable, lightweight environment for microcontroller development. However, developing on ChromeOS introduces unique architectural constraints regarding USB passthrough, VM-bound serial communication, and eMMC storage limits.
This guide explores advanced coding patterns, environment configurations, and best practices to maximize your efficiency when writing, compiling, and deploying firmware from a Chromebook in 2026.
Architectural Choice: Web Editor vs. Linux (Crostini) vs. CLI
Before writing a single line of C++, you must select the right compilation environment. The Chromebook Arduino IDE ecosystem offers three distinct paths, each with specific trade-offs regarding RAM usage, offline capability, and toolchain compatibility.
| Environment | Offline Capable | RAM Overhead | Best Use Case | ARM64 Compatibility |
|---|---|---|---|---|
| Arduino Web Editor | No (Cloud) | Low (Browser Tab) | Quick prototyping, zero-setup | Native (Cloud Compiled) |
| Linux Desktop IDE (AppImage/Deb) | Yes | High (800MB+) | Complex projects, custom cores | Requires x86_64 or specific ARM builds |
| arduino-cli (Terminal) | Yes | Minimal (<50MB) | CI/CD, headless, low-RAM devices | Native ARM64 binaries available |
Overcoming the Crostini USB Passthrough Bottleneck
The most common failure point for developers using the native Chromebook Arduino IDE Linux app is serial port invisibility. ChromeOS isolates the Linux container inside a lightweight VM (LXD). USB devices connected to the Chromebook are not automatically mapped to the container.
Step-by-Step USB Mapping
- Connect your MCU (e.g., ESP32-S3 or Arduino Nano RP2040 Connect) via USB-C.
- Navigate to
chrome://os-settings/crostini/sharedUsbDevicesin your Chrome browser. - Toggle the switch next to your specific USB Serial Device (often listed by its VID/PID or chipset name like 'CP2102' or 'CH340').
- Open the Linux Terminal and verify the mapping:
ls -l /dev/ttyACM* /dev/ttyUSB*
Critical Permission Fix: Crostini maps the USB device, but the default user lacks dialout permissions, resulting in 'Access Denied' errors during upload. Run sudo usermod -a -G dialout $USER and restart the Linux container to apply the group policy.
Code Pattern: Headless Workflows with arduino-cli
Running the full Java-based Arduino IDE 2.x on a budget 4GB RAM Chromebook (like the Acer Chromebook Spin 311) often leads to swap thrashing and UI freezing. The ultimate best practice for resource-constrained Chromebooks is adopting a headless coding pattern using arduino-cli.
Installing the ARM64 CLI
For ARM-based Chromebooks, download the native ARM64 build to avoid x86 emulation overhead. According to the official arduino-cli documentation, you can automate this via bash:
curl -fsSL https://raw.githubusercontent.com/arduino/arduino-cli/master/install.sh | BINDIR=~/.local/bin sh
export PATH="$PATH:$HOME/.local/bin"
arduino-cli core update-index
Pattern: Makefile-Driven Compilation
Instead of relying on the IDE's GUI to manage board states, define your build parameters in a Makefile or shell script. This ensures reproducible builds and allows you to code in lightweight, native ChromeOS Linux editors like VS Code (Code-OSS) or Neovim.
# build_and_flash.sh
BOARD="esp32:esp32:esp32s3"
PORT="/dev/ttyACM0"

arduino-cli compile --fqbn $BOARD --output-dir ./build ./src
arduino-cli upload -p $PORT --fqbn $BOARD ./build
Code Pattern: Modular Sketch Design for Cloud Sync
If you prefer the Arduino Web Editor for its seamless cloud sync across devices, you must adapt your coding patterns to mitigate browser memory limits and sync latency. The Web Editor struggles with monolithic .ino files exceeding 2,000 lines, often resulting in WebSocket sync timeouts.
The Hardware Abstraction Layer (HAL) Pattern
Break your firmware into discrete .h and .cpp tabs. This not only improves sync reliability but enforces strict separation of concerns.
- main.ino: Contains only
setup(),loop(), and high-level state machine logic. - sensors.cpp / .h: Handles I2C/SPI initialization and non-blocking data polling.
- comms.cpp / .h: Manages WiFi/Bluetooth stacks and MQTT payloads.
By isolating hardware-specific libraries (like Wire.h or SPI.h) into separate compilation units, the Web Editor's background parser operates significantly faster, reducing the 'Saving to Cloud' lag that plagues large single-file sketches.
Serial Debugging Patterns in a VM Environment
The native Arduino IDE Serial Monitor and Plotter rely on X11/Wayland forwarding through the Sommelier proxy in Crostini. At high baud rates (e.g., 921600 for ESP32 logging), this VM boundary can introduce latency, drop bytes, or cause the plotter to crash.
Best Practice: Terminal-Based Telemetry
Bypass the GUI serial monitor entirely. Use native Linux terminal tools to capture and log data directly to the ChromeOS file system. This is crucial for long-term reliability testing where the Chromebook lid might be closed or the screen turned off.
# Install picocom for low-latency serial reading
sudo apt install picocom

# Connect and log output to a timestamped file
picocom -b 115200 /dev/ttyACM0 | tee "sensor_log_$(date +%F_%T).txt"
This pattern ensures zero UI overhead and provides a raw, unformatted text file that can be easily parsed later using Python or imported into data analysis tools.
Managing eMMC Storage Constraints
Many Chromebooks feature 64GB or 128GB eMMC storage, which is shared between ChromeOS, Android apps, and the Linux container. The Arduino IDE's board manager and library manager can quickly consume 5GB to 10GB of space, particularly when installing multiple ESP32, STM32, and Teensy core packages.
The Symlink Offload Strategy
To prevent the Linux container from exhausting the primary partition, offload your Arduino15 directory (where cores and tools are stored) to an external microSD card formatted as ext4 (do not use exFAT, as it lacks proper symlink and permission support required by the Linux toolchains).
- Format a high-endurance microSD card to
ext4using the ChromeOS Files app or Linuxmkfs.ext4. - Move the existing configuration folder:
mv ~/.arduino15 /media/removable/sdcard/ - Create a symbolic link:
ln -s /media/removable/sdcard/.arduino15 ~/.arduino15
This pattern keeps your internal eMMC free for OS operations while allowing you to hoard as many board definitions and third-party libraries as your SD card can hold. For more on managing Linux environments on ChromeOS, refer to the official ChromeOS Linux development guidelines.
Handling ARM64 Toolchain Quirks
A critical edge case in 2026 is the proliferation of ARM-based Chromebooks. If you are using the native Linux IDE on an ARM64 device, you may encounter 'Exec format error' when compiling for older AVR boards. This happens because some third-party board managers only package x86_64 versions of avr-gcc.
The Fix: Always verify that the board package you are installing via the JSON URL supports linuxaarch64. If a specific legacy core lacks ARM support, you must either use the cloud-based Web Editor (which compiles on x86 servers) or manually compile the toolchain from source using the Arduino software repository guidelines. Alternatively, stick to modern, officially supported cores like the Arduino megaAVR or ESP32, which maintain robust ARM64 toolchain binaries.
Summary of Chromebook Best Practices
Mastering the Chromebook Arduino IDE requires shifting from a traditional desktop mindset to a container-aware workflow. By leveraging arduino-cli for headless compilation, utilizing terminal-based serial logging to bypass VM overhead, and implementing strict modular code patterns, you can transform a lightweight Chromebook into a powerhouse for embedded systems engineering.