
The Audio-Reactive Upgrade: Why Your ESP and Mic Choice Matters
Building an audio-reactive LED installation is one of the most rewarding projects in the DIY electronics space. However, when makers search for how to add microphone to WLED ESP setups, they frequently hit a wall of conflicting wiring diagrams and unresponsive LED animations. The root cause almost always traces back to hardware incompatibility—specifically, pairing the wrong microphone module with the wrong microcontroller.
As of 2026, the WLED ecosystem has heavily optimized its AudioReactive usermod for I2S digital microphones paired with ESP32 boards. While older tutorials suggest using analog microphones with the ESP8266, the ESP32's Analog-to-Digital Converter (ADC) is notoriously noisy, introducing a 100mV peak-to-peak noise floor that translates into 'jittery' or 'pumping' LED effects when the room is quiet. To achieve studio-grade audio reactivity, bypassing the ADC entirely via a digital I2S interface is mandatory.
In this kit and equipment roundup, we evaluate the best microphone modules, pre-wired harnesses, and acoustic enclosures to elevate your WLED build from a noisy novelty to a professional-grade reactive light show.
2026 Module Roundup: I2S Digital vs. Analog Amplified
Before selecting a kit, it is crucial to understand the hardware landscape. Below is a technical comparison of the three most common microphone modules used in WLED community builds.
| Module | Interface | Target MCU | Signal-to-Noise (SNR) | WLED Compatibility | Avg. Price |
|---|---|---|---|---|---|
| INMP441 | I2S Digital | ESP32 | 61 dB | Native (Excellent) | $3.50 - $6.00 |
| SPH0645LM4H | I2S Digital | ESP32 | 65.5 dB | Native (Excellent) | $5.00 - $8.00 |
| MAX9814 | Analog (ADC) | ESP8266 / ESP32 | N/A (AGC Pumping) | Legacy (Requires Filtering) | $4.00 - $7.00 |
1. The INMP441 I2S Digital Mic (Top Pick for ESP32)
The INMP441 remains the undisputed champion for WLED audio-reactive builds. Because it outputs a digital I2S stream, it completely sidesteps the ESP32's noisy ADC. The module features an omnidirectional MEMS capsule with a -26dBFS sensitivity, meaning it captures both subtle acoustic guitar plucks and heavy bass drops without clipping.
Critical E-E-A-T Warning: The INMP441 has an L/R pad on the bottom of the PCB. If you wire this pad to GND, the microphone outputs data on the Left channel (when the Word Select pin is LOW). If you wire it to VDD, it outputs on the Right channel. WLED's default I2S configuration expects the audio data on the Left channel. Failing to bridge the L/R pad to GND is the number one reason makers report 'flatlined' audio reactions despite correct GPIO wiring.
2. SPH0645LM4H (The High-Fidelity Alternative)
If you are building a high-end installation where acoustic accuracy is paramount, the SPH0645LM4H offers a superior 65.5 dB SNR. It is slightly more expensive and often sold as a breakout board by premium hobbyist shops. It shares the exact same I2S pinout and WLED configuration as the INMP441, making it a drop-in upgrade for audiophile-grade LED sculptures.
3. MAX9814 Analog Amplifier (The Legacy Option)
The MAX9814 features an integrated Automatic Gain Control (AGC) amplifier. While this sounds great on paper, the AGC aggressively ramps up the gain during quiet moments, amplifying background room noise and causing the LEDs to 'breathe' or pulse randomly when no music is playing. We only recommend this kit if you are strictly limited to an ESP8266 board, as the I2S peripherals required for digital mics are largely unavailable on the older silicon.
Pinout & Wiring Matrix for WLED Audio Reactivity
When wiring an I2S microphone to an ESP32 DevKit V1 (or similar 30/38-pin boards), you must adhere to the default GPIO mappings expected by the WLED AudioReactive usermod. While these can be remapped in the software, using the defaults saves significant debugging time.
| INMP441 Pin | ESP32 GPIO | Function & Notes |
|---|---|---|
| VDD | 3V3 | Do NOT use 5V. The INMP441 operates strictly at 3.3V logic and power. |
| GND | GND | Common ground reference. |
| L/R | GND | Must be tied to GND to force Left-Channel output for WLED. |
| WS | GPIO 15 | Word Select (Left/Right Clock). |
| SCK | GPIO 14 | Serial Clock (BCLK). |
| SD | GPIO 32 | Serial Data (DOUT). Ensure this pin supports ADC/I2S input. |
Pro-Tip: Keep I2S wire runs under 15cm (6 inches). High-frequency digital clock lines (SCK and WS) are susceptible to electromagnetic interference (EMI) from nearby LED strip power supplies. Use twisted-pair wiring or shielded cable if routing through a metal chassis.
Firmware Configuration: Enabling Audio in WLED
Hardware is only half the battle. To enable the microphone in WLED, you must be running a firmware version compiled with the AUDIO_REACTIVE usermod. As of WLED 0.14 and newer nightly builds, audio-reactive features are often included in the standard ESP32 binaries available via the WLED Audio-Reactive Wiki.
Step-by-Step UI Configuration
- Step 1: Navigate to Config > LED Preferences and ensure your LED strip is properly configured and displaying test patterns.
- Step 2: Go to Config > Usermods. Locate the AudioReactive section.
- Step 3: Set the Audio Source to I2S.
- Step 4: Verify the pin mappings match the matrix above (WS: 15, SCK: 14, SD: 32).
- Step 5: Adjust the Gain slider. Start at 1.0x and play a bass-heavy track. If the LEDs max out instantly, lower the gain. If they barely react, increase it to 2.0x or 3.0x.
Acoustic Tuning & Troubleshooting Flatlined Reactions
Even with perfect wiring, environmental factors can ruin audio reactivity. Here is a troubleshooting framework based on community data from the WLED Discourse Forums.
1. The 'Flatline' Effect (LEDs Only React to Bass)
Cause: The microphone is physically coupled to a surface vibrating with low-frequency resonance (like a subwoofer enclosure), or the WLED 'Frequency Bands' effect is misconfigured. Solution: Isolate the INMP441 module using a small 3D-printed acoustic baffle or suspend it in hot glue. In WLED, switch from the 'Volume Reactive' effects to 'Frequency Matrix' or 'Gravimeter' to visualize mid and high frequencies.
2. Random Strobing in Silence
Cause: EMI from the LED strip's PWM data line or switching power supply is inducing noise into the I2S data line. Solution: Route the microphone wires away from the 5V/12V LED power rails. Add a 100nF ceramic decoupling capacitor directly across the VDD and GND pins on the INMP441 breakout board to filter high-frequency switching noise.
3. Compilation Errors in PlatformIO
If you are compiling WLED from source via PlatformIO and the audio usermods are missing, you must explicitly enable them in your platformio_override.ini file. Add the following build flags:
-D USERMOD_AUDIOREACTIVE
-D AUDIO_REACTIVE_PIN_WS=15
-D AUDIO_REACTIVE_PIN_SCK=14
-D AUDIO_REACTIVE_PIN_SD=32
For deeper technical specifications regarding the ESP32's I2S peripheral limitations and clock dividers, consult the official Espressif I2S API Documentation.
Final Verdict: Which Kit Should You Buy?
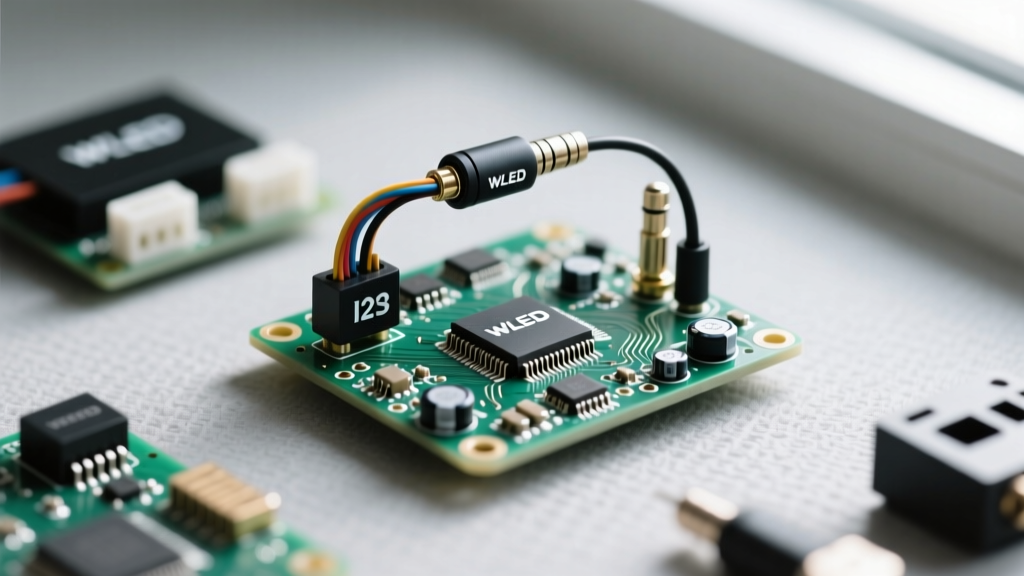
If you are building a permanent architectural installation or a high-end cosplay prop, abandon analog modules entirely. Purchase a bare INMP441 breakout board and wire it directly to an ESP32 using the I2S matrix provided. For beginners seeking a plug-and-play experience, look for 'WLED Audio Shield' kits on Tindie or Etsy, which integrate the ESP32, INMP441, and a level-shifter for the LED data line onto a single, acoustically isolated PCB. By prioritizing digital I2S audio capture, your WLED setup will achieve the fluid, latency-free reactivity that separates professional light shows from amateur DIY projects.