
The Workbench Verdict: Why WLED Dominates DIY Lighting
When building custom lighting installations, holiday displays, or ambient room setups, the software controlling your pixels is just as critical as the hardware. If you have been asking yourself what is WLED and how it fits into your electronics workbench, you are looking at the undisputed heavyweight champion of open-source addressable LED control. Originally developed by the developer known as Aircoookie, WLED transforms a humble $5 microcontroller into a commercial-grade lighting engine. As a software tool, it scores a near-perfect rating for DIYers and professionals alike, offering a polished web interface, real-time audio reactivity, and deep smart home integration without requiring you to write a single line of C++ code.
In this tool review and hardware guide, we will break down exactly how WLED works, compare it to alternative lighting control methods, and provide a professional-grade Bill of Materials (BOM) to ensure your first WLED node is stable, bright, and free of signal degradation.
What Is WLED? Under the Hood of the Firmware
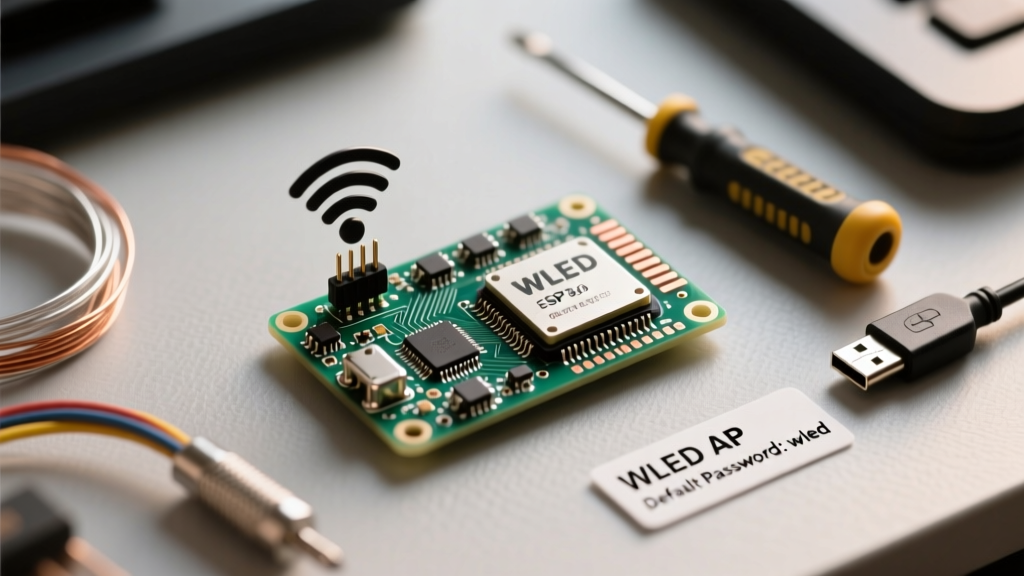
At its core, WLED is a free, open-source firmware designed specifically for the ESP8266 and ESP32 families of Wi-Fi-enabled microcontrollers. It acts as a bridge between your home network and addressable LED strips (like WS2812B, SK6812, and APA102). Instead of manually coding timing loops for data lines using raw libraries, WLED provides a localized web server hosted directly on the chip.
Through this web UI, you can access over 100 built-in lighting effects, create custom color palettes, schedule timers, and integrate with platforms like Home Assistant, MQTT, and E1.31 (sACN). According to the official WLED documentation, the firmware is optimized to handle up to 1,500 LEDs on an ESP32, making it robust enough for large-scale architectural lighting.
Supported Microcontrollers & LED Chipsets
Choosing the right brain for your WLED node is critical. Here is how the supported hardware stacks up for modern builds:
| Microcontroller | Max LEDs (Approx) | Wi-Fi / Bluetooth | Best Use Case |
|---|---|---|---|
| ESP8266 (NodeMCU) | ~300 | Wi-Fi Only | Small desktop accents, basic strips |
| ESP32 (WROOM-32) | ~1,500 | Wi-Fi + BLE | Standard room lighting, audio-reactive builds |
| ESP32-S3 | ~2,000+ | Wi-Fi + BLE 5.0 | Massive installations, multi-pin parallel output |
WLED vs. The Alternatives: A Tool Comparison
To understand the value of WLED as a tool, we must compare it to the other methods electronics hobbyists use to drive addressable LEDs.
| Tool / Method | Type | Learning Curve | Real-Time Control | Cost |
|---|---|---|---|---|
| WLED | Standalone Firmware | Low (Web UI) | Excellent (App / Web / API) | $ (Hardware only) |
| FastLED / NeoPixel | C++ Libraries | High (Coding required) | Poor (Requires custom UI coding) | $ (Hardware only) |
| xLights + Falcon | Sequencing Software + Pro Hardware | Very High | Excellent (DMX / E1.31) | $$$ (Expensive controllers) |
While FastLED is incredible for bespoke, hardcoded animations, it lacks a user interface. Conversely, commercial Falcon controllers are industry standards for massive Christmas light shows but cost hundreds of dollars. WLED sits in the perfect middle ground: it can receive E1.31 data from xLights for holiday shows, but operates independently as a smart-home appliance the rest of the year.
Building Your First WLED Node: Hardware Recommendations
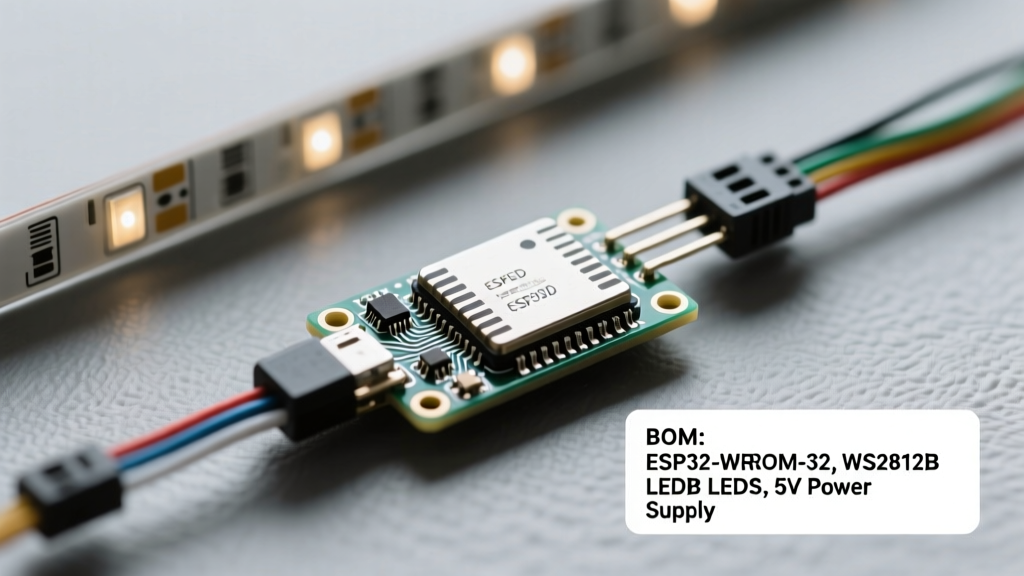
A common failure mode for beginners is pairing WLED with inadequate power supplies or relying on breadboard jumper wires for high-current data lines. For a reliable, permanent installation, we recommend the following professional-grade BOM:
- Microcontroller Board: Skip the bare DevKits and invest in a purpose-built WLED board like the QuinLED-Dig-Uno or Dig-Quad. These boards include built-in fuses, terminal blocks for power injection, and onboard logic level shifters.
- Power Supply (PSU): Mean Well LRS-300-5 (5V, 60A). Addressable LEDs draw massive current. A standard WS2812B strip draws ~60mA per pixel at full white. A 5-meter strip of 60LED/m (300 LEDs) will pull 18 Amps. Never rely on USB power.
- LED Strip: BTF-Lighting WS2812B (5V) or WS2811 (12V). For outdoor or long-run projects, 12V WS2811 strips are superior as they suffer less voltage drop over distance.
- Wiring: 18 AWG or 16 AWG silicone wire for power injection; 22 AWG for data lines.
The 3.3V Logic Trap: Avoiding Signal Degradation
If you take away one critical piece of E-E-A-T advice from this review, let it be this: Do not connect an ESP32 data pin directly to a 5V LED strip without a level shifter.
The ESP32 operates on 3.3V logic. The WS2812B chipset requires a data-high signal of at least 0.7 × VDD. If your strip is powered by 5V, the data-high threshold is 3.5V. Feeding it a 3.3V signal puts the data line in an undefined state. While it might 'work' on your desk due to voltage leakage or USB overvoltage, it will cause random flickering, green flashes, and signal loss in permanent installations.
The Solution: Use an SN74AHCT125 or SN74HCT245 logic level shifter. These chips take the 3.3V signal from the ESP32 and step it up to a clean 5V signal using the main 5V power rail, ensuring rock-solid data transmission to the first pixel.
Advanced Features: Audio Reactive and Sync Groups
Where WLED truly shines as a modern tool is in its advanced feature sets, particularly Audio Reactive mode. By adding an INMP441 I2S MEMS Microphone to an ESP32, WLED can process ambient sound locally and map frequencies to LED effects in real-time. Because the audio processing happens on the ESP32's secondary core, there is zero latency and no network bottleneck.
Furthermore, WLED supports 'Sync Groups' over UDP. If you have four WLED controllers in a room, you can designate one as the master and the others as receivers. When the master reacts to music or changes color, the others mirror the effect instantly, creating a cohesive, multi-node environment without relying on cloud servers or MQTT brokers.
Final Recommendation: Who Should Use WLED?
After extensive workbench testing, reviewing the WLED GitHub Repository, and deploying dozens of nodes, our verdict is clear. WLED is an essential tool for anyone working with addressable LEDs. It eliminates the tedious math of timing protocols and replaces it with an intuitive, powerful UI.
Use WLED if: You want smart-home integrated ambient lighting, PC monitor backlighting (via Hyperion/WLED integration), or scalable holiday lighting that works with Home Assistant.
Look elsewhere if: You are building a highly specific, non-standard art installation that requires custom mathematical mapping not supported by WLED's 2D matrix features (in which case, raw FastLED on a Teensy 4.1 is your best bet).
By pairing WLED with proper power injection, a logic level shifter, and a quality Mean Well power supply, you are not just building a DIY project; you are engineering a commercial-tier lighting system right from your home workbench.