
The Hidden Dangers of Voltage Measurement
A digital multimeter (DMM) is the most fundamental tool in an electrician or electronics technician's arsenal. However, learning how to measure voltage using multimeter devices is not just about reading a display; it is about managing lethal energy. According to the Electrical Safety Foundation International (ESFI), electrical incidents cause hundreds of workplace fatalities annually, many stemming from improper test equipment usage or a fundamental misunderstanding of transient overvoltages.
When you place multimeter probes into a live 480V industrial panel, you are bridging a high-energy circuit. If the meter lacks the proper internal clearance, or if the leads are degraded, the resulting arc flash can vaporize copper, generate temperatures exceeding 35,000°F, and cause fatal blast injuries. This guide focuses strictly on the safety protocols, equipment validation, and procedural best practices required to measure AC and DC voltage without compromising your life or your equipment.
The Foundation of Safe Measurement: Understanding CAT Ratings
Before you even touch a probe, you must verify your multimeter's Measurement Category (CAT) rating. The International Electrotechnical Commission (IEC) established CAT ratings to define a meter's ability to withstand transient voltage spikes (impulse voltages) that occur when inductive loads switch on or off, or when lightning strikes nearby power lines.
A common and fatal misconception is that a CAT III 600V meter and a CAT IV 600V meter offer the same protection because they share the same steady-state voltage rating. In reality, their impulse withstand capabilities are vastly different.
| CAT Rating | Steady-State Voltage | Impulse Withstand (Transient) | Real-World Application Zone |
|---|---|---|---|
| CAT II | 600V / 1000V | 4,000V / 6,000V | Single-phase receptacles, appliances, portable tools |
| CAT III | 600V / 1000V | 6,000V / 8,000V | Three-phase distribution, fixed motors, HVAC panels |
| CAT IV | 600V / 1000V | 8,000V / 12,000V | Utility service entrances, outdoor power lines, meter bases |
Source reference: For deeper insights into transient overvoltages, consult the Fluke Safety Center guidelines on IEC 61010 standards.
Pre-Flight Checklist: Inspecting Your Gear
Safety begins before the meter is turned on. A compromised test lead can turn a routine measurement into a severe shock hazard.
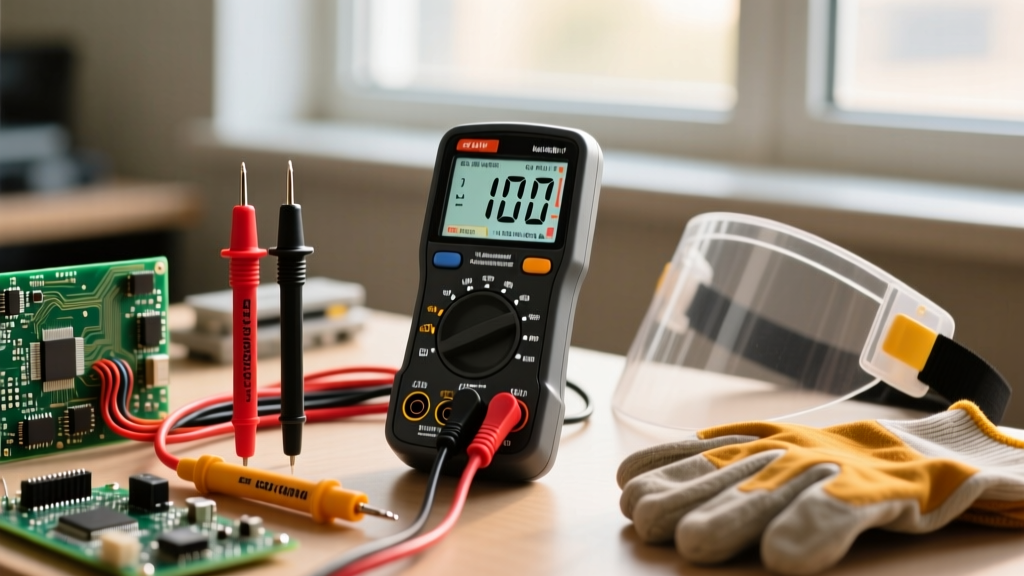
- Inspect Probe Insulation: Look for micro-tears, burns, or brittle spots on the silicone wire. If the insulation is compromised, discard the leads immediately. Never use electrical tape to repair a high-voltage probe.
- Verify Finger Guards: OSHA and NFPA 70E standards mandate the use of finger guards (the raised plastic barrier on the probe) to prevent your fingers from slipping onto the exposed metal tip when pushing the probe into a tight receptacle.
- Check the Internal Fuses: Premium safety meters (like the Fluke 87V or 117) utilize High Rupturing Capacity (HRC) fuses. These fuses are filled with special sand that quenches the plasma arc if the meter is accidentally subjected to a massive overcurrent event. If you are using a cheap, generic meter with a standard glass fuse, it can explode inside the casing during a fault.
- Examine the Probe Tips: Use shrouded or retractable tips when working in crowded panels to prevent accidental short-circuits between adjacent busbars.
The Golden Rule: The Live-Dead-Live Test
When working on circuits that must be de-energized for maintenance, verifying the absence of voltage is a critical safety step. However, a broken wire inside your multimeter lead could result in a false 'zero' reading, leading you to touch a lethal live conductor. To prevent this, the NFPA 70E Standard for Electrical Safety in the Workplace mandates the Live-Dead-Live test protocol:
- Live: Test your multimeter on a known live voltage source (e.g., a verified 120V outlet or a dedicated proving unit) to ensure the meter and leads are functioning correctly.
- Dead: Test the target circuit that you believe is de-energized. Verify all phase-to-phase and phase-to-ground combinations read zero.
- Live: Immediately return to the known live source to confirm the meter did not fail or blow its internal fuse during the second step.
Step-by-Step: How to Measure Voltage Using Multimeter Safely
With your gear inspected and your CAT rating verified for the environment, follow these precise steps for voltage measurement.
1. Measuring DC Voltage (Automotive, Solar, and Electronics)
DC voltage flows in a single direction. Polarity matters; reversing the probes won't typically cause a safety hazard on low-voltage systems, but it will yield a negative reading on the display.
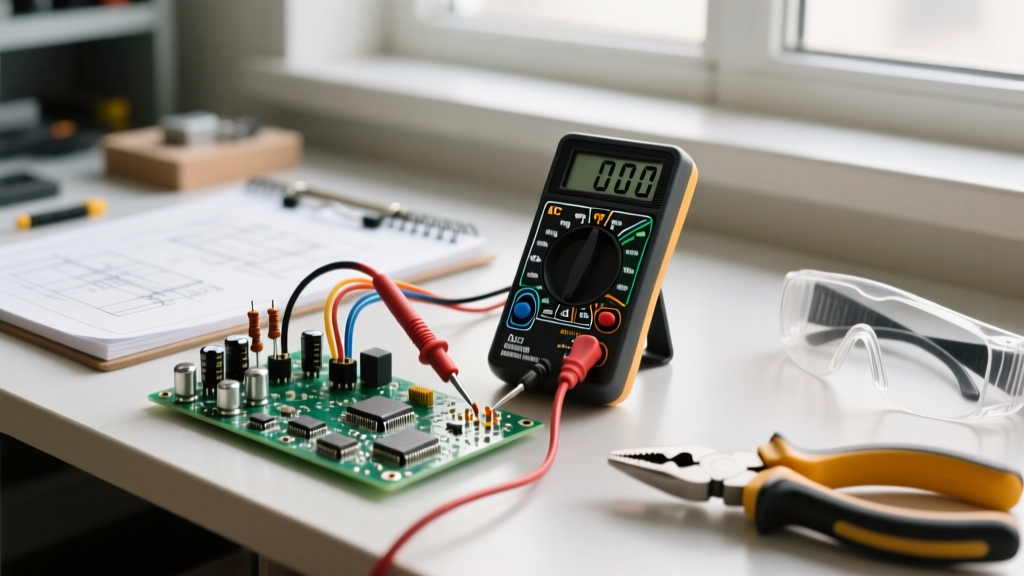
- Insert the black lead into the COM (Common) jack.
- Insert the red lead into the V/Ω (Voltage/Ohms) jack. Never use the Amps jack for voltage measurement.
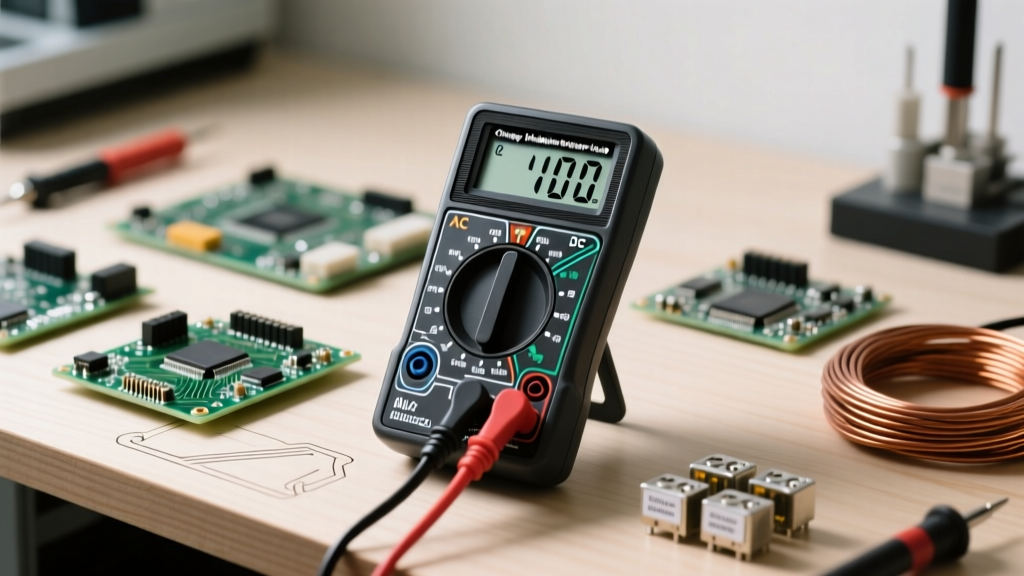
- Turn the dial to the DC Voltage setting (indicated by a 'V' with a straight line and dashed line beneath it).
- If your meter is not auto-ranging, select a range higher than your expected voltage (e.g., set to 20V DC when testing a 12V car battery).
- Connect the black probe to the ground or negative terminal, and the red probe to the positive terminal.
2. Measuring AC Voltage (Mains, HVAC, and Industrial Panels)
AC voltage alternates direction, meaning polarity does not matter for the reading. However, the safety risks are exponentially higher due to the potential for arc flashes and lethal shock.
- Verify your meter is rated for the specific CAT environment (e.g., CAT III for indoor 3-phase panels).
- Insert leads into COM and V/Ω.
- Turn the dial to AC Voltage (indicated by a 'V' with a wavy line).
- Employ the One-Hand Rule: Whenever possible, keep one hand behind your back or in your pocket. If you hold a probe in each hand and accidentally touch a live conductor, the current path will cross your chest and heart. By using one hand to probe and the other to secure the ground/reference (or using an alligator clip for the ground), you prevent a fatal transthoracic shock.
- Make firm contact with the test points. Do not let the probe tips slip.
Expert Warning: Never attempt to measure voltage while your test leads are plugged into the current (Amps or mA) jacks. The internal shunt for the Amps jack has near-zero resistance. Placing it across a voltage source creates a dead short, which will instantly trigger a massive arc flash and destroy the meter, potentially causing severe burns to the operator.
Common Fatal Errors and Troubleshooting
Even experienced technicians develop bad habits. Be vigilant against these common failures in voltage measurement:
- Ghost Voltages: When measuring long, ungrounded AC cables, capacitive coupling can cause a high-impedance DMM to read a 'ghost' voltage (often 40V to 90V) on a dead wire. Use a meter with a Low-Z (Low Impedance) mode, like the Fluke 117, to bleed off this phantom voltage and confirm the circuit is truly dead.
- Ignoring the Audible Alarm: Modern safety meters will emit a loud beep and display a warning if you attempt to turn the dial to Ohms or Continuity while the leads are detecting a live voltage. Never override or ignore this warning; it is preventing you from blowing the meter's internal fuse or causing a short.
- Using the Wrong PPE: A CAT IV meter will not protect you if your skin is the path to ground. Always consult OSHA's Electrical Safety guidelines to determine the required Arc Flash PPE category (cal/cm² rating) for the specific panel you are testing.
Final Thoughts on Multimeter Safety
Mastering how to measure voltage using multimeter equipment is a blend of theoretical knowledge and rigid physical discipline. Your multimeter is a window into the invisible forces of electricity, but that window must be made of bulletproof glass. Invest in a True-RMS, HRC-fused, properly CAT-rated meter from reputable manufacturers like Fluke, Klein Tools, or Amprobe. Inspect your leads before every single use, adhere strictly to the Live-Dead-Live protocol, and never let convenience override your personal safety.