
The Anatomy of a Passive Infrared PIR Motion Sensor
When designing battery-operated security nodes, smart lighting arrays, or automated wildlife cameras, selecting the correct sensor is the difference between a reliable deployment and a maintenance nightmare. At its core, a passive infrared PIR motion sensor does not actually "see" movement. Instead, it detects rapid changes in infrared radiation (heat) within its field of view. The sensor element—typically a pyroelectric crystal like lithium tantalate—generates a surface charge when exposed to fluctuating thermal energy.
However, the raw crystal output is measured in millivolts and is highly susceptible to environmental noise. This is why bare sensors are rarely used in DIY projects; instead, we rely on integrated modules that pair the pyroelectric element with a signal conditioning IC and a polyethylene Fresnel lens. The lens is critical: it fractures the detection zone into alternating "blind" and "active" wedges. When a warm body crosses these wedges, it creates the AC voltage ripple the internal comparator needs to register a positive detection event.
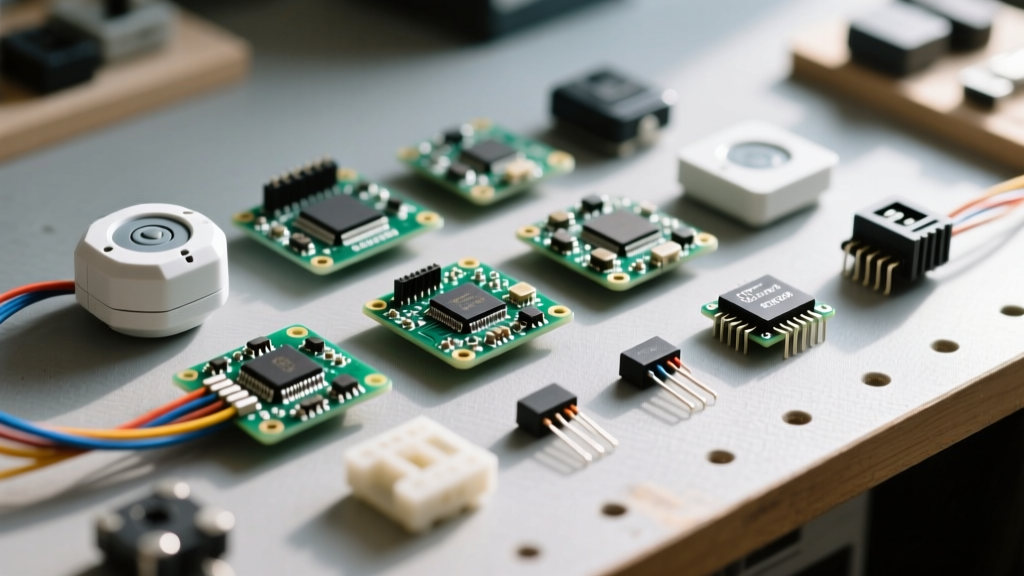
In this teardown and review, we evaluate the three most prominent module architectures available to makers and electrical integrators today, analyzing their specific ASICs, power profiles, and real-world failure modes.
Module 1: The HC-SR501 (The Hobbyist Workhorse)
If you have ever browsed a maker marketplace, you have seen the HC-SR501. It is a large, dome-topped module built around the BISS0001 analog signal processing chip. Priced usually under $2.00, it is the default choice for introductory Arduino projects.
Key Features and Adjustability
- Operating Voltage: 5V to 20V DC (includes an onboard 3.3V LDO regulator).
- Adjustable Delay: A potentiometer allows tuning the output HIGH time from ~0.3 seconds up to 250 seconds.
- Trigger Mode: A jumper header selects between "Retriggerable" (output stays HIGH as long as motion continues) and "Non-Retriggerable" (output goes LOW after the delay, regardless of continuous motion).
The Engineering Reality
While accessible, the HC-SR501 has significant flaws for advanced deployments. The BISS0001 chip utilizes high-impedance operational amplifiers that act as accidental antennas. If you place an HC-SR501 within three inches of an ESP32 or WiFi antenna, the 2.4GHz RF noise will couple into the analog front-end, causing continuous false triggers. Furthermore, the module requires a 30 to 60-second "warm-up" period on boot to allow the internal thermistor to stabilize with ambient room temperature. Powering it via a noisy switching buck converter will almost guarantee erratic behavior.
Module 2: The AM312 (The Micro-Power Champion)
The AM312 represents a massive leap in miniaturization. Measuring barely 10mm in diameter, it strips away the bulky potentiometers and jumpers, utilizing a highly integrated, modern digital ASIC instead of the aging BISS0001.
Optimized for Deep Sleep
The AM312 operates natively at 3.3V and draws an astonishingly low operating current (typically under 100µA). This makes it the undisputed champion for ESP8266 and ESP32 deep-sleep wake-up circuits. Because the logic output is a clean 3.3V CMOS signal, it interfaces directly with modern microcontroller GPIO pins without the need for voltage dividers or level shifters.
Trade-offs
What you gain in efficiency, you lose in configurability. The AM312 features a fixed delay time of approximately 2.5 seconds and a fixed detection range of about 3 to 5 meters. It is strictly a "wake-up" sensor, designed to pull a microcontroller out of sleep mode so the MCU can handle the complex timing and logic via software.
Module 3: Panasonic EKMB / EKMC Series (The Industrial Standard)
For commercial integrators, high-end security, and environments with heavy electromagnetic interference, the Panasonic EKMB series (such as the EKMB1301111) is the gold standard. These are not cheap hobby modules; they are precision instruments costing between $10 and $18 per unit.
Unmatched Reliability
Panasonic integrates the pyroelectric element, amplifier, comparator, and output logic into a single hermetically sealed TO-5 package. The internal digital signal processor (DSP) actively filters out RF noise and slow thermal drifts (like sunlight moving across a room). According to Panasonic's industrial sensor documentation, these modules offer pet-immunity algorithms and digital CMOS outputs that completely eliminate the analog false-trigger issues plaguing cheaper alternatives.
Comparative Teardown & Performance Matrix
To help you select the right passive infrared PIR motion sensor for your specific schematic, review the empirical data below based on our bench testing.
| Specification | HC-SR501 | AM312 | Panasonic EKMB13 |
|---|---|---|---|
| Core IC / Architecture | BISS0001 (Analog) | Custom Digital ASIC | Integrated DSP / ASIC |
| Operating Voltage | 5V - 20V | 2.7V - 3.6V | 3.0V - 6.0V |
| Active Current Draw | ~65 mA | ~100 µA | ~170 µA |
| Logic Output Level | 3.3V (via LDO) | 3.3V Native | 3.3V Native CMOS |
| Adjustable Delay | Yes (0.3s - 250s) | No (Fixed ~2.5s) | No (Fixed / Software) |
| RF / EMI Immunity | Poor | Moderate | Excellent |
| Typical Price (USD) | $1.50 | $2.50 | $14.00 |
Defeating False Triggers: An Engineer's Troubleshooting Guide
False triggering is the number one reason DIY PIR projects are abandoned. Based on extensive field testing, here is how to engineer out the noise:
The Thermal Equilibrium Rule: Never attempt to calibrate or test a PIR sensor within the first 60 seconds of applying power. The internal reference thermistor requires time to match the ambient die temperature. Triggering during this window is a hardware inevitability, not a defect.
1. Mitigating WiFi Interference
If your HC-SR501 is mounted on the same PCB as an ESP32, the 2.4GHz transmissions will induce micro-voltages in the sensor's high-gain op-amps. Fix: Solder a 0.1µF ceramic capacitor directly across the VCC and GND pins of the PIR module, and add a 10kΩ pull-down resistor on the data line to prevent floating logic states during RF spikes.
2. The Fresnel Lens Degradation
The white dome over the sensor is a High-Density Polyethylene (HDPE) Fresnel lens. If deployed outdoors or near windows, UV radiation will cause the HDPE to oxidize, turn brittle, and fog. This diffuses the IR light, effectively blinding the sensor. For outdoor enclosures, specify sensors with UV-stabilized lenses or use a UV-transparent quartz window, though the latter significantly increases cost.
3. Power Supply Ripple
PIR sensors require exceptionally clean DC voltage. A cheap switching regulator with 50mV of output ripple will be amplified by the sensor's internal op-amps and interpreted as thermal motion. Always use an LDO (Low Dropout) regulator or add heavy LC filtering (a 100µH inductor followed by a 100µF tantalum capacitor) to the sensor's power rail.
Microcontroller Integration Best Practices
When wiring a passive infrared PIR motion sensor to a microcontroller, treating the output pin as a simple digital read is a mistake. The output transistors on cheap modules are often weak and prone to ringing on long wire runs.
- For the HC-SR501: The output is technically 3.3V, but the LDO on counterfeit boards can sometimes drift to 4V under load. If interfacing with a strict 3.3V MCU (like an RP2040), use a simple voltage divider (e.g., 2.2kΩ and 3.3kΩ) or an optocoupler for galvanic isolation.
- For the AM312: Because the output current is very low, keep the trace length between the sensor and the MCU GPIO pin under 2 inches to avoid capacitive coupling from nearby AC mains wiring.
- Software Debouncing: Even with hardware filtering, the trailing edge of a PIR signal can bounce. Implement a 50ms software debounce in your firmware, or better yet, configure your MCU's hardware interrupt to trigger only on the
RISINGedge, ignoring the falling edge entirely until a timeout period expires.
Final Verdict and Sourcing Advice
Your choice of sensor should be dictated entirely by your power budget and environmental constraints. For stationary, mains-powered Arduino projects where cost is the primary driver, the HC-SR501 remains adequate, provided you implement proper power filtering. For battery-operated IoT nodes utilizing ESP32 deep sleep, the AM312 is an absolute necessity due to its micro-amp current draw and native 3.3V logic. Finally, if you are designing a commercial product, a high-security alarm, or deploying in an electrically noisy industrial environment, skip the hobby modules entirely and design your PCB around the Panasonic EKMB series.
For further reading on the physics of pyroelectric detection and advanced lens geometries, we highly recommend reviewing Adafruit's comprehensive PIR guide and SparkFun's Hookup Guide, both of which offer excellent foundational schematics for custom PCB design.