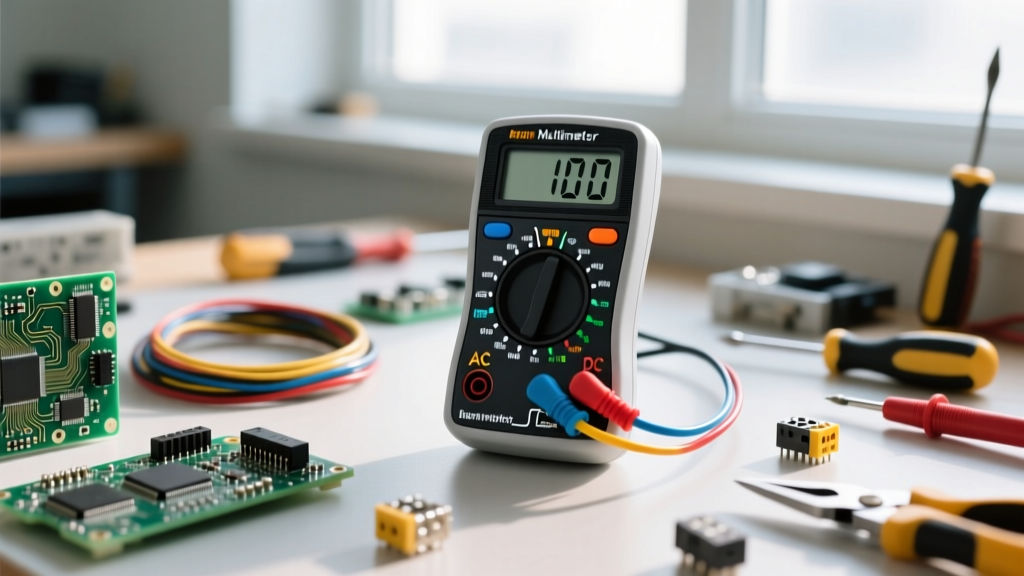

The Core Question: How to Measure Voltage With a Multimeter
Whether you are troubleshooting a dead wall outlet, diagnosing a vehicle battery, or prototyping a microcontroller circuit, knowing how to measure voltage with a multimeter is the most fundamental skill in electrical diagnostics. Voltage, essentially the electrical pressure pushing current through a circuit, dictates whether a component will operate correctly or fail catastrophically. However, the accuracy and safety of your reading depend entirely on the tool in your hand and your understanding of its internal architecture.
As a senior diagnostic technician, I often see hobbyists and even seasoned tradespeople misuse their digital multimeters (DMMs). They either rely on cheap, average-responding meters that misread non-linear loads, or they risk arc flashes by ignoring safety category (CAT) ratings. In this guide, we will break down the exact methodology for measuring AC and DC voltage, explore the hidden nuances of input impedance, and review the best multimeters on the market for voltage testing across different budget tiers.
Step 1: Dialing in the Correct Voltage Mode
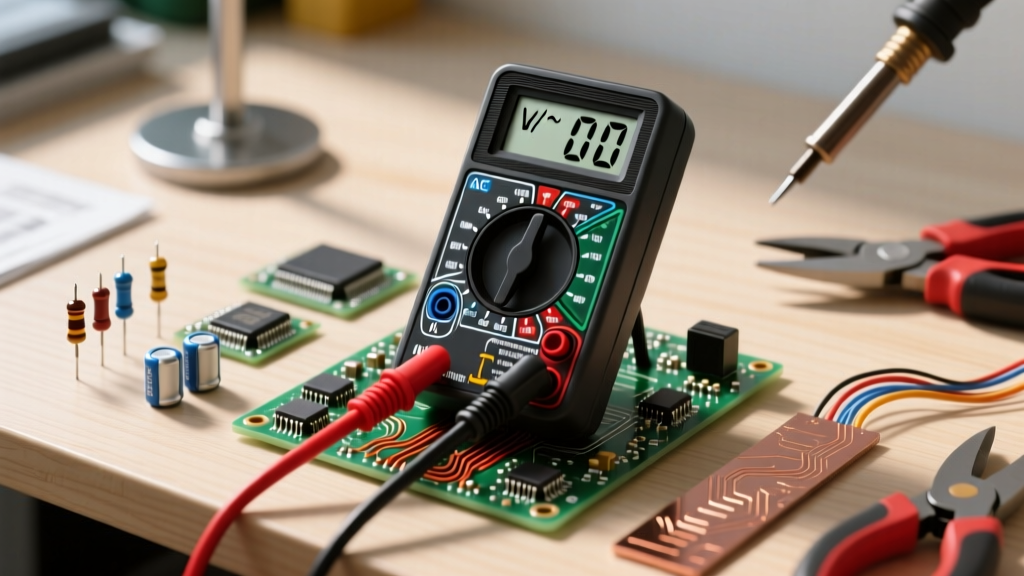
The first step in any voltage test is selecting the correct domain: Alternating Current (AC) or Direct Current (DC). AC voltage (denoted by a V with a wavy line, V~) is used for mains power, household wiring, and HVAC systems. DC voltage (denoted by a V with straight and dashed lines, V⎓) is used for batteries, automotive systems, and PCB-level electronics.
- Auto-Ranging vs. Manual Ranging: If your meter is manual-ranging, always select the highest voltage range first (e.g., 600V) and step down to prevent overloading the internal circuitry. Auto-ranging meters handle this dynamically, though they may take a few seconds to lock onto a stable reading.
- True-RMS Requirement: If you are measuring AC voltage on circuits with non-linear loads (like LED drivers, variable frequency drives, or switching power supplies), you must use a True-RMS (Root Mean Square) multimeter. Standard meters assume a perfect sine wave and will yield wildly inaccurate readings on distorted waveforms.
Step 2: Probe Placement and the 'One-Hand Rule'
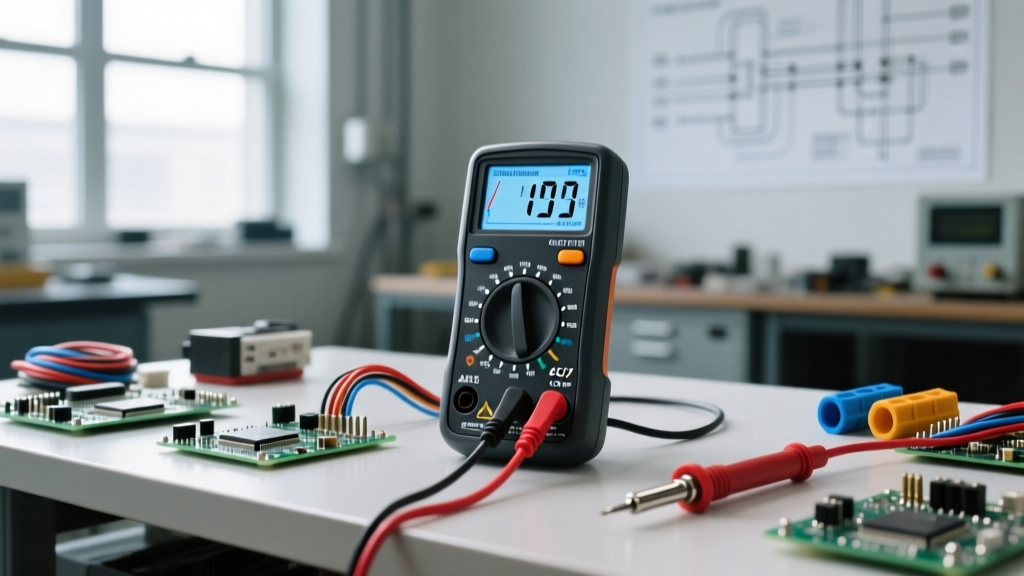
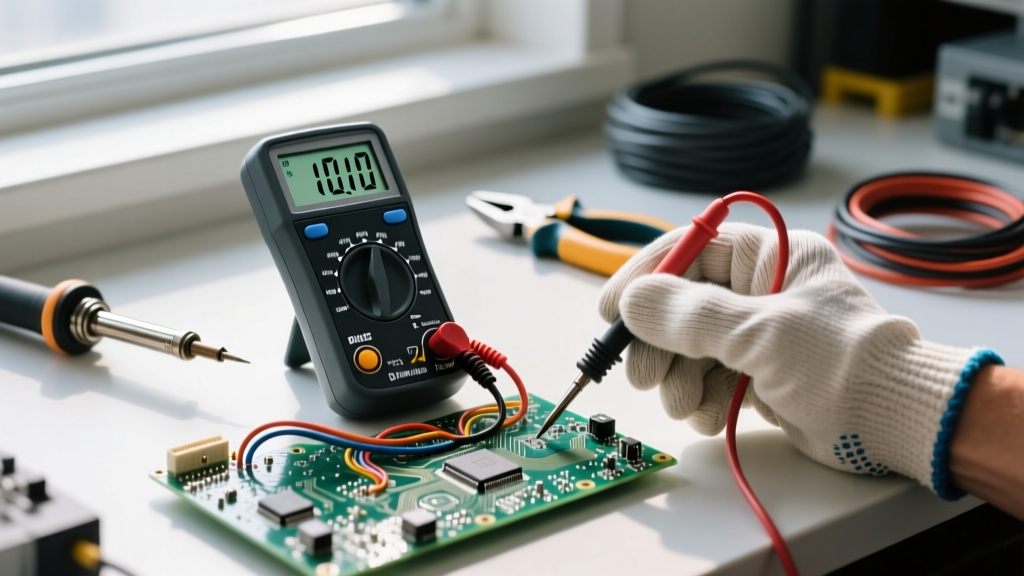
Insert the black probe into the COM (Common) jack and the red probe into the V/Ω (Voltage/Ohms) jack. Never leave the red probe in the amperage (A) jack when measuring voltage; doing so will create a dead short across the circuit, instantly blowing the meter's internal fuse or causing an explosive arc flash.
When measuring live AC mains, practice the 'One-Hand Rule.' Keep your non-dominant hand in your pocket or behind your back. If you accidentally touch a live conductor with both hands, current can travel across your chest cavity, disrupting your heart's electrical rhythm. By keeping one hand away from the circuit, you ensure that any accidental shock travels down your arm to the ground, bypassing vital organs.
Understanding Input Impedance and Ghost Voltages
A critical, often overlooked specification when learning how to measure voltage with a multimeter is input impedance. Modern digital multimeters typically feature a high input impedance of around 10 Megohms (10 MΩ). This is excellent for drawing minimal current from the circuit during testing, ensuring the meter doesn't load down sensitive electronics.
However, high impedance creates a phantom known as ghost voltage. In long runs of AC wiring, capacitive coupling between adjacent live and neutral wires can induce a small, phantom voltage on a disconnected wire. A high-impedance meter will read this ghost voltage (often 40V to 90V) as 'live,' leading to severe diagnostic confusion.
To eliminate ghost voltages, professional electricians use multimeters equipped with a Lo-Z (Low Impedance) mode. Lo-Z drops the meter's internal resistance to roughly 3 kΩ, providing a small load that instantly drains capacitive coupling, revealing the true state of the circuit.
Multimeter Safety Ratings: CAT III vs. CAT IV
According to Fluke's Guide to CAT Ratings, the voltage rating printed on a meter (e.g., 600V) is only half the story. The Measurement Category (CAT) dictates the tool's ability to withstand transient overvoltage spikes—lightning strikes or grid-switching surges that can momentarily push thousands of volts through a standard 120V line.
- CAT II (1000V): Suitable for single-phase receptacle-connected loads (appliances, portable tools).
- CAT III (600V/1000V): Required for fixed, three-phase distribution systems, lighting panels, and heavy HVAC equipment.
- CAT IV (600V): Essential for working at the origin of the installation—utility meters, service entrance panels, and outdoor overhead lines.
Never use a CAT II meter on a CAT III panel. The internal arc-containment shielding and creepage distances in higher CAT meters are specifically engineered to prevent the tool from exploding in your hands during a transient spike.
Top Multimeter Recommendations for Accurate Voltage Testing
Based on years of field testing, bench diagnostics, and teardown analysis, here are the top three multimeters for measuring voltage, categorized by user profile.
1. Best Budget Pick: AstroAI DM6000AR
Price: ~$35 | Counts: 4000 | True-RMS: Yes
For DIYers, automotive hobbyists, and students, the AstroAI DM6000AR offers staggering value. It features True-RMS AC voltage measurement and auto-ranging. While its build quality won't survive a three-story drop off a commercial scaffolding, its voltage accuracy (±0.5% for DC, ±1.0% for AC) is more than sufficient for checking car batteries, household outlets, and basic DC electronics. As noted in SparkFun's Multimeter Tutorial, having a reliable, inexpensive meter dedicated to dirty environments (like automotive engine bays) is a smart strategy to protect your primary bench meter.
2. Best Prosumer / Advanced DIY: Klein Tools MM600
Price: ~$55 | Counts: 6000 | True-RMS: Yes
The Klein Tools MM600 bridges the gap between hobbyist and professional. Rated for CAT III 1000V and CAT IV 600V, it possesses the internal shielding required for residential and light commercial electrical panel work. It survives a 6.6-foot drop test and features a rugged, dual-molded housing. The MM600 is exceptionally fast at auto-ranging voltage, which saves time when walking through a facility testing dozens of receptacles. It lacks Lo-Z, but for 95% of advanced DIY and general maintenance tasks, its voltage sensitivity and safety profile are unmatched at this price point.
3. Best Professional: Fluke 87V MAX
Price: ~$450 | Counts: 6000 (20,000 in High-Res) | True-RMS: Yes
The Fluke 87V MAX is the undisputed king of industrial voltage diagnostics. It features an IP67 waterproof and dustproof rating, meaning you can drop it in a puddle, wash it off, and continue measuring. Crucially for voltage testing, it includes the AutoVolt and Lo-Z functions. AutoVolt automatically detects and switches between AC and DC voltage, while Lo-Z eliminates the ghost voltages mentioned earlier. When troubleshooting complex VFDs or noisy industrial control panels, the 87V MAX's filtering capabilities and 10 MΩ / 3 MΩ selectable impedance provide absolute diagnostic certainty.
Comparative Breakdown: Voltage Accuracy and Specifications
| Feature | AstroAI DM6000AR | Klein Tools MM600 | Fluke 87V MAX |
|---|---|---|---|
| Target User | DIY / Student | Electrician / Prosumer | Industrial Technician |
| DC Voltage Accuracy | ±0.5% | ±0.5% | ±0.05% |
| AC Voltage Accuracy | ±1.0% | ±1.0% | ±0.7% (True-RMS) |
| Safety Rating | CAT III 600V | CAT IV 600V / CAT III 1000V | CAT IV 600V / CAT III 1000V |
| Lo-Z (Ghost Voltage) | No | No | Yes |
| Input Impedance | 10 MΩ | 10 MΩ | 10 MΩ (3 MΩ in Lo-Z) |
| Approx. Price | $35 | $55 | $450 |
Common Voltage Measurement Failure Modes & Troubleshooting
Even with the best equipment, diagnostic errors occur. Here is how to troubleshoot the most common voltage measurement anomalies, drawing on principles outlined by All About Circuits:
1. The 'Floating' or Drifting Reading
If your meter displays a random, fluctuating low voltage (e.g., 0.012V to 0.050V) when the probes are touching nothing, this is normal. High-impedance inputs act like antennas, picking up ambient electromagnetic interference (EMI) from nearby Wi-Fi routers, fluorescent lights, or mains wiring. Short the probes together; the reading should immediately drop to 0.000V. If it doesn't, your meter's internal calibration or shielding may be compromised.
2. Voltage Drop Under Load
A common mistake is measuring voltage on an open circuit. A failing battery or a corroded wire might read 12.6V DC or 120V AC when no current is flowing. However, the moment you connect a load (like a starter motor or a space heater), the voltage plummets. Always measure voltage while the circuit is under its normal operating load to identify high-resistance faults in wiring or terminations.
3. Probe Tip Degradation
Over time, probe tips become pitted and oxidized, especially when used to puncture wire insulation or test rough terminal blocks. This introduces unwanted series resistance between the circuit and the meter. If your voltage readings seem consistently 1-2% lower than expected, test the continuity of your probe leads. If resistance exceeds 0.2Ω, replace the leads immediately.
Final Verdict: Matching the Tool to the Task
Understanding how to measure voltage with a multimeter goes far beyond simply touching red to black and reading the LCD. It requires an awareness of waveform distortion, capacitive coupling, and transient safety hazards. For weekend projects and automotive diagnostics, the AstroAI DM6000AR provides reliable True-RMS data on a budget. For residential electricians and advanced DIYers, the Klein Tools MM600 offers the necessary CAT IV safety shielding and durability. Finally, for industrial environments where ghost voltages and harsh conditions are daily realities, the Fluke 87V MAX remains an indispensable, life-saving investment.