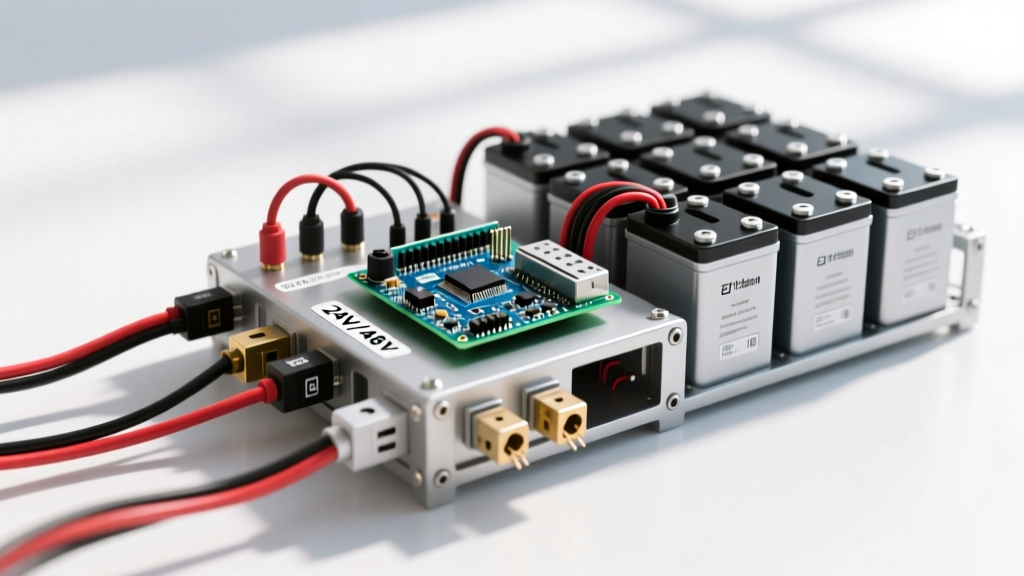
A robust DC motor control system starts with matching the motor's torque curve to the mechanical load, then sizing an H-bridge or MOSFET driver with at least a 1.5x safety margin over the motor's stall current. If you skip the load profiling and just match the voltage, you will inevitably face thermal shutdowns or fried logic boards. This guide breaks down the exact engineering steps to select, wire, and debug a direct current drive setup, moving past basic hobbyist tutorials into reliable, jobsite-ready design.
Matching the Motor to the Load Profile
Before selecting a driver, you must define which motor topology actually fits your mechanical load. A common mistake is treating stepper and servo motors as interchangeable high-torque options, or assuming a brushed DC motor can handle high-precision positioning without an encoder. Each motor type has a distinct torque curve and control requirement.
| Motor Type | Torque Curve | Control Needs | Relative Cost | Best Load Profile |
|---|---|---|---|---|
| Brushed DC (PMDC) | High starting torque, drops linearly as RPM increases. | Simple H-bridge or single MOSFET; PWM for speed. | Low ($) | Conveyors, winches, traction drives where cost and high stall torque matter. |
| Brushless DC (BLDC) | Flat torque curve up to base speed, constant power above. | 3-phase ESC with Hall sensors or sensorless back-EMF zero-crossing detection. | Medium ($$) | Drones, high-speed spindles, continuous-duty fans and pumps. |
| Stepper | Maximum torque at zero RPM (holding torque), drops off sharply at high RPM. | Dual H-bridge with microstepping sequencer (e.g., A4988, TMC2209). | Medium ($$) | 3D printers, CNC routers, open-loop precision indexing. |
| AC Servo | Constant torque up to rated speed, highly dynamic response. | Closed-loop dedicated servo drive with high-res absolute encoder. | High ($$$$) | Industrial pick-and-place, high-speed packaging, dynamic robotic joints. |
For heavy, low-speed linear actuation or traction, the Brushed DC (PMDC) motor remains the most cost-effective choice. According to All About Circuits, the permanent magnet stator in a PMDC motor provides a linear relationship between armature current and output torque, making current control synonymous with torque control.
Sizing Rule of Thumb and Worked Load Example
Never size a motor based solely on its no-load RPM or peak horsepower. Horsepower and kilowatt ratings are meaningless without the context of the specific operating point on the torque-speed curve. Instead, use the continuous torque and stall current metrics.
1. Size the motor so your continuous operating torque is 50% to 70% of its rated stall torque. This keeps the motor in its peak efficiency zone and prevents thermal saturation.
2. Size the motor driver for 150% of the motor's absolute stall current to survive startup inrush and mechanical jams without tripping overcurrent protection.
Worked Example: Automated Conveyor Belt
The Load: A flat belt conveyor moving 50kg boxes requires 2.5 Nm of continuous torque at 80 RPM to overcome static and dynamic friction.
Motor Selected: A 12V PMDC gearmotor with a no-load speed of 100 RPM, a stall torque of 5.0 Nm, and a stall current of 20A.
- Check Torque Margin: The required 2.5 Nm is exactly 50% of the 5.0 Nm stall torque. The motor will run cool and efficiently.
- Calculate Operating Current: In a PMDC motor, current scales linearly with torque. At 50% stall torque, the continuous draw will be roughly 50% of stall current (10A).
- Driver Sizing: The motor's stall current is 20A. Applying the 150% rule: 20A × 1.5 = 30A continuous driver rating required.
If you selected a standard 10A L298N driver for this, it would instantly overheat and trigger thermal shutdown during startup. You need a heavy-duty module like the BTS7960 (43A peak) or a Cytron MD30C.
Wiring and Terminal Identification
Industrial and high-torque hobbyist DC motors often feature more than just two power wires. Misidentifying feedback or brake terminals is a primary cause of bricked microcontrollers. Below is the standard terminal identification for a typical PMDC motor equipped with a quadrature encoder and an electromagnetic fail-safe brake.
| Terminal ID | Typical Wire Color | Function & Wiring Notes |
|---|---|---|
| M+ / M- | Red / Black (Thick) | Armature power. Connects directly to the H-bridge motor outputs. Use AWG sizing based on 125% of full-load current per NEC Article 430.22 guidelines. |
| BRK+ / BRK- | Yellow / Blue (Thin) | Electromagnetic brake coil. Usually 12V or 24V DC. Must be energized to release the brake. Wire through a separate flyback diode. |
| ENC-A / ENC-B | Green / White (Shielded) | Quadrature encoder channels. Output 5V or 3.3V logic pulses. Must be routed to MCU hardware interrupt pins. |
| ENC-VCC / GND | Red / Black (Thin) | Encoder power. Never share this ground return with the high-current M- armature ground to avoid logic noise. |
Selecting the Right Driver and Controller
A microcontroller (like an ESP32 or Arduino Mega) outputs 3.3V or 5V logic at a maximum of 40mA. A high-torque DC motor demands 12V–24V at 10A–30A. The Texas Instruments Motor Driver Guide outlines that bridging this gap requires a gate driver and high-current MOSFETs arranged in an H-bridge topology for bidirectional control.
Driver Selection Matrix:
- L298N (Bipolar BJT): Max 2A continuous. Suffers from a massive 2V to 3V voltage drop across the internal transistors. Only use for tiny 5V-12V hobby motors under 1A continuous load.
- BTS7960 (Infineon): Half-bridge ICs typically sold as the IBT-2 module. Handles up to 43A peak. Excellent choice for 12V-24V systems up to 20A continuous. Requires separate opto-isolation for logic protection.
- DRV8701 (TI Smart Gate Driver): Does not include internal MOSFETs; instead, it drives external discrete N-channel MOSFETs. This allows you to scale the system to 50A+ by simply swapping the external FETs and adding copper pours for heat dissipation.
PWM Frequency Tuning:
The controller must supply a Pulse Width Modulation (PWM) signal to dictate speed. Keep the PWM frequency between 16 kHz and 20 kHz. Frequencies below 5 kHz will cause the motor's stator laminations to vibrate via magnetostriction, resulting in an audible, high-pitched whine. Frequencies above 25 kHz increase switching losses in the MOSFETs, requiring larger heatsinks.
Diagnosing Failure Signatures: Hum, Overheat, and Stall
When a DC motor control system fails, the physical symptoms tell you exactly where the design broke down. Do not just swap parts; read the failure signature.
1. The Audible Hum or Whine
Symptom: The motor vibrates and emits a high-frequency noise, especially at low speeds, but rotation is sluggish.
Cause: PWM frequency is set too low (e.g., 1 kHz default on many Arduino analogWrite functions), or the mechanical load has high static stiction that the low-duty-cycle pulses cannot overcome.
Fix: Increase the microcontroller's hardware timer prescaler to push PWM to 20 kHz. If stiction is the issue, implement a 'dither' signal—a high-frequency, low-amplitude AC overlay that keeps the mechanical bearings in a state of micro-motion, breaking static friction.
2. Winding Overheat and Insulation Breakdown
Symptom: The motor casing is too hot to touch (>80°C), and you smell burning varnish. The driver is not faulting.
Cause: The system is operating continuously at a torque demand that exceeds the motor's continuous current rating. In a DC motor, mechanical power output drops to zero at stall, meaning 100% of the electrical energy (I²R) is converted directly into heat in the copper windings. Class B insulation fails at 130°C; Class F fails at 155°C.
Fix: You have undersized the motor for the continuous load. You must either increase the gear reduction ratio to lower the torque demand on the motor shaft, or upgrade to a motor with a larger thermal mass.
3. Hard Stall and Driver Destruction
Symptom: The mechanical load jams. The motor stops, draws maximum current, and the MOSFETs on the driver board physically pop or melt.
Cause: Lack of Overcurrent Protection (OCP) or an OCP response time that is too slow. When a PMDC motor stalls, back-EMF drops to zero, and current is limited only by the tiny resistance of the copper windings (often <0.5 ohms), causing a massive current spike.
Fix: Implement software current limiting by reading the voltage drop across a low-side shunt resistor via the MCU's ADC. If the current exceeds 120% of the rated max for more than 50 milliseconds, the firmware must immediately set the PWM duty cycle to 0%. Alternatively, use a driver IC with built-in hardware OCP and fast fault-latch outputs.
DC Motor Control System FAQs
Why does my DC motor control system whine at low speeds?
The whining is caused by magnetostriction—the physical expansion and contraction of the motor's iron laminations in response to the pulsing magnetic field. If your microcontroller is outputting a PWM signal at an audible frequency (typically 500 Hz to 4 kHz), the motor acts as a speaker. To eliminate this, reconfigure your MCU's hardware timers to output a PWM frequency of at least 16 kHz to 20 kHz, pushing the acoustic noise above the threshold of human hearing.
Can I use a stepper motor driver for a brushed DC motor?
No. Stepper drivers (like the A4988 or DRV8825) utilize dual H-bridges designed to sequence current through two separate, highly inductive phase coils in a precise microstepping pattern. A brushed DC motor has a single, low-resistance armature winding connected via mechanical commutator brushes. Connecting a brushed DC motor to a stepper driver will result in a dead short across one of the half-bridges, instantly destroying the driver IC. You must use a dedicated DC H-bridge or MOSFET driver.
How do I calculate the exact wire gauge for my DC motor control system?
Wire sizing must account for the maximum continuous current plus a safety margin to prevent voltage drop and insulation melting. Following NEC-style guidance for continuous motor loads, multiply the motor's Full Load Current (FLC) by 1.25 (125%). For example, if your motor draws 12A continuously, size the wire for 15A (12A × 1.25). According to standard 75°C copper ampacity tables, 14 AWG THHN wire is rated for 20A and is the minimum safe choice, though upgrading to 12 AWG is recommended if the wire run exceeds 5 feet to mitigate voltage drop during high-inrush startups.