
The IEC 61010-1 Standard and the CAT III Boundary
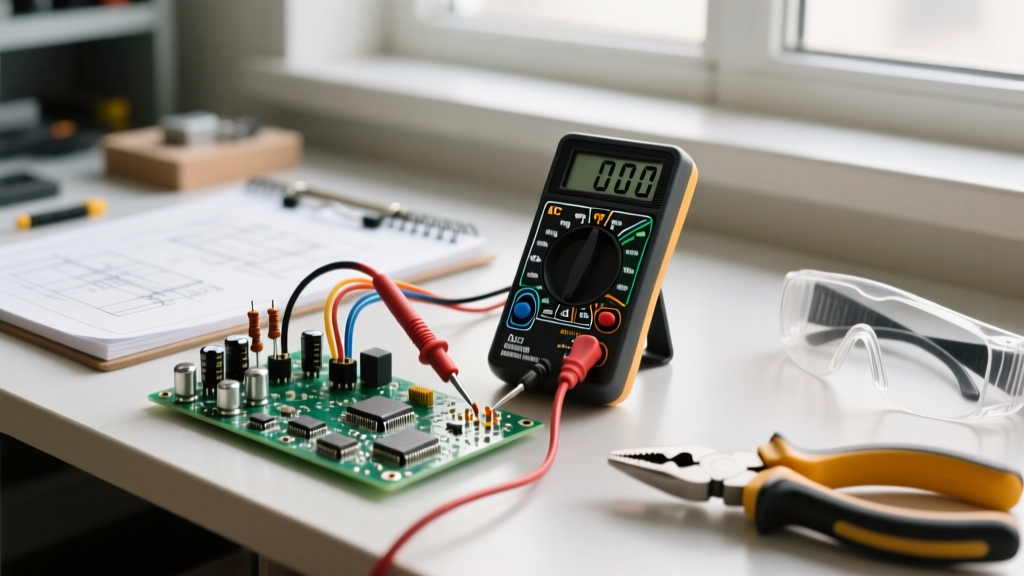
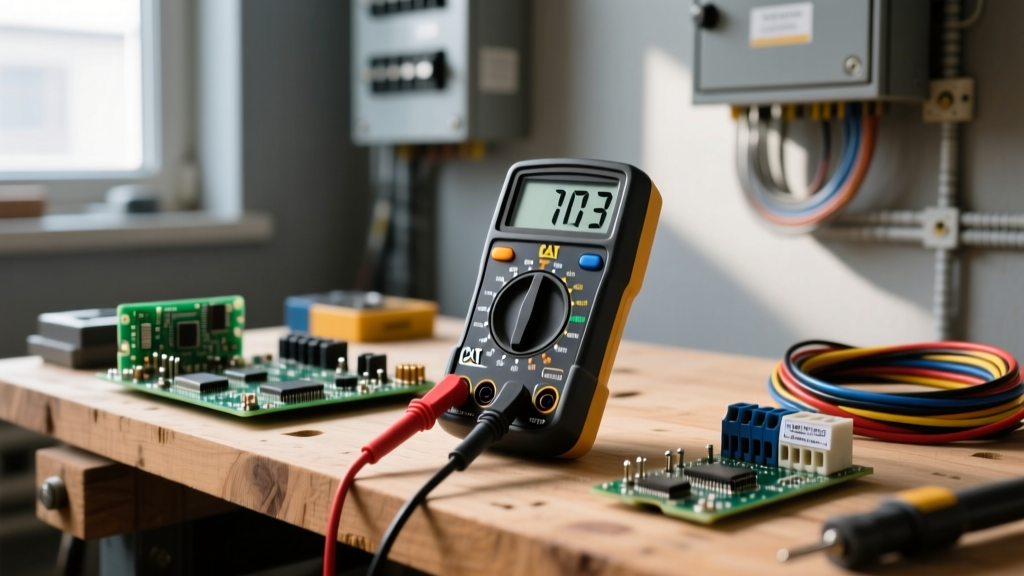
When electricians and industrial technicians search for a reliable cat 3 multimeter, they are referring to the IEC 61010-1 Measurement Category III (CAT III) safety rating. This category is specifically engineered for troubleshooting at the distribution level of fixed electrical installations. Unlike CAT II meters, which are meant for single-phase plug-in appliances, a CAT III-rated digital multimeter (DMM) is designed to withstand the high-energy transients found in three-phase distribution panels, fixed motor controls, and hardwired commercial HVAC systems.
Troubleshooting in these environments is inherently dangerous. The impedance between the power source and the measurement point is lower than in standard receptacles, meaning available fault currents can exceed 10,000 amps. Using a meter without the proper CAT III rating—or using a degraded one—can result in catastrophic arc flash incidents. This guide provides a comprehensive troubleshooting framework for utilizing a CAT III multimeter safely and effectively in the field.
Anatomy of a True Cat 3 Multimeter: Beyond the Label
Before you begin troubleshooting, you must understand what makes your tool capable of surviving a transient overvoltage event. A legitimate CAT III 600V or 1000V multimeter relies on several internal and external safety features:
- High Rupturing Capacity (HRC) Fuses: Standard glass fuses will shatter under high fault currents, allowing an arc blast to escape the meter. True CAT III meters use ceramic-body, sand-filled HRC fuses (such as the Bussmann KTK series) capable of interrupting up to 100kA at 600V without exploding.
- Internal Arc Blast Mitigation: The PCB layout and internal shielding are designed to contain and extinguish any internal arcing, preventing the meter housing from becoming shrapnel.
- Wear-Indicator Test Leads: CAT III test leads feature heavy-duty silicone insulation. High-quality leads utilize a dual-layer design: a black outer layer and a red inner warning layer. If the white or red core is visible, the lead's dielectric strength is compromised, and it must be discarded immediately.
- Shrouded Banana Plugs and Finger Guards: To prevent accidental contact with live terminals, CAT III leads feature raised finger guards and shrouded connectors that prevent the metal shaft from being exposed when plugged into the meter.
Pre-Flight Protocol: The Live-Dead-Live Verification
The cornerstone of safe troubleshooting with a cat 3 multimeter is the Live-Dead-Live (LDL) test. Before checking a circuit you believe is de-energized, you must prove your meter is functioning correctly.
- Live: Test your multimeter on a known, verified live voltage source (such as a dedicated voltage verification unit or a known live CAT III circuit) to ensure the meter and leads are reading accurately.
- Dead: Test the target circuit you intend to troubleshoot or work on. Verify phase-to-phase and phase-to-ground for zero voltage.
- Live: Immediately return to the known live source to confirm the meter did not fail or blow an internal fuse during the previous step.
According to the NFPA 70E standard, working on or near exposed energized parts requires rigorous shock and arc flash risk assessments. The LDL test is a mandatory administrative control before any Lockout/Tagout (LOTO) verification is considered complete.
Step-by-Step Troubleshooting in Fixed Wiring Environments
When diagnosing faults in CAT III environments, the methodology differs from standard residential troubleshooting due to the presence of three-phase power and higher transient risks.
Scenario A: Diagnosing a 3-Phase Motor Control Center (MCC)
A common troubleshooting scenario involves a three-phase induction motor that is tripping its overload relay or failing to start.
- PPE Verification: Don the appropriate Arc Rated (AR) clothing and voltage-rated gloves based on the panel's arc flash label.
- Voltage Presence (Phase-to-Phase): Set your CAT III multimeter to AC Voltage (V~). Measure L1 to L2, L2 to L3, and L1 to L3. You should read a balanced voltage (e.g., 480V ± 5%). An imbalance greater than 2% can cause severe motor heating and premature failure.
- Voltage Presence (Phase-to-Ground): Measure L1 to Ground, L2 to Ground, and L3 to Ground. If one phase reads significantly lower or zero, you have a grounded phase or a lost leg upstream.
- Current Draw (If equipped with a clamp): Use a CAT III-rated current clamp to measure the amperage on each leg while the motor is under load. Compare this to the motor's nameplate Full Load Amps (FLA).
Scenario B: Commercial HVAC Disconnect Voltage Drop
If a commercial rooftop unit (RTU) is underperforming, the issue may be voltage drop across the disconnect switch or contactors.
- Place your multimeter leads across the line side and load side of the contactor while the system is calling for cooling.
- A healthy closed contactor should show a voltage drop of less than 1-2 volts. If your cat 3 multimeter reads a 10V to 15V drop across the contacts, the internal contacts are pitted, carbonized, or failing, generating excessive heat and robbing the compressor of starting torque.
Transient Overvoltage Data Chart
Understanding why a CAT III rating is necessary requires looking at transient overvoltages—spikes caused by lightning strikes, utility switching, or large inductive loads kicking off the grid. The Fluke Measurement Categories Guide outlines how the IEC 61010-1 standard dictates impulse testing based on proximity to the power source.
| Measurement Category | Typical Locations | Working Voltage | Transient Impulse (12kV Source) |
|---|---|---|---|
| CAT II | Single-phase receptacles, plug-in tools | 600V | 4000V |
| CAT III | 3-phase distribution, fixed motors, panelboards | 600V | 6000V |
| CAT III | 3-phase distribution, fixed motors, panelboards | 1000V | 8000V |
| CAT IV | Service entrance, utility meters, primary feeders | 600V | 8000V |
As the data shows, a 600V CAT III multimeter must survive a 6000V transient impulse. If you use a CAT II meter on a 480V distribution panel and a utility switching event occurs, the 6000V spike will instantly arc across the meter's internal PCB, bypassing the fuse and causing an explosion in your hands.
Common Catastrophic Mistakes to Avoid
Even with the best equipment, human error compromises safety. Avoid these critical mistakes when troubleshooting with a CAT III DMM:
- Leaving the Current Jack Connected: If you finish an amperage reading and move your red lead back to the voltage terminal but forget to move the black lead from the 'Amps' jack to the 'COM' jack, placing the leads across a voltage source will create a dead short through the meter's internal shunt. This results in an immediate arc flash.
- Using Damaged or Spliced Leads: Never wrap electrical tape over a nicked CAT III test lead. The dielectric strength is permanently compromised, and the tape will not quench an arc.
- Ignoring the 10-Second Rule: When measuring high-energy circuits, keep your connection time as brief as possible. Prolonged contact increases the statistical probability of being present during a random transient overvoltage event.
Integrating Troubleshooting with OSHA and LOTO Procedures
Troubleshooting is often the precursor to maintenance. Once your cat 3 multimeter has confirmed the presence of a fault, the next step is usually isolation. OSHA Electrical Safety Guidelines mandate strict adherence to Lockout/Tagout (LOTO) procedures. Your multimeter is the final verification tool that ensures the mechanical lockout has successfully achieved an electrically safe work condition.
Always store your CAT III multimeter in a protective case, away from extreme temperatures and moisture, and perform an annual calibration check to ensure the internal voltage dividers and HRC fuses remain within factory tolerances. By respecting the CAT III boundary, maintaining your equipment, and following the Live-Dead-Live protocol, you transform your multimeter from a simple diagnostic tool into a critical life-safety device.