
The Floating Pin Problem: Why Datasheets Demand Biasing
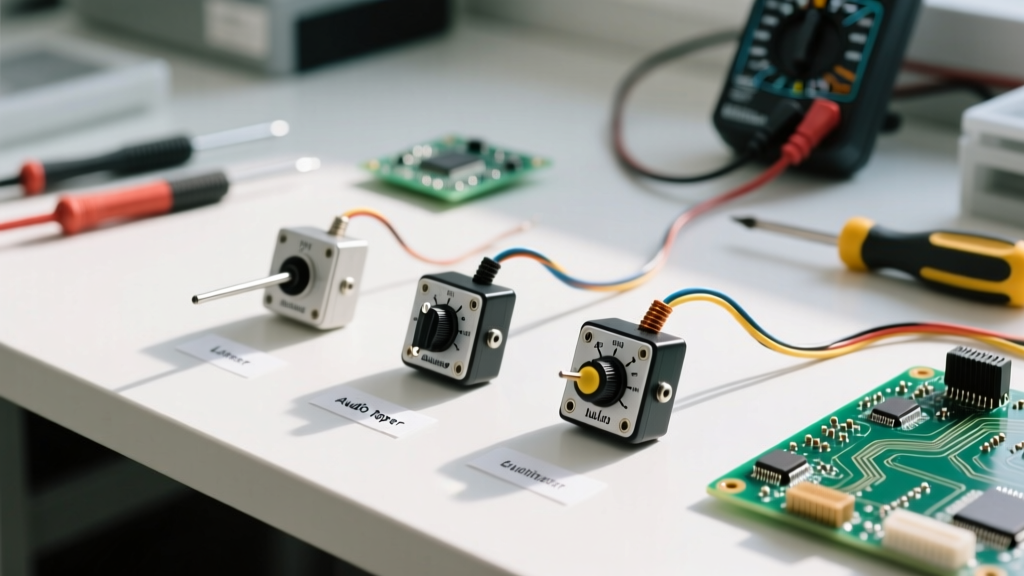
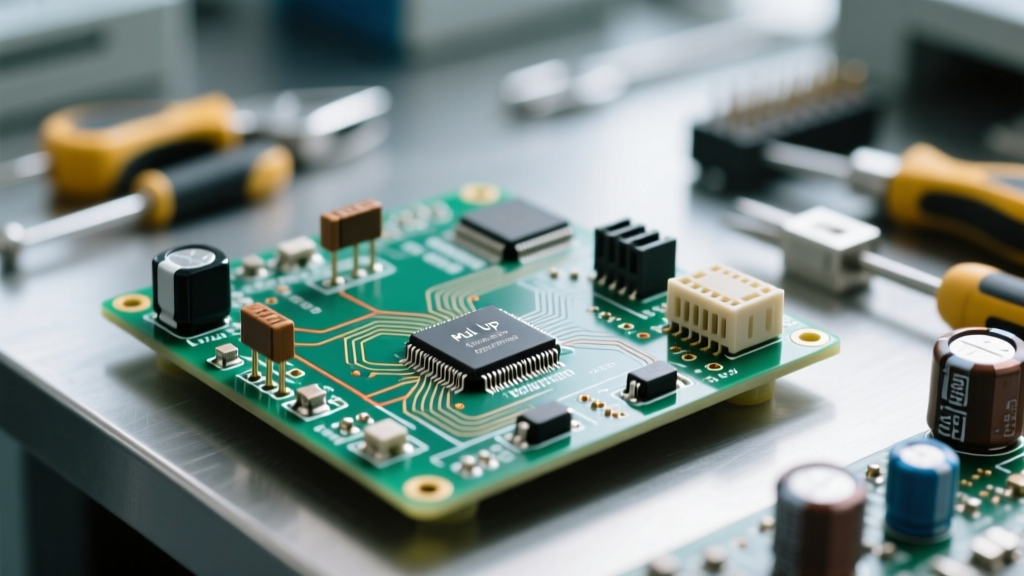
In digital electronics, an unconnected microcontroller GPIO pin is a recipe for disaster. Known as a 'floating' pin, it acts as a high-impedance antenna, picking up electromagnetic interference (EMI) and causing erratic logic states, phantom interrupts, and excessive power consumption due to rapid CMOS toggling. To solve this, we must bias the pin to a known logic level. This brings us to the fundamental hardware design debate: the pull up vs pull down resistor configuration. While basic tutorials treat these components as simple 10kΩ placeholders, a rigorous datasheet breakdown reveals a complex interplay of leakage currents, logic thresholds, and silicon layout realities.
Decoding VIH and VIL: The Logic Threshold Reality
Before selecting a resistor value, you must understand how the microcontroller interprets voltage. Datasheets define two critical parameters for digital inputs: VIL (Maximum Voltage recognized as Logic LOW) and VIH (Minimum Voltage recognized as Logic HIGH).
For a standard 3.3V CMOS system (like the ESP32 or STM32), the datasheet typically specifies:
- VIL (max): 0.3 × VDD = 0.99V
- VIH (min): 0.7 × VDD = 2.31V
The gap between 0.99V and 2.31V is the undefined region. If your resistor network allows the pin voltage to drift into this zone, the internal CMOS logic gates may partially turn on both the PMOS and NMOS transistors, creating a short-circuit path from VDD to Ground. This results in localized heating and massive current spikes. Your pull-up or pull-down resistor must be sized to keep the pin firmly outside this undefined region under all temperature and load conditions.
Calculating the Resistor Sweet Spot
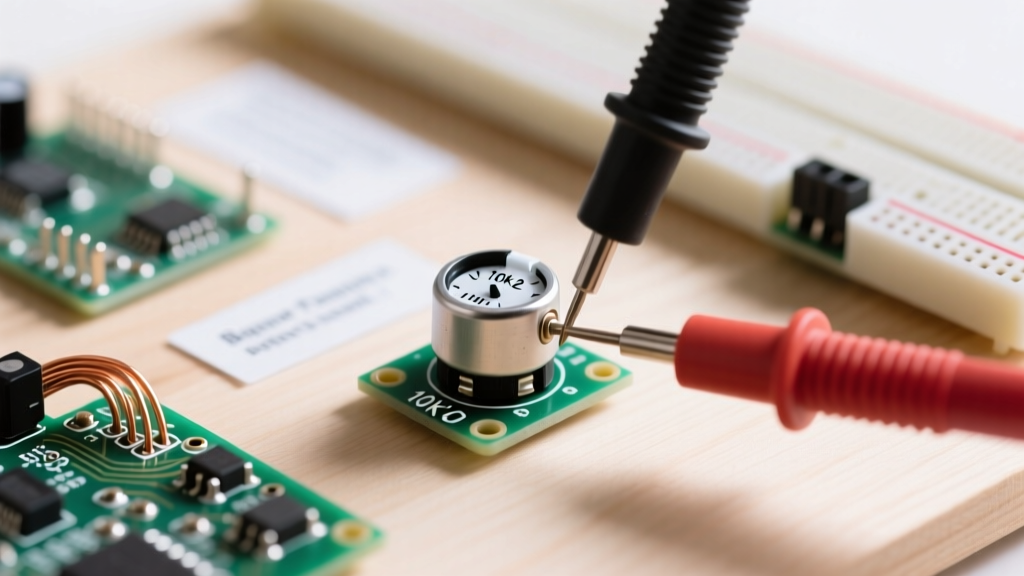
The default 'go-to' value for most hobbyists is 10kΩ. But is 10kΩ optimal for your specific MCU? Let us look at the math. When a switch closes, the resistor must limit the current to prevent damaging the GPIO or draining the battery.
Using Ohm’s Law for a 3.3V system with a 10kΩ pull-up: I = 3.3V / 10,000Ω = 330µA. This is generally safe for battery-powered devices. However, if you are designing an ultra-low-power wearable, 330µA might be unacceptable. You might be tempted to use a 1MΩ resistor to reduce current to 3.3µA. Here is where the datasheet's Input Leakage Current (IIL / IIH) specification becomes critical.
Datasheet Trap: CMOS inputs are not infinite impedance. The ATmega328P datasheet specifies an input leakage current of up to 1µA at 85°C. If you use a 1MΩ pull-up resistor, the leakage current alone can cause a voltage drop of V = I × R = 1µA × 1MΩ = 1V. On a 3.3V rail, the pin would sit at 2.3V—dangerously close to the VIH threshold, risking logic errors in high-temperature environments.
Internal vs. External: What the MCU Datasheet Actually Says
Most modern microcontrollers feature internal pull-up resistors, activated via software registers (e.g., pinMode(pin, INPUT_PULLUP) in Arduino). But why are internal pull-down resistors incredibly rare?
The Silicon Layout Reality
The absence of internal pull-downs is not an oversight; it is a consequence of semiconductor physics and die-size economics. In standard CMOS fabrication, PMOS transistors (used to pull the line up to VDD) are built in N-wells. Routing these N-wells to the positive supply rail is straightforward and area-efficient. Conversely, NMOS transistors (used for pull-downs to Ground) require P-substrate ties. Integrating switchable NMOS pull-downs on every single GPIO pad would significantly increase the silicon die area, raising manufacturing costs for a feature that most designers do not strictly need. Therefore, if your circuit architecture demands a pull-down, you almost always must provide an external physical resistor.
ATmega328P vs. ESP32 Internal Resistor Variance
Never assume internal pull-ups are precise. They are manufactured using diffusion resistors, which have massive tolerances.
- Microchip ATmega328P: The ATmega328P Datasheet specifies internal pull-ups ranging from 20kΩ to 50kΩ. This 150% variance means you cannot rely on them for precise timing or I2C bus calculations.
- Espressif ESP32: Internal pull-ups are typically around 45kΩ, but they are explicitly documented as unsuitable for I2C buses due to their high resistance and inability to meet the required rise-time specifications.
Pull Up vs Pull Down Resistor: Power Consumption & Failure Modes
Choosing between a pull up vs pull down resistor configuration heavily impacts system safety, fault tolerance, and EMI susceptibility. The decision should be driven by the default safe state of your application.
The Ground Fault Trap in Pull-Down Configurations
Imagine designing an emergency stop (E-Stop) button for a CNC router. The button is wired to 3.3V, and the GPIO uses a 10kΩ pull-down resistor to ground. When the button is pressed, the pin reads HIGH, triggering the brake.
The Failure Mode: If the wire connecting the button to the GPIO snaps or vibrates loose, the pin is left floating, relying solely on the pull-down resistor. In a high-EMI environment (like near a spindle motor), the floating wire acts as an antenna. The induced voltage can easily exceed the 0.7 × VDD threshold, causing the MCU to falsely register an E-Stop press, or worse, fail to register a real press if the EMI biases the pin low.
The Active-Low Safety Standard
Industrial engineering standards dictate that safety-critical inputs should be Active-Low. The E-Stop button is wired to Ground, and the GPIO uses a pull-up resistor to 3.3V. The MCU constantly expects a LOW signal. If the wire breaks, the pull-up resistor immediately pulls the pin HIGH. The MCU detects the unexpected HIGH state and instantly triggers a fault, halting the machine. This 'fail-safe' architecture is why pull-up configurations dominate automotive and industrial sensor design.
Real-World Datasheet Specifications & Bus Capacitance
When dealing with communication buses like I2C, the pull-up resistor is no longer just about logic states; it is an RC timing component. The NXP I2C Bus Specification (UM10204) strictly defines the maximum allowable bus capacitance (typically 400pF) and the required rise times.
The Texas Instruments Application Report SLVA689 details how to calculate the exact pull-up resistor value based on bus capacitance. If the resistor value is too high, the RC time constant delays the voltage rise, causing the SDA/SCL lines to miss the VIH threshold before the clock edge, resulting in corrupted data. Conversely, if the resistor is too low, the VOL (Voltage Output Low) may exceed the I2C specification of 0.4V because the microcontroller's internal NMOS sink transistor cannot pull the line down to ground fast enough against the heavy current flow.
| Configuration | Default Logic State | Fault Tolerance (Wire Break) | Typical Use Case |
|---|---|---|---|
| Pull-Up (External) | HIGH (1) | Fails HIGH (Safe for Active-Low triggers) | I2C Buses, E-Stops, Interrupt Buttons |
| Pull-Up (Internal) | HIGH (1) | Fails HIGH (High variance, weak drive) | Simple tactile switches, basic state reads |
| Pull-Down (External) | LOW (0) | Fails LOW (Risk of EMI false triggers) | Active-High sensors, Boot-strapping pins |
| Pull-Down (Internal) | LOW (0) | Fails LOW (Rarely available on MCUs) | Specific FPGA/SoC boot configurations |
Final Verification Checklist for PCB Prototyping
Before sending your schematic to the fab house, run through this datasheet-driven checklist:
- Check Input Leakage: Verify the MCU's IIH/IIL at maximum operating temperature. Ensure your external resistor is low enough to overcome leakage (typically ≤ 100kΩ for 3.3V systems).
- Verify VOL/VOH Limits: Ensure your pull-down resistor does not force the driving IC to exceed its maximum sink current (IOL) when pulling the line LOW.
- Boot Pin Strapping: Many MCUs (like the ESP32) sample specific GPIOs during reset to determine boot modes. Consult the datasheet to ensure your pull-up/pull-down values do not conflict with internal boot-strapping resistors.
- I2C Rise Time: If using pull-ups for I2C, calculate the RC time constant against the bus capacitance. For 400kHz Fast Mode, a 2.2kΩ to 4.7kΩ resistor is usually mandatory.
By treating the pull up vs pull down resistor not as an afterthought, but as a critical timing and safety component defined by the silicon datasheet, you eliminate phantom bugs, reduce power waste, and build robust, fail-safe electronic prototypes.