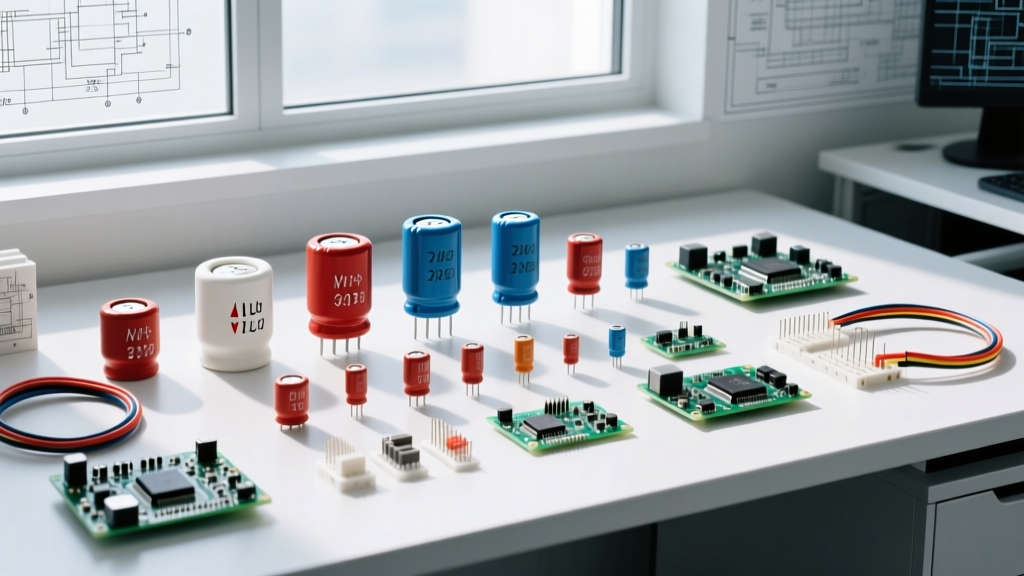
An inductor device opposes changes in current by storing energy in a magnetic field. While resistors dissipate energy and capacitors store it in an electric field, inductors are the heavy lifters in power conversion, filtering, and RF matching networks. Picking the wrong one doesn't just degrade your circuit's efficiency—it causes catastrophic thermal failure, EMI nightmares, and mysterious logic resets. The 'right' inductor device depends entirely on your frequency envelope, peak current, and physical layout constraints.
The Inductor Device at a Glance: Which Core for Which Job?
Not all magnetic cores behave the same way under load. The core material dictates the saturation current ($I_{sat}$), the temperature coefficient, and the high-frequency losses. Here is how the major core types stack up when you are selecting a part for your BOM.
| Core Material | Construction Style | Typical Tolerance | Tempco (ppm/°C) | Best Application |
|---|---|---|---|---|
| Air Core | Wire wound, no magnetic material | ±2% to ±5% | ~50 (wire only) | High-frequency RF tuning, VHF/UHF filters where core loss must be zero. |
| Ferrite (Unshielded Drum) | Wire wound on a bobbin with a drum core | ±10% to ±20% | 100 to 500 | Cost-sensitive DC-DC converters where EMI radiation is not a critical concern. |
| Ferrite (Shielded) | Wire wound, enclosed in a magnetic shield (e.g., Wurth WE-PD) | ±20% to ±30% | 100 to 500 | High-density power supplies, noise-sensitive mixed-signal boards. |
| Powdered Iron / Alloy | Distributed air gap in pressed metal powder (e.g., Coilcraft XEL series) | ±20% to ±30% | 50 to 200 | High-current, high-ripple applications; offers 'soft' saturation without sudden inductance collapse. |
| Ceramic / Multilayer | Sintered ceramic layers with printed conductive traces | ±5% to ±10% | 100 to 300 | Ultra-compact 0402/0603 signal filtering, high-frequency decoupling (low current). |
Decoding the Markings: What Those SMD Codes Actually Mean
When you are scavenging parts from a donor board or verifying a reel from DigiKey, reading the physical markings on an inductor device is a mandatory skill. Unlike resistors, inductors don't always follow a universal color code, but SMD power inductors generally stick to a standardized 3-digit or 4-digit alphanumeric system.
The Standard 3-Digit EIA Code
- First two digits: The significant figures of the inductance value.
- Third digit: The multiplier (number of zeros to add), expressed in microhenries (µH).
- Example '100': 10 followed by zero zeros = 10µH.
- Example '471': 47 followed by one zero = 470µH.
- Example '102': 10 followed by two zeros = 1,000µH (or 1mH).
The 'R' Decimal Indicator
For values under 10µH, the letter 'R' replaces the decimal point. A marking of 4R7 means 4.7µH. A marking of R47 means 0.47µH. If you see a marking like 1R5, you are looking at a 1.5µH part.
Physical Size and Pin 1 Indicators
Many shielded power inductors will also have a two-digit or four-digit size code stamped on the side or top. A '5030' marking indicates a 5.0mm x 3.0mm footprint. Additionally, look for a small painted dot or a beveled corner on the ferrite shield—this designates Pin 1. While inductors are theoretically non-polarized, placing Pin 1 at the switching node (the noisy side) and Pin 2 at the output (the quiet side) minimizes radiated EMI from the internal winding capacitance.
Bench Walkthrough: When a 4.7µH Power Inductor Device Fails
Let's look at a real-world failure scenario that happens constantly on the workbench: underestimating peak current in a buck converter design.
The Setup: We are designing a 12V-to-5V step-down converter using a Texas Instruments TPS5430 (3A continuous, 500kHz switching frequency) to power a motor driver logic rail. The maximum continuous load is 2.5A.
The Numbers: Using the standard buck inductance formula $L = \frac{V_{out} \times (1 - D)}{f_{sw} \times \Delta I_L}$, we calculate our required inductance. With a 30% ripple current target ($0.3 \times 2.5A = 0.75A$ ripple), the math dictates an ideal inductance of roughly 6.48µH. We select a standard 6.8µH unshielded drum-core inductor device from a generic bin. The datasheet for this cheap part lists an $I_{rms}$ (thermal rating) of 3.5A. We assume we have plenty of headroom for our 2.5A load.
The Outcome: On the bench, the circuit works fine at a 1A resistive load. But when we connect the actual motor driver and the load steps up to 2.2A, the output voltage sags to 4.1V. A loud, high-pitched acoustic whine emanates from the inductor. Touching it with a thermal probe shows the epoxy coating is at 128°C. The scope reveals massive 600mV ripple on the 5V rail.
What Went Wrong: We ignored the saturation current ($I_{sat}$). The peak current in the inductor is the load current plus half the ripple: $2.2A + (0.75A / 2) = 2.575A$. The generic inductor device we chose had an $I_{sat}$ rating of only 2.0A (the spec sheet buried this in a footnote, highlighting the 3.5A $I_{rms}$ instead). At 2.575A, the ferrite core saturated. The magnetic permeability collapsed, dropping the effective inductance from 6.8µH down to roughly 0.4µH at the peak of the switching cycle. This caused the current to spike uncontrollably, tripping the TPS5430's internal cycle-by-cycle overcurrent protection and causing massive conduction losses (heat) in the inductor's copper winding.
The Fix: We swapped in a Coilcraft MSS1278 series shielded power inductor with a guaranteed $I_{sat}$ of 6.2A. The ripple dropped to 45mV, and the part ran at a cool 42°C. You can read more about calculating these magnetics parameters in the All About Circuits DC textbook chapter on inductors.
Visual Autopsy: Failure Modes and Symptoms
When an inductor device fails, it rarely does so silently. Here is how to diagnose the corpse on your bench using visual and electrical symptoms.
- Thermal Runaway (Overcurrent/High DCR): Visual Symptom: The potting compound or epoxy coating turns dark brown or black. You may see micro-cracks in the ferrite sleeve or melted solder at the pad interfaces. Cause: The $I_{rms}$ exceeded the part's thermal rating, or the DC Resistance (DCR) was too high for the continuous load, generating excessive $I^2R$ heat.
- Core Saturation: Visual Symptom: The part looks physically perfect. No discoloration. Electrical Symptom: A current probe on the scope shows the inductor current waveform changing from a neat, linear triangle into a sharp, curved 'shark fin' spike at the peak of the switching cycle. Cause: Peak current exceeded $I_{sat}$.
- Mechanical Fracture (Coil Whine / Board Flex): Visual Symptom: A visible hairline crack running through the ferrite drum core, often visible only under 10x magnification. Cause: Acoustic vibration from magnetostriction (the core physically changing shape in the magnetic field) combined with PCB flexing during depanelization or connector mating.
- Open Circuit (Wire Break): Visual Symptom: Infinite resistance on the multimeter. Under magnification, you can see the thin copper wire broken at the termination point where it solders to the metal pad. Cause: Thermal cycling fatigue or a massive transient current spike that literally vaporized the fine-gauge winding wire (acting as a fuse).
Safe Substitution: What to Do When the Exact Part is Missing
Supply chain shortages happen. When your exact BOM inductor device is out of stock, you cannot just grab any part with the same microhenry rating. Follow this numbered decision path to substitute safely without redesigning your PCB.
- Match Inductance Within 20%: Power converters are generally tolerant of a ±20% shift in inductance. A 10µH part can usually be replaced with an 8.2µH or 12µH part, provided you recalculate the peak ripple current to ensure it doesn't trigger false OCP (Over Current Protection) trips.
- Verify Both Current Ratings: The substitute's $I_{rms}$ must be greater than your maximum continuous load. The substitute's $I_{sat}$ must be strictly greater than your calculated peak switching current ($I_{load} + \frac{\Delta I_L}{2}$). Never compromise on $I_{sat}$.
- Check the DCR (DC Resistance): A lower DCR is almost always better for power efficiency. However, if you are substituting in an RF filter or a high-Q resonant tank circuit, changing the DCR will alter the Q-factor and shift your bandwidth. For power rails, just ensure the substitute DCR is equal to or lower than the original.
- Respect the Shielding Requirement: Never substitute an unshielded drum-core inductor into a footprint originally designed for a shielded part, especially if the inductor is placed near high-impedance analog traces, ADC inputs, or RF antennas. The unshielded magnetic flux will induce noise directly into adjacent copper traces.
- Check the SRF (Self-Resonant Frequency): Every inductor device has parasitic parallel capacitance that creates a self-resonant frequency. Your operating frequency (or switching frequency) must be at least one decade below the SRF. If you substitute a physically larger part to get a higher current rating, the added parasitic capacitance might lower the SRF into your operating band, turning your inductor into a capacitor at high frequencies.
By treating the inductor device not just as a simple 'coil of wire' but as a complex, non-linear magnetic component with strict thermal and saturation boundaries, you eliminate the most common point of failure in modern power electronics. Always read the datasheet's footnotes, verify your peak currents, and keep your scope handy to confirm the triangle wave stays a triangle.