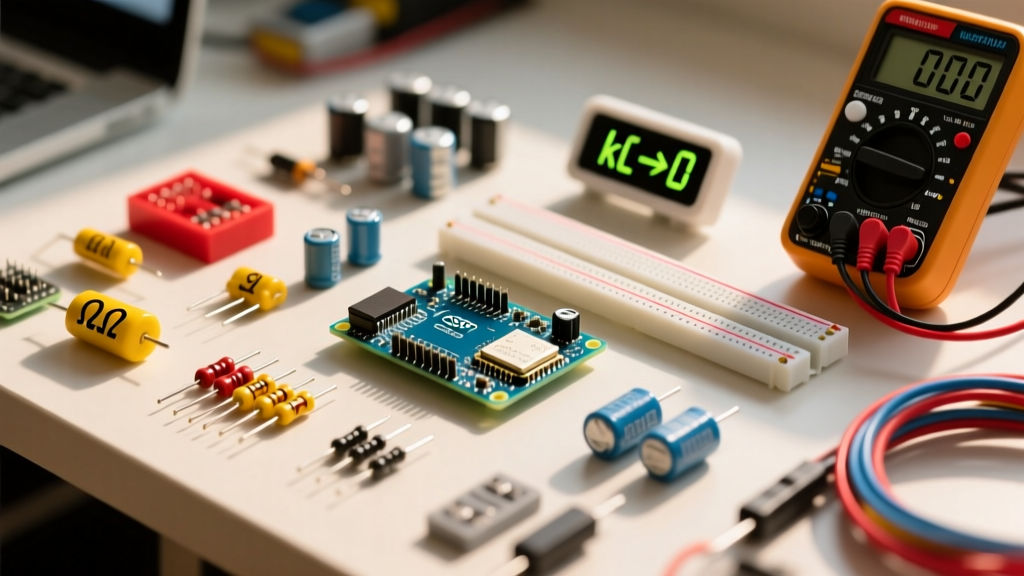
When you need to split a single current source into three distinct branches, the math on paper is straightforward. But on the workbench, current division for 3 resistors is where theoretical circuit design collides with physical component realities. Tolerance stacking, temperature coefficients (tempco), and power derating can turn a perfectly calculated parallel network into a thermal runaway hazard. This guide bridges the gap between textbook formulas and the physical resistors you actually solder into your projects.
The Core Math: Current Division for 3 Resistors
The fundamental rule of parallel circuits is that voltage is constant across all branches, while current splits inversely proportional to resistance. For a network of exactly three resistors (R1, R2, R3) in parallel, you first need the equivalent resistance (Req):
Req = 1 / [(1/R1) + (1/R2) + (1/R3)]
Once you have Req, the current through any specific branch (Ix) is calculated using the general current divider formula:
Ix = Itotal × (Req / Rx)
Imagine a 33A total current feeding three parallel resistors: 10Ω, 20Ω, and 30Ω.
1. Req = 1 / [(1/10) + (1/20) + (1/30)] = 1 / [0.1 + 0.05 + 0.0333] = 5.454Ω.
2. I1 (through 10Ω) = 33A × (5.454 / 10) = 18A.
3. I2 (through 20Ω) = 33A × (5.454 / 20) = 9A.
4. I3 (through 30Ω) = 33A × (5.454 / 30) = 6A.
Total check: 18 + 9 + 6 = 33A. The lowest resistance always hogs the most current.
For a deeper look at the underlying Kirchhoff's laws governing these splits, the All About Circuits chapter on current dividers provides an excellent foundational review.
Resistor Types: Which Construction for Which Job?
Current division networks are highly sensitive to component drift. If one resistor changes value due to heat, the current shifts to the remaining branches, potentially overloading them. Choosing the right physical construction is critical.
| Type | Construction | Tolerance | Tempco (ppm/°C) | Typical Use |
|---|---|---|---|---|
| Carbon Film | Carbon coating on ceramic rod | ±5% | -200 to -800 | General purpose, non-critical pull-ups |
| Metal Film | Nickel-chromium film on ceramic | ±1% to ±0.1% | ±15 to ±100 | Precision current dividers, feedback loops |
| Wirewound | Resistive wire wound on a core | ±1% to ±5% | ±20 to ±200 | High power, high current shunts (>2W) |
| Thick Film (SMD) | Ruthenium oxide paste on alumina | ±1% to ±5% | ±100 to ±200 | Compact PCB layouts, automated assembly |
Which type for which job? For precision current division where branch matching matters (like LED arrays or differential amplifier biasing), always use Metal Film. For high-current power splitting (like dummy loads or power supply bleed resistors), use Wirewound or chassis-mount aluminum-housed resistors. Never use Carbon Film in a parallel network where thermal stability is required; their negative tempco invites thermal runaway.
Decoding the Bands and SMD Markings
Before soldering, you must verify the physical part matches your schematic. Misreading a multiplier band is a classic bench error that ruins current division ratios.
Through-Hole Color Bands
Most metal film resistors use a 5-band system for precision. The standard resistor color code applies, but the 5-band layout shifts the multiplier:
- Bands 1-3: Significant digits (e.g., Brown-Black-Black = 100).
- Band 4: Multiplier (e.g., Brown = ×10). Total = 1000Ω or 1kΩ.
- Band 5: Tolerance (Brown = ±1%).
SMD Resistor Codes
Surface mount devices (SMD) use printed numeric codes. For standard 1% thick film resistors:
- 3-Digit Code (5%): First two digits are significant, third is the multiplier (power of 10). Example: 472 = 47 × 102 = 4700Ω (4.7kΩ).
- 4-Digit Code (1%): First three digits are significant, fourth is the multiplier. Example: 1001 = 100 × 101 = 1000Ω (1kΩ).
- EIA-96 Code: Used for high-precision 0603/0402 sizes. Two numbers followed by a letter. The numbers map to a lookup table (e.g., 01 = 100), and the letter is the multiplier (e.g., C = ×100). Example: 01C = 100 × 100 = 10kΩ. Reference the SparkFun resistor guide for the full EIA-96 lookup table.
Bench Scenario: When Perfect Math Meets Thermal Drift
Let us look at a real-world failure where the math was perfect, but the component selection destroyed the circuit.
The Setup: A hobbyist is building a 3-branch parallel current shunt to divide a 3.0A DC supply into three precise 1.0A branches to power high-current LEDs. The schematic calls for three 1.0Ω resistors in parallel. The builder grabs three 1.0Ω, 1W carbon composition resistors from a salvage bin.
The Numbers: On paper, Req = 0.333Ω. At 3.0A total, the voltage drop is 1.0V. Each branch draws exactly 1.0A. Power per resistor is I2R = (1.0)2 × 1.0 = 1.0W. The builder assumes the 1W rating is sufficient.
The Outcome: The builder powers the circuit. Branch 1 immediately glows red hot and pops, opening the circuit. The remaining two branches now draw 1.5A each, and they quickly follow suit.
What Went Wrong: Three compounding errors occurred:
- Tolerance Stacking: Carbon comp resistors are typically ±10% or worse. The actual measured values were 0.92Ω, 1.0Ω, and 1.08Ω. Using the current divider formula, the 0.92Ω resistor immediately drew 1.08A, pushing its power dissipation to 1.16W — exceeding its 1W rating before thermal effects even started.
- Negative Tempco: Carbon composition has a strongly negative temperature coefficient (around -500 ppm/°C). As the 0.92Ω resistor heated up from the 1.16W overload, its resistance dropped further to 0.85Ω. This caused it to hog even more current, creating a thermal runaway loop.
- Lack of Derating: Standard engineering practice dictates derating power resistors by at least 50% for reliability. A 1.0W dissipation requires a physical component rated for 2.0W or higher.
Failure Modes and Visual Symptoms
When a current division network fails, the physical evidence on the PCB or breadboard tells a specific story. Here is how to diagnose the corpse of a failed resistor.
| Failure Mode | Visual Symptom | Multimeter Test & Diagnosis |
|---|---|---|
| Thermal Overload | Dark brown/black charring on the body; burnt smell; PCB pad discoloration underneath. | Usually reads Open (OL). If it reads a value, it will be wildly out of spec (drifted high). |
| Current Hogging (Thermal Runaway) | One resistor in the parallel bank is severely discolored, while the others look pristine. | Desolder one leg to test. The hogged resistor will read significantly lower than its nominal value due to internal carbon tracking. |
| Mechanical Fracture | No visible damage. Common in wirewound resistors subjected to vibration or physical bending of leads. | Reads OL (Open). The internal wire has snapped. Must be replaced; cannot be repaired. |
Critical Testing Rule: Never measure a resistor's value while it is still soldered into a parallel circuit. The multimeter will read the equivalent parallel resistance of the entire network, giving you a false 'good' reading. Always desolder at least one leg of the component to isolate it before measuring.
Safe Substitution Rules for the Parts Bin
You are mid-build, and you are one 100Ω 1% metal film resistor short for your 3-branch divider. How do you substitute safely without ruining the current split?
- Wattage Can Go Up, Never Down: If the schematic calls for a 1/4W (0.25W) resistor, you can safely use a 1/2W or 1W part. The physical size will be larger, but it will run cooler and more reliably. Never substitute a 1/8W part for a 1/4W requirement.
- Tolerance Can Go Tighter, Never Looser: You can always substitute a 0.1% or 1% resistor in place of a 5% requirement. In a current division network, tighter tolerance actually improves your branch matching. Never substitute a 10% carbon comp for a 1% metal film requirement.
- Match the Tempco in Parallel Banks: If you are substituting one resistor in a parallel bank, try to match the temperature coefficient of the other branches. If you mix a 50 ppm/°C metal film with a 200 ppm/°C thick film SMD, the current division ratio will shift as the board heats up during operation.
- Series/Parallel Combinations: If you lack the exact resistance value, you can build it. Need a 150Ω resistor? Put two 300Ω 1/4W resistors in parallel. Not only do you get 150Ω, but the power handling capability doubles to 1/2W, and the effective tolerance tightens by a factor of √2 due to statistical averaging.
By respecting the physical limitations of the components you select, your current division networks will perform exactly as the math promises, surviving the thermal realities of the workbench.