
The Hardware Decision Matrix: Choosing Your First Pi
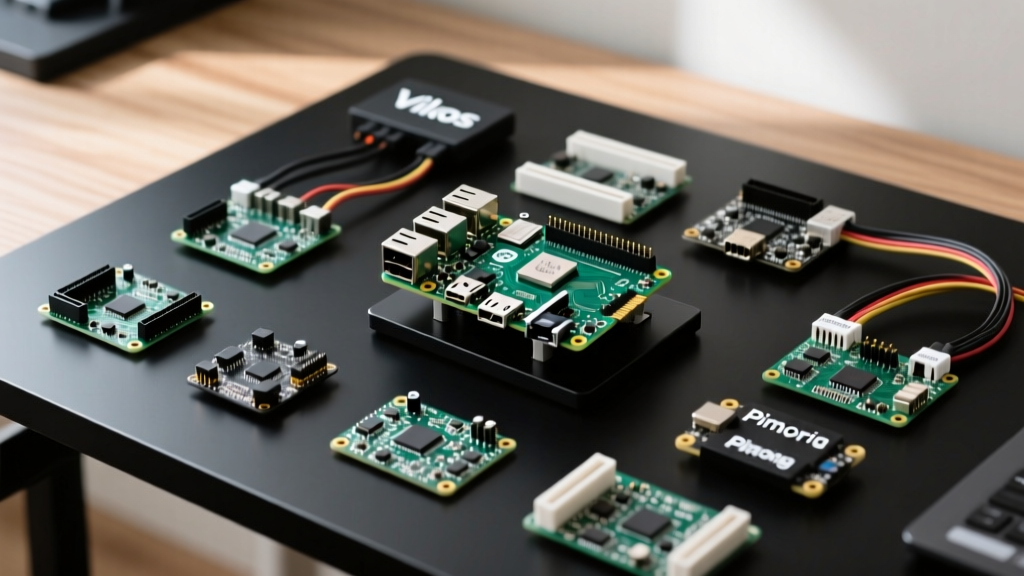
When searching for the best Raspberry Pi projects for beginners, the sheer volume of tutorials and hardware variants can be paralyzing. Before you write a single line of code or flash an operating system, you must select the right single-board computer (SBC) for your specific use case. The Raspberry Pi ecosystem has expanded significantly, and picking the wrong model is the number one reason beginners abandon their builds due to performance bottlenecks or power supply incompatibilities.
Below is a practical decision matrix to help you match your hardware to your first project. Note that prices are approximate MSRP values, though market availability may cause fluctuations.
| Model | RAM Options | Approx. Price | Best Beginner Project | Critical Power Requirement |
|---|---|---|---|---|
| Raspberry Pi 5 | 4GB / 8GB | $60 - $80 | Home Assistant / Media Server | 27W USB-C PD (5V/5A) |
| Raspberry Pi 4 Model B | 2GB / 4GB / 8GB | $45 - $75 | RetroPie Console / Desktop | 15W USB-C (5V/3A) |
| Raspberry Pi Zero 2 W | 512MB | $15 | Pi-hole / Portable Sensors | 10W Micro-USB (5V/2A) |
According to the official Raspberry Pi hardware documentation, using an underpowered supply on the Pi 5 will force the firmware to restrict USB peripheral current to 600mA. This is a massive failure point for beginners attempting to boot from external SSDs, as most NVMe enclosures require at least 1A to spin up or initialize.
Project 1: Network-Wide Ad Blocker (Pi-hole)
Why This is the Ultimate First Project
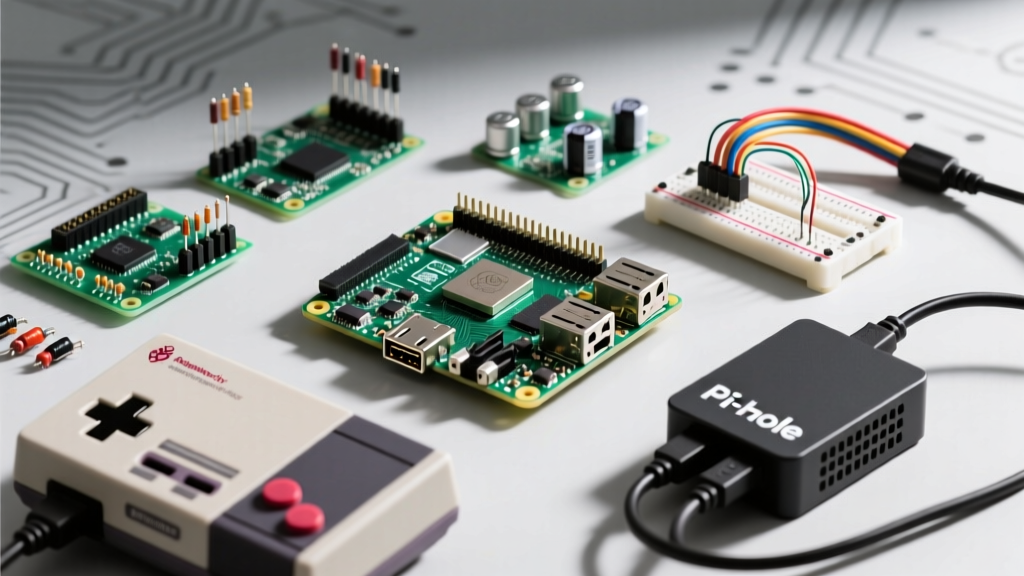
If there is a universal consensus on the best Raspberry Pi projects for beginners, it is the Pi-hole. This project transforms your SBC into a local DNS sinkhole, intercepting and blocking ad-tracking domains before they ever reach your devices. It requires minimal CPU resources, meaning it runs flawlessly on a $15 Pi Zero 2 W, freeing up your more powerful boards for heavier tasks.
Hardware Requirements and Common Failure Modes
- Hardware: Raspberry Pi Zero 2 W or Pi 4 (1GB+ RAM), 16GB MicroSD card, and a high-quality 2.5A power supply.
- Network: Ethernet connection is highly preferred over Wi-Fi to ensure DNS query latency remains under 2ms.
- Failure Mode 1 (Port Conflicts): If you choose to install Pi-hole on Ubuntu rather than Raspberry Pi OS Lite, you will likely encounter a port 53 conflict with
systemd-resolved. Always use Raspberry Pi OS Lite (64-bit) for headless server projects to avoid background service collisions. - Failure Mode 2 (Router DNS Override): Some ISP-provided routers hardcode DNS settings and ignore DHCP DNS distribution. You may need to manually set the DNS server on each device or configure your router to assign a static IP to the Pi and use it as the primary DNS gateway.
The installation is remarkably straightforward. By SSH-ing into your Pi and running the official automated script, the system handles the dependency mapping. You can review the exact terminal commands in the Pi-hole Basic Installation Guide. Once installed, accessing the web interface via http://[YOUR-PI-IP]/admin gives you a beautiful dashboard showing exactly which devices on your network are calling out to telemetry servers.
Project 2: RetroPie Retro Gaming Console
Thermal Throttling and Controller Mapping
Building a retro gaming console is a rite of passage. RetroPie sits on top of RetroArch and EmulationStation, providing a polished, couch-friendly interface for playing everything from Atari 2600 to PlayStation 1. However, beginners often misunderstand the thermal and computational limits of the hardware.
The Raspberry Pi 4 (4GB) is the sweet spot for this build. It handles 8-bit, 16-bit, and arcade (MAME) emulation flawlessly. However, when pushing into Nintendo 64 or Sega Dreamcast territory, the CPU must downclock to prevent thermal throttling. To mitigate this, you must invest in a passive aluminum heatsink case, such as the Geekworm Armor case, which turns the entire chassis into a heat sink. Active cooling (fans) on a Pi 4 often introduces high-frequency whine that interferes with the audio output over HDMI.
Storage Strategy for ROM Libraries
Do not store your ROM library on the same MicroSD card that holds the operating system. Emulators generate frequent save states and log files, which will rapidly exhaust the write-cycles of a standard SD card. Instead, format a USB 3.0 flash drive to exFAT, move your roms directory to the external drive, and use the RetroPie setup script to mount it automatically on boot. This separation ensures that if your ROM library becomes corrupted, your core operating system remains intact.
Project 3: Entry-Level Home Assistant Node
Why Not the Pi 5 for Home Assistant?
Home Assistant is the crown jewel of local smart home automation. While it is tempting to buy the newest, fastest hardware, the Raspberry Pi 5 is actually not the recommended starting point for Home Assistant in 2026. The Pi 5 requires specific PCIe configurations for NVMe HATs, and the Home Assistant OS (HAOS) image for Pi 5 has historically lagged behind the highly stable Pi 4 releases.
For a beginner smart home hub, a Raspberry Pi 4 (4GB) remains the gold standard. It offers native USB 3.0 for Zigbee coordinators and stable, long-term support from the Home Assistant development team.
The Zigbee Coordinator Requirement
Running Home Assistant on a Pi is only half the battle. To connect sensors, smart bulbs, and switches without relying on congested Wi-Fi networks, you need a Zigbee coordinator. The Sonoff Zigbee 3.0 USB Dongle Plus (P-Version) is widely considered the best entry-level antenna. When plugged into the Pi 4 via a USB 2.0 extension cable (to prevent 2.4GHz Wi-Fi/Bluetooth interference from the Pi's onboard radio), it creates a robust, local mesh network that operates entirely independently of the cloud.
Expert Insight: Never install Home Assistant as a standard Python package on top of Raspberry Pi OS. Always flash the dedicated Home Assistant OS (HAOS) image using the Raspberry Pi Imager. HAOS includes the Supervisor, which manages Docker containers, backups, and add-ons automatically—a critical feature for beginners who do not want to manage Linux dependencies manually. The Home Assistant Raspberry Pi Installation guide details this exact process.
The SD Card Corruption Epidemic: A Warning
The most common reason beginners quit the Raspberry Pi hobby is MicroSD card corruption. Standard SD cards (like the ubiquitous SanDisk Ultra) are designed for digital cameras, not for the continuous, random read/write operations of a Linux file system. When a sudden power loss occurs during a write cycle, the file system table can corrupt, rendering the Pi unbootable.
To bulletproof your beginner projects, adopt one of these two strategies:
- High Endurance Cards: Purchase SD cards specifically rated for dashcams and security cameras, such as the SanDisk High Endurance or Samsung PRO Endurance. These use MLC or high-grade TLC NAND designed for constant rewriting.
- USB SSD Boot: For the Pi 4 and Pi 5, bypass the SD card entirely. Flash your OS onto a cheap 128GB SATA SSD housed in a USB 3.1 enclosure. The Pi 4 and 5 support native USB boot out of the box, offering a 10x increase in I/O performance and near-zero risk of file system corruption compared to SD media.
Essential Beginner Toolkit and Next Steps
To ensure your first build is a success, keep the following tools on your workbench:
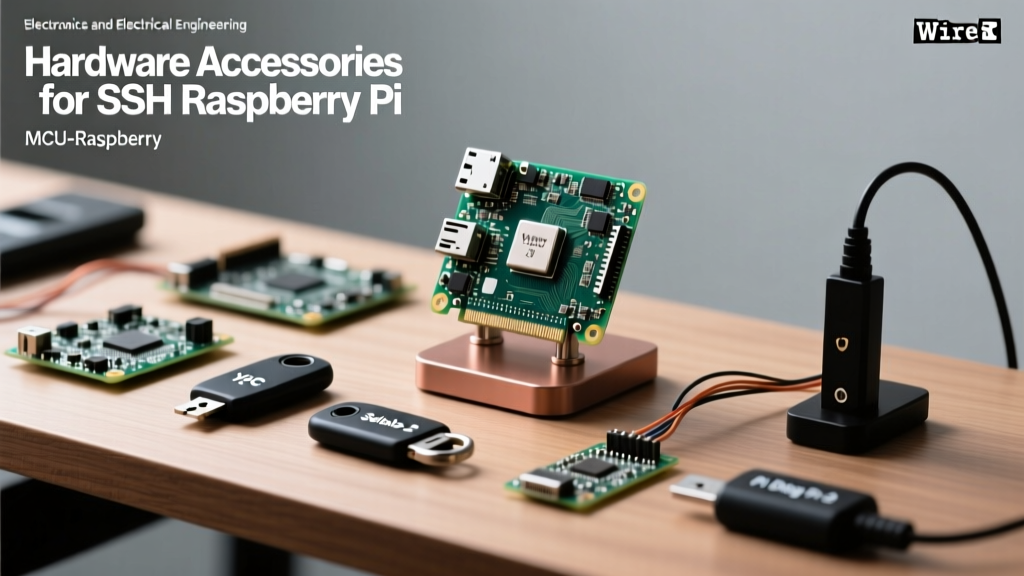
- Raspberry Pi Imager: The official flashing tool that allows you to pre-configure Wi-Fi, SSH, and hostname settings before you even insert the card into the Pi.
- Fing (Mobile App): A network scanner app to quickly find the IP address of your headless Pi when it connects to your router.
- PuTTY or Terminal: For SSH access. Learning basic Linux terminal navigation (
ls,cd,sudo nano,systemctl) is mandatory for advancing beyond beginner projects.
Starting with a Pi-hole, moving to a RetroPie console, and eventually tackling Home Assistant provides a structured, rewarding learning curve. By respecting the hardware limitations, investing in proper power supplies, and prioritizing storage endurance, you will bypass the most frustrating pitfalls and unlock the true potential of single-board computing.