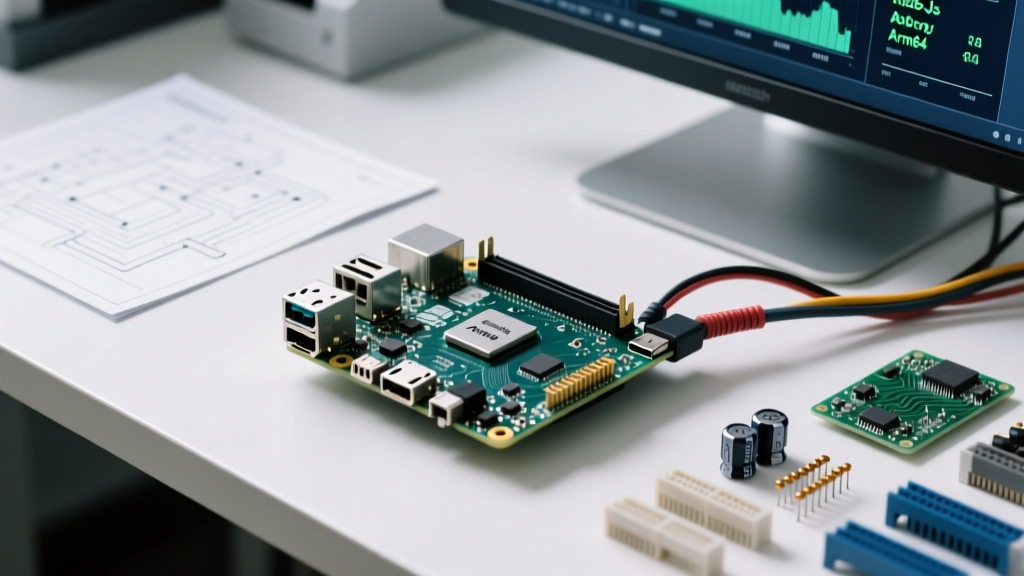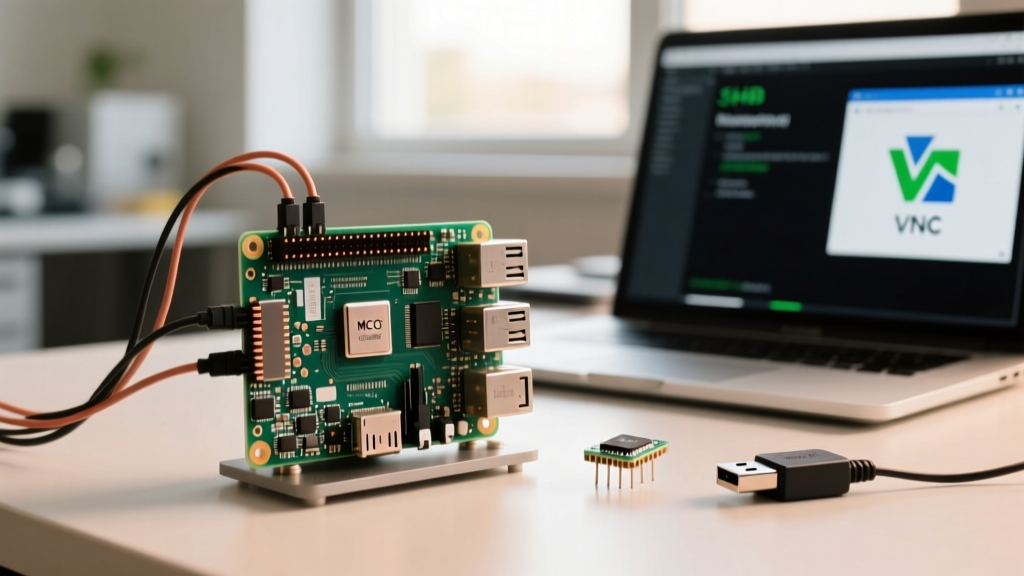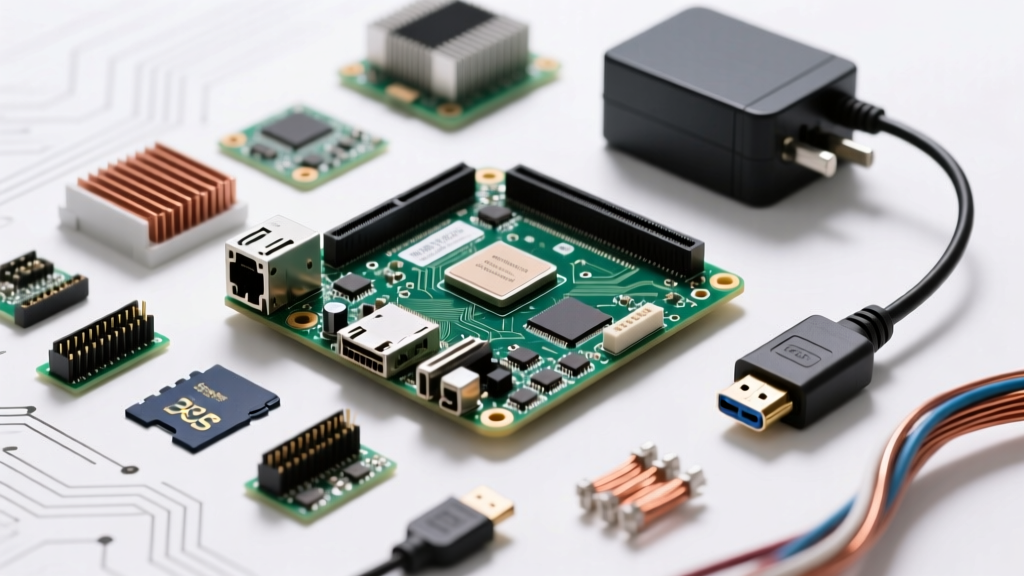

The Raspberry Pi 5 represents a massive architectural leap from its predecessors, introducing the RP1 southbridge, a PCIe 2.0 interface, and a significantly more power-hungry Broadcom BCM2712 SoC. Because of these hardware shifts, legacy setup methods no longer apply. If you are researching how to setup the Raspberry Pi for a headless Home Assistant node, an NVMe-backed media server, or a retro-gaming console, this guide covers the critical hardware prerequisites, the Bookworm OS paradigm shifts, and advanced thermal management.
The Pre-Flight Hardware Checklist: Beyond the Basics
Before you even think about flashing an SD card, you must verify your physical hardware stack. The Pi 5 is unforgiving if you attempt to reuse legacy Pi 4 accessories.
The 27W USB-C PD Power Requirement
The most common failure point for new Pi 5 users is inadequate power delivery. The official Raspberry Pi 27W USB-C PD power supply is virtually mandatory if you plan to use peripherals. If the Pi 5 detects a standard 15W (5V/3A) power supply via the USB-C PD handshake, it automatically restricts the downstream USB ports to a combined 600mA limit instead of the standard 1.6A. This means external SSDs, Zigbee dongles, and RGB peripherals will brown out and disconnect under load.
Display and RTC Battery Considerations
To achieve dual 4K at 60Hz, you must use high-speed MicroHDMI to HDMI 2.0 cables. Standard HDMI cables adapted to MicroHDMI often fail the bandwidth handshake, resulting in a black screen on boot. Additionally, the Pi 5 features a dedicated Real-Time Clock (RTC) header. If you are building a remote environmental sensor or an offline data logger, soldering a Panasonic ML-2020 lithium coin cell battery to the J5 header allows the board to maintain time without a network connection.
Flashing the OS: Navigating the Bookworm Shift
Raspberry Pi OS 'Bookworm' (Debian 12) fundamentally changes how the operating system handles networking and display servers. The old tutorials relying on dhcpcd and wpa_supplicant are officially deprecated.
Headless Configuration via Raspberry Pi Imager
When learning how to setup the Raspberry Pi in a headless configuration (no monitor or keyboard), the Raspberry Pi Imager is your best tool.
- Download the official Raspberry Pi Imager for your host OS.
- Select your Pi 5 as the target device and choose Raspberry Pi OS Lite (64-bit) for server/headless tasks to save RAM and CPU cycles.
- Click the Edit Settings button (or press
Ctrl+Shift+X) to open the advanced configuration menu. - Set your hostname, enable SSH (use password authentication for initial setup, then switch to key-based), and input your WiFi SSID and password.
Expert Insight: Because Bookworm uses NetworkManager instead of wpa_supplicant, dropping awpa_supplicant.conffile into the boot partition will be completely ignored by the OS. You must use the Imager's advanced menu or write a customfirstboot.shscript to inject NetworkManager configurations.
First Boot and Thermal Management
The BCM2712 chip is remarkably heat-dense. Running the Pi 5 bare without a cooling solution will trigger thermal throttling at 85°C within 45 seconds of a stress-ng CPU test, dropping the clock speed from 2.4GHz down to 1.5GHz to prevent silicon damage.
Active Cooler vs. Third-Party Tower Coolers
The official $5 Active Cooler is a masterclass in engineering. It connects to the dedicated 4-pin PWM fan header, which is controlled directly by the RP1 southbridge chip. This allows the firmware to dynamically ramp the fan speed based on the SoC's internal thermal diode readings. Third-party tower coolers often rely on passive aluminum mass or noisy 5V GPIO fans that run at 100% speed constantly.
| Cooling Solution | Idle Temp | Full Load Temp (stress-ng) | Acoustic Noise | Cost |
|---|---|---|---|---|
| Bare SoC (No Cooler) | 45°C | 85°C+ (Throttles) | Silent | $0 |
| Official Active Cooler | 38°C | 58°C | Very Low (PWM) | ~$5 |
| Argon ONE V3 Case | 35°C | 52°C | Low | ~$35 |
| Generic 5V GPIO Tower | 40°C | 65°C | High (Constant) | ~$12 |
Unlocking PCIe Gen 3.0 for NVMe Storage
Out of the box, the Raspberry Pi 5's PCIe HAT limits bandwidth to PCIe Gen 2.0 (roughly 450 MB/s). This was done by the Raspberry Pi Foundation to guarantee signal integrity across all board revisions and third-party HATs. However, if you are using a high-quality NVMe SSD and a shielded PCIe HAT (like the official M.2 HAT+), you can force PCIe Gen 3.0 speeds, unlocking up to 900 MB/s sequential reads.
To enable this, mount the boot partition on another machine or edit the file directly on the Pi via SSH:
sudo nano /boot/firmware/config.txtAdd the following lines to the bottom of the file:
dtparam=pciex1
dtparam=pciex1_gen=3
Reboot the system. As noted in Jeff Geerling's comprehensive Pi 5 review, forcing Gen 3 is generally stable on 4GB and 8GB models with official HATs, but may cause boot failures if your SSD draws too much power during initialization.
Post-Setup Optimization: Swappiness and ZRAM
If you are running a Pi-based smart home hub like Home Assistant, SD card wear is a primary failure mode. Bookworm enables swap space by default, which can chew through cheap MicroSD cards rapidly.
- Reduce the swappiness value to force the OS to use RAM over swap:
sudo sysctl vm.swappiness=10 - Install ZRAM to create a compressed block device in RAM:
sudo apt install zram-tools - Edit
/etc/default/zramswapto allocate 50% of your RAM to compressed swap, drastically reducing physical writes to your NVMe or SD card.
Troubleshooting Common Boot Failures
If your Pi 5 fails to POST, the green ACT LED acts as a diagnostic code reader. According to Tom's Hardware's Pi 5 testing, understanding these blink codes saves hours of blind troubleshooting:
- 4 Long, 5 Short: The RP1 southbridge chip is not communicating. This usually indicates a corrupted EEPROM or a severe power delivery failure.
- Continuous Rapid Blinking: The bootloader cannot find a valid
start.elffile. Reflash your boot partition. - No LED Activity: Check your 27W power supply. If the USB-C cable is damaged or lacks the proper e-marker chip for PD negotiation, the board's brownout detector will prevent the PMIC from engaging.
By respecting the new power requirements, adapting to Bookworm's NetworkManager ecosystem, and properly managing the SoC's thermal output, your Raspberry Pi 5 will serve as a rock-solid foundation for any advanced DIY electronics or home automation project.