
The Great Debate: USB Webcams vs. Raspberry Pi Camera Modules (CSI)
When embarking on a project that requires computer vision, security monitoring, or simple time-lapse photography, combining a Raspberry Pi and webcam is the most logical starting point. However, beginners are immediately faced with a hardware crossroads: should you use a standard USB webcam or a dedicated Raspberry Pi Camera Module (CSI)?
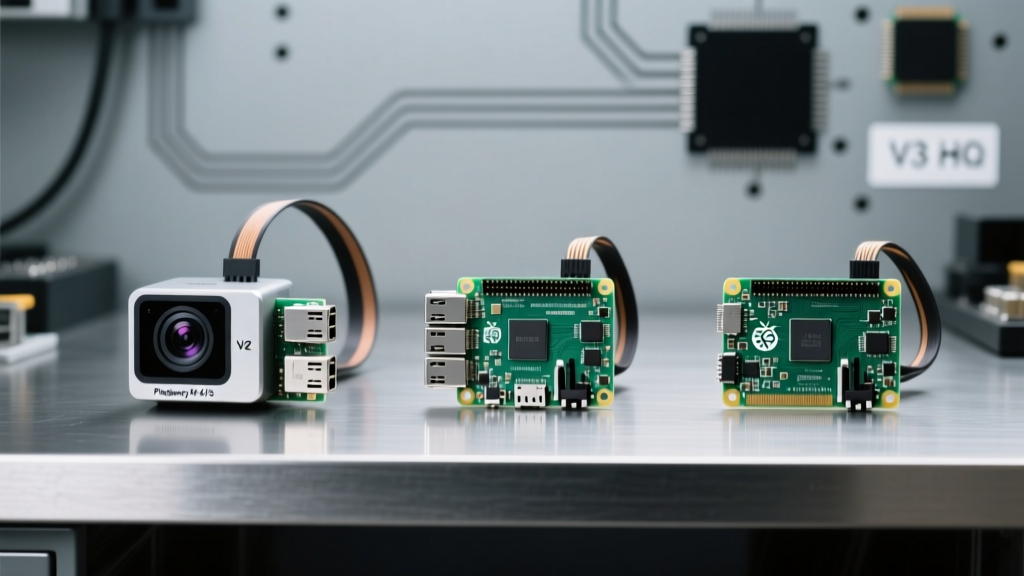
USB webcams rely on the Universal Serial Bus and the UVC (USB Video Class) standard. They are universally compatible, hot-swappable, and require zero ribbon cable management. Conversely, CSI (Camera Serial Interface) modules connect directly to the Pi's dedicated MIPI CSI-2 lanes via a flexible printed circuit (FPC) ribbon cable. This direct-to-SoC connection bypasses the USB controller, offering significantly lower latency, higher raw bandwidth, and direct access to the Raspberry Pi's Image Signal Processor (ISP).
Furthermore, CSI cameras grant developers direct access to the Pi's hardware Image Signal Processor. This allows for real-time hardware-accelerated adjustments to white balance, exposure, and lens shading correction without burdening the main CPU cores. USB webcams, on the other hand, rely on their own internal, often proprietary, firmware to process the image before sending compressed MJPEG or raw YUYV frames over the USB bus. This means you have significantly less granular control over the raw sensor data when using a USB webcam compared to a CSI module.
Expert Note: The legacy
raspistillandraspividcommands have been entirely deprecated in Raspberry Pi OS (Bookworm and later). Modern setups utilizing a Raspberry Pi and webcam must rely on thelibcameraopen-source stack. For a comprehensive breakdown of this transition, refer to the official Raspberry Pi camera software documentation.
Hardware Compatibility and Sensor Matrix
Choosing the right sensor dictates your success in low-light environments, AI object detection, and streaming bandwidth. Below is a comparison of the most common options when pairing a Raspberry Pi and webcam for DIY builds.
| Camera Model | Interface | Sensor / Resolution | Approx. Price | Best Use Case |
|---|---|---|---|---|
| Raspberry Pi Camera Module 3 | CSI (MIPI) | Sony IMX708 / 12MP | $25 - $30 | General purpose, HDR, Autofocus |
| Arducam 64MP Hawk-eye | CSI (MIPI) | Sony IMX682 / 64MP | $50 - $70 | High-res scanning, macro photography |
| Logitech C270 | USB 2.0 | Omnivision / 720p | $15 - $20 | Basic video calls, simple motion detection |
| Logitech C920 Pro | USB 2.0 | Glass Lens / 1080p | $60 - $80 | High-quality streaming, Home Assistant |
Step-by-Step: Connecting Your Raspberry Pi and Webcam
Scenario A: Plugging in a Standard UVC USB Webcam
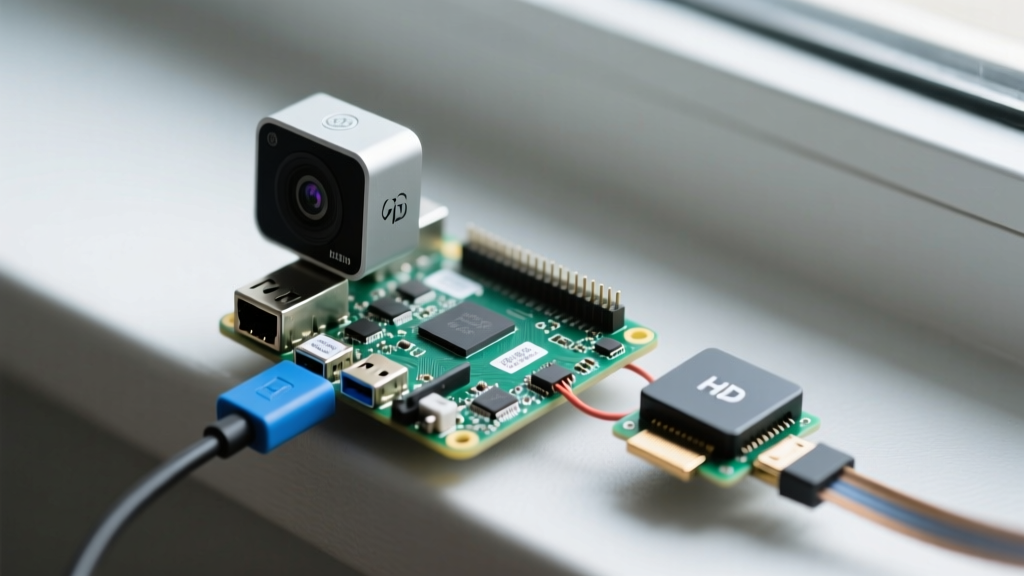
USB webcams are remarkably straightforward thanks to the Linux UVC driver framework. If your webcam is UVC-compliant (most modern Logitech, Microsoft, and generic brands are), it will operate on a plug-and-play basis. Simply plug the USB-A connector into your Raspberry Pi 4 or 5. The Linux kernel will automatically load the uvcvideo module. You can verify the driver handshake by checking the Linux UVC driver compatibility list if your device fails to mount.
Scenario B: Attaching a CSI Ribbon Cable Camera
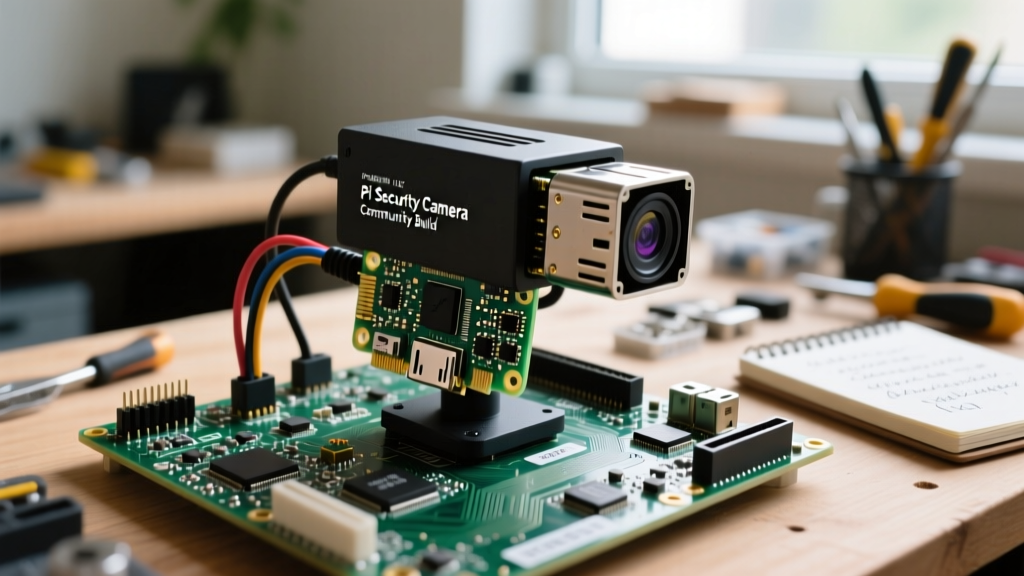
Connecting a CSI camera is where most beginners encounter physical hardware failures. The ribbon cable must be seated perfectly. Follow these exact steps:
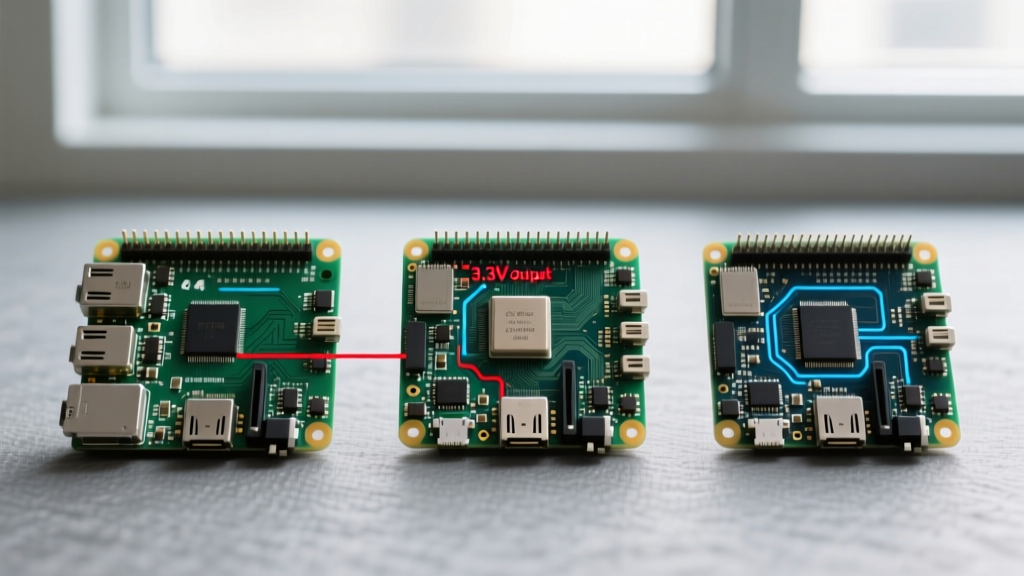
- Power Down: Never hot-swap a CSI ribbon cable. Doing so can short the 3.3V and 1.8V lines, permanently frying the Pi's SoC or the camera's PMIC.
- Open the Latch: Locate the CSI port on the Pi. Gently pull the black plastic collar upward by about 1-2mm on both sides. It will click into an unlocked position.
- Insert the Cable: Slide the ribbon cable into the slot. Critical Orientation: The exposed metal pins (the blue tape side) must face away from the Ethernet/USB ports and towards the HDMI/Power ports.
- Lock the Latch: Push the plastic collar back down evenly to clamp the cable.
Important Pi 5 Note: The Raspberry Pi 5 utilizes smaller, denser 22-pin MIPI connectors compared to the 15-pin connectors on the Pi 4. If you are using an older Camera Module V2 or V3 on a Pi 5, you must purchase a specific 15-pin to 22-pin FPC adapter cable.
Essential Linux Commands for Camera Verification
Before writing Python scripts or configuring Home Assistant, you must verify that the OS recognizes the hardware. Open your terminal and utilize these foundational Video4Linux2 (V4L2) commands. The V4L2 kernel API is the backbone of all video processing in Linux.
lsusb: Lists all USB devices. Look for your webcam's vendor ID (e.g., 046d for Logitech).v4l2-ctl --list-devices: Maps your physical cameras to virtual device nodes (like/dev/video0).libcamera-hello -t 5000: The modern replacement for raspistill. This command will open a preview window on your desktop for 5000 milliseconds (5 seconds) using the default CSI or USB camera.libcamera-jpeg -o test.jpg: Captures a single still frame and saves it to your home directory.
Testing with Python and Picamera2
For developers looking to integrate the camera into custom Python scripts, the legacy picamera library is obsolete. You must now use the picamera2 Python bindings, which interface directly with libcamera. Here is a minimal script to capture an image:
from picamera2 import Picamera2
from time import sleep

picam2 = Picamera2()
picam2.start_and_capture_file('image.jpg')
print('Capture complete!')
This modern stack ensures compatibility with the latest Raspberry Pi OS architectures and leverages the DMA (Direct Memory Access) buffers for zero-copy image transfers, drastically reducing CPU overhead during high-framerate video recording.
Troubleshooting Common Video Feed Failures
Even with a perfectly seated Raspberry Pi and webcam setup, software and power anomalies can disrupt your feed. Here is how to diagnose the most frequent failure modes:
- USB Bandwidth Saturation: If you are using a Pi 4 and have a USB webcam, an external SSD, and a Zigbee dongle plugged into the blue USB 3.0 ports, you may experience frame drops. The Pi 4 shares a single PCIe lane for all USB 3.0 traffic. Move the webcam to a black USB 2.0 port to free up bandwidth.
- Power Supply Brownouts: Camera initialization causes a sudden current spike. The Pi Camera Module 3 draws roughly 150mA during startup. If your Pi is connected to a weak phone charger, the system will throttle the CPU and drop the USB bus voltage, causing the webcam to disconnect randomly. Always use the official 27W USB-C PD power supply for the Pi 5, or a 3A supply for the Pi 4.
- CSI Camera Not Detected: If
libcamera-helloreturns a 'No cameras available' error, 90% of the time the ribbon cable is backwards, or the connector at the camera module end (not just the Pi end) is slightly loose. Reseat both ends. - Fixed Focus Blurriness: Cheap USB webcams like the C270 are fixed-focus, optimized for a distance of roughly 40cm to infinity. If you are using it for close-up macro scanning, the image will be unusable. You must physically crack open the lens housing and twist the lens element to change the focal plane.
- Thermal Throttling During 4K Encode: If you are using the Pi Camera Module 3 to record 4K video or streaming high-bitrate feeds, the Pi's SoC will generate significant heat. Once the CPU hits 80°C, the Pi will throttle clock speeds, leading to dropped frames and corrupted video files. Always attach an active cooler or a high-mass passive heatsink to the Raspberry Pi when running continuous camera workloads.
Next Steps: Streaming and Home Assistant Integration
Once your Raspberry Pi and webcam hardware is verified and capturing local frames, the next logical step is network integration. For smart home enthusiasts, passing the /dev/video0 stream into Home Assistant via the generic IP camera integration or Frigate NVR allows for local, privacy-focused AI object detection.
If you are building a standalone security node, consider installing motionEyeOS or configuring ustreamer to push a lightweight MJPEG stream over your local network. By mastering the physical connections and the underlying V4L2/libcamera software stack, you transition from simply plugging in a webcam to engineering robust, custom computer vision pipelines.