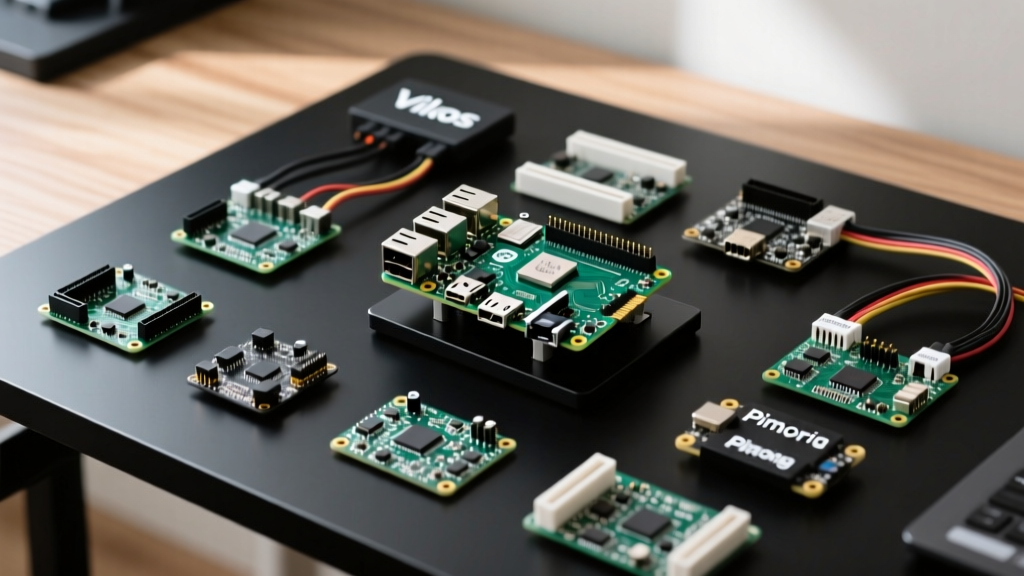

The Challenge of the Bare Raspberry Pi Pinout
When you first unbox a single-board computer, the 40-pin header is both an invitation and a hazard. Understanding the exact pinout Raspberry Pi layout is critical before you ever connect a wire. The bare pins are fragile, prone to short circuits, and completely unforgiving if you accidentally feed 5V into a 3.3V logic line. While the Raspberry Pi Official GPIO Documentation provides the schematic, physically interacting with those bare pins requires the right accessories.
In this accessory review, we evaluate three of the most popular GPIO management solutions on the market: the Vilros Terminal Block HAT, the Pimoroni Proto HAT, and the Adafruit Pi Cobbler+. Whether you are building an industrial Home Assistant node or a temporary breadboard prototype, choosing the right physical interface for your board will save you from catastrophic silicon failure.
Electrical Realities of the 40-Pin Header
Before reviewing the hardware, we must establish the electrical baseline. The standard 40-pin header provides eight ground pins, two 5V pins, two 3.3V pins, and 26 usable GPIO lines. On the Raspberry Pi 4 (BCM2711) and Raspberry Pi 5 (RP1 southbridge), the logic level is strictly 3.3V.
A common failure mode occurs when users misinterpret the I2C pins (GPIO 2 and GPIO 3). These pins feature onboard 1.8kΩ pull-up resistors tied to the 3.3V rail. If you connect a 5V I2C sensor directly to these pins without a logic level shifter, you will back-feed current into the SoC, permanently bricking the I2C controller. Furthermore, the Raspberry Pi 5 introduces the RP1 chip, which handles GPIO routing differently than the BCM2711, resulting in slightly different drive strength characteristics. A robust physical accessory must not only map the pins but provide physical strain relief to prevent trace tearing on the main PCB.
Accessory 1: Vilros Terminal Block HAT (The Industrial Choice)
The Vilros Terminal Block HAT is designed for permanent, enclosure-mounted deployments. Instead of standard male headers, it breaks out the entire pinout Raspberry Pi configuration into screw terminals. Priced around $16, it is a staple in DIY smart home relay boards and HVAC controllers.
Wiring Integrity and Failure Modes
The primary advantage of the Vilros HAT is its acceptance of 14 to 28 AWG wire. This allows you to use thick, low-resistance wiring for the 5V and Ground rails, which is essential when powering high-draw peripherals like WS2812B LED strips. However, the failure mode here is mechanical. The screw terminals are mounted on a standard FR4 PCB. If you over-torque the screws with a power driver, you can easily strip the copper pads or crack the solder joints underneath the terminal block. Always use a precision hand screwdriver and tin your wire ends before clamping them down to prevent stray copper whiskers from shorting adjacent 3.3V and 5V pins.
Accessory 2: Pimoroni Proto HAT (The Prototyper's Dream)
If your goal is to solder custom circuits directly onto a shield, the Pimoroni Proto HAT (approximately $10) is the gold standard. It mirrors the pinout Raspberry Pi layout onto a standard 0.1-inch perfboard grid, complete with power rails and a dedicated EEPROM header.
Soldering Clearance and Thermal Considerations
Pimoroni uses an ENIG (Electroless Nickel Immersion Gold) surface finish on the plated through-holes. Unlike cheaper HASL (Hot Air Solder Leveling) boards, ENIG provides a perfectly flat surface and excellent shelf life, making it significantly easier to solder fine-pitch surface-mount components alongside the through-hole GPIO pins. Crucially, the Pimoroni Proto HAT includes the I2C EEPROM pins (ID_SD and ID_SC on pins 27 and 28). By wiring an EEPROM chip to these pins, your custom HAT can automatically load specific device tree overlays upon boot, a feature detailed extensively in the Pinout.xyz interactive map. The only drawback is the lack of built-in strain relief; if you plug in stiff ribbon cables, the leverage can warp the Pi's main PCB over time.
Accessory 3: Adafruit Pi Cobbler+ (The Breadboard Bridge)
For students, educators, and rapid prototypers, the Adafruit Pi Cobbler+ (around $8) remains undefeated. It uses a ribbon cable to break the pinout Raspberry Pi header out onto a standard solderless breadboard.
Signal Degradation and Capacitance
The Cobbler+ is brilliant for basic digital I/O and low-speed UART debugging. However, as an electrical engineer, I must warn against using the standard 6-inch ribbon cable for high-speed SPI or I2C communications. The parallel wires in the ribbon cable introduce parasitic capacitance. At I2C speeds above 400kHz, or SPI clock rates exceeding 10MHz, this capacitance rounds off the square wave signals, leading to data corruption and bus lockups. If you must use the Cobbler+ for high-speed sensors, keep the ribbon cable as short as possible and manually lower the bus speed in your Python or C++ configuration scripts.
Comparative Breakdown: Which Pinout Accessory Wins?
| Feature | Vilros Terminal HAT | Pimoroni Proto HAT | Adafruit Cobbler+ |
|---|---|---|---|
| Price | ~$16.00 | ~$10.00 | ~$8.00 |
| Form Factor | Screw Terminals | Solderable Perfboard | Breadboard Breakout |
| Best Use Case | Industrial / Enclosures | Custom Permanent HATs | Education / Rapid Testing |
| Strain Relief | Excellent | Poor | Moderate |
| EEPROM Support | No | Yes | No |
| High-Speed Safe? | Yes (Short wires) | Yes | No (Parasitic Capacitance) |
Real-World Troubleshooting: Pinout Miswiring Disasters
Even with the best accessories, human error happens. Let's look at a common disaster scenario: accidentally wiring a 5V sensor output to GPIO 17 (Pin 11). The BCM2711 and RP1 chips feature internal ESD protection diodes that route over-voltage to the 3.3V rail. If the sensor can only supply a few microamps, the diode clamps the voltage and the Pi survives. However, if the sensor is powered by a robust 5V buck converter capable of delivering 2 amps, the protection diode will vaporize, and the 5V will flood the 3.3V logic bank, instantly killing the SoC.
To prevent this, I highly recommend adding a sacrificial buffer. If you are using the Pimoroni Proto HAT, wire a 74LVC245 octal bus transceiver between your external sensors and the Pi's GPIO pins. Powered by 3.3V, the 74LVC245 will safely clamp any incoming 5V signals down to 3.3V logic levels, acting as an impenetrable shield for your single-board computer.
Final Verdict on GPIO Management
There is no single 'best' accessory for the pinout Raspberry Pi ecosystem; the right choice depends entirely on your deployment environment. If you are wiring up 12V relays and thick-gauge wiring for a Home Assistant HVAC controller, the Vilros Terminal Block HAT is mandatory for safety and mechanical stability. If you are designing a custom PCB shield and need EEPROM auto-configuration, the Pimoroni Proto HAT offers the best soldering experience. Finally, if you are just learning Python GPIO libraries or debugging a UART serial console, the Adafruit Cobbler+ is the most cost-effective and flexible starting point. Respect the 3.3V logic limits, double-check your ground connections, and your Pi will run reliably for years.