
Building a local media server is one of the most rewarding projects you can undertake with a single-board computer. If you are researching how to use Raspberry Pi for streaming media to your living room TV, mobile devices, or remote clients, the Raspberry Pi 5 represents a massive leap forward in capability. Unlike older generations that struggled with high-bitrate 4K REMUX files or concurrent streams, the Pi 5's upgraded CPU, dedicated I/O controller, and PCIe interface make it a genuine contender for a dedicated home theater backend.
In this comprehensive project tutorial, we will bypass basic media center setups like LibreELEC and instead build a robust, headless Jellyfin media server. We will cover hardware selection, NVMe storage bottlenecks, Docker deployment, and crucial Broadcom VideoCore VII hardware transcoding configurations.
The Architecture: Why Raspberry Pi 5 for Media Streaming?
Historically, using a Raspberry Pi as a media server (rather than just a client) was bottlenecked by USB 2.0 speeds and limited RAM. The Raspberry Pi 5 changes this paradigm entirely. With an ARM Cortex-A76 quad-core processor clocked at 2.4GHz and up to 8GB of LPDDR4X RAM, it can handle the metadata scraping, database management, and network I/O required by modern media servers.
Furthermore, Jellyfin is an open-source, self-hosted alternative to Plex. It requires no licensing fees for hardware transcoding and respects user privacy by keeping your media library entirely local.
Hardware Bill of Materials (BOM) & Real-World Costs
To build a reliable streaming media server, you need more than just the bare board. Thermal management and storage I/O are critical. Below is the recommended BOM for a production-grade Pi 5 media server.
| Component | Recommended Model | Approx. Price | Purpose |
|---|---|---|---|
| SBC | Raspberry Pi 5 (8GB RAM) | $80.00 | Core compute and metadata handling |
| Case & Cooling | Argon ONE V3 M.2 NVMe Case | $65.00 | Active cooling + NVMe integration |
| Storage (OS) | Samsung 980 500GB NVMe | $45.00 | Fast database and metadata storage |
| Storage (Media) | Seagate IronWolf 8TB NAS HDD | $160.00 | Bulk media storage (via USB 3.0 dock) |
| Power Supply | Official Pi 27W USB-C PD PSU | $12.00 | Stable 5V/5A power delivery |
Preparing the Storage: NVMe vs. USB 3.0 Bottlenecks
A common mistake when learning how to use Raspberry Pi for streaming media is attempting to boot and run the media database from a microSD card. MicroSD cards suffer from terrible random I/O performance, which will cause Jellyfin's metadata scraping to hang or crash.
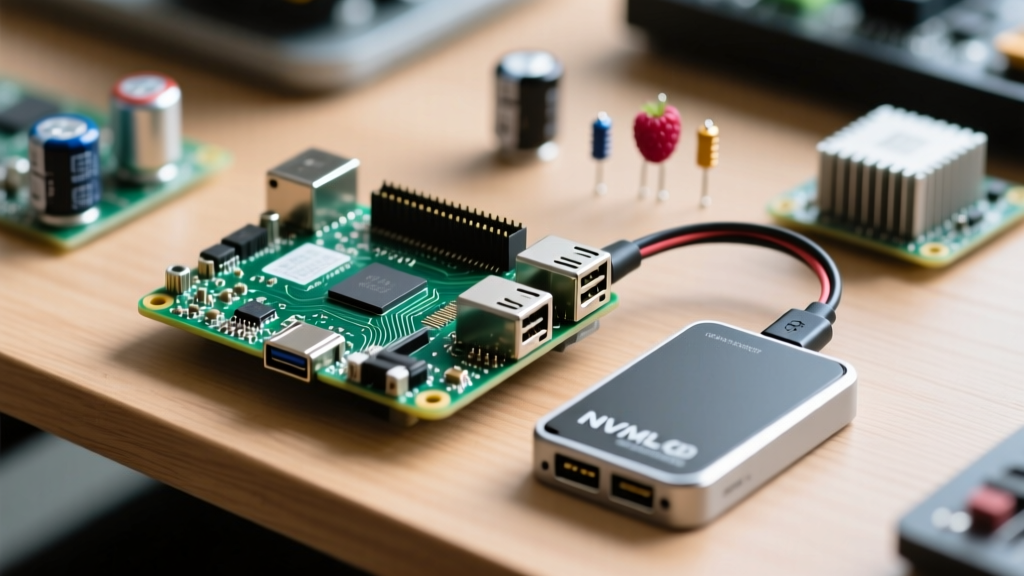
The Raspberry Pi 5 features a PCIe 2.0 x1 interface. While not as fast as desktop Gen 4 NVMe drives, it delivers real-world sequential read speeds of around 400-450 MB/s. This is more than enough to host the Raspberry Pi OS, the Docker containers, and the Jellyfin SQLite database. Note that while the Pi 5 supports an experimental PCIe Gen 3.0 mode, it is highly recommended to stick to Gen 2.0 for media servers to prevent link instability and data corruption during heavy I/O operations.
Mounting Bulk Media via CIFS/NFS
Your actual media files (movies, TV shows) should reside on a high-capacity NAS or a USB 3.0 external hard drive array. To mount a network share persistently, edit your /etc/fstab file:
//192.168.1.100/MediaShare /mnt/media cifs credentials=/root/.smbcredentials,uid=1000,gid=1000,iocharset=utf8,vers=3.0 0 0Ensure you use SMB 3.0 or NFSv4 to maximize throughput over your Gigabit Ethernet connection, which will max out around 940 Mbps (roughly 117 MB/s)—plenty of bandwidth for multiple simultaneous 4K direct-play streams.
Deploying Jellyfin via Docker Compose
Running Jellyfin in a Docker container isolates the application, simplifies updates, and makes backing up your configuration trivial. Before proceeding, ensure you have installed Docker Engine and Docker Compose on your headless Raspberry Pi OS Lite (64-bit) installation.
Create a directory for your stack:
mkdir -p /opt/jellyfin
cd /opt/jellyfin
nano docker-compose.yml
Paste the following configuration. Pay special attention to the volume mappings and environment variables.
version: '3.8'
services:
  jellyfin:
    image: jellyfin/jellyfin:latest
    container_name: jellyfin
    user: 1000:1000
    network_mode: 'host'
    volumes:
      - ./config:/config
      - ./cache:/cache
      - /mnt/media:/media:ro
    devices:
      - /dev/video10:/dev/video10
      - /dev/video11:/dev/video11
      - /dev/video12:/dev/video12
    environment:
      - JELLYFIN_PublishedServerUrl=http://192.168.1.50:8096
    restart: always
Configuring Hardware Transcoding (V4L2)
The most critical part of this setup is the devices block in the Docker Compose file. The Raspberry Pi's Broadcom BCM2712 SoC does not use standard Intel QuickSync or NVENC for hardware acceleration. Instead, it relies on the VideoCore VII V4L2 (Video4Linux2) M2M (Memory-to-Memory) decoder and encoder.
- /dev/video10: H.264 / H.265 (HEVC) Decoder
- /dev/video11: H.264 Encoder
- /dev/video12: JPEG Decoder
By mapping these specific device nodes into the container, Jellyfin can offload the heavy lifting of video transcoding from the CPU to the dedicated silicon. According to the official Jellyfin hardware acceleration documentation, you must then navigate to the Jellyfin Dashboard > Playback > Transcoding, and select Video4Linux2 (V4L2) as your hardware acceleration method. Enable HEVC and H.264 decoding, but be aware that the Pi's hardware encoder is primarily limited to H.264.
Network Topology & Playback Troubleshooting
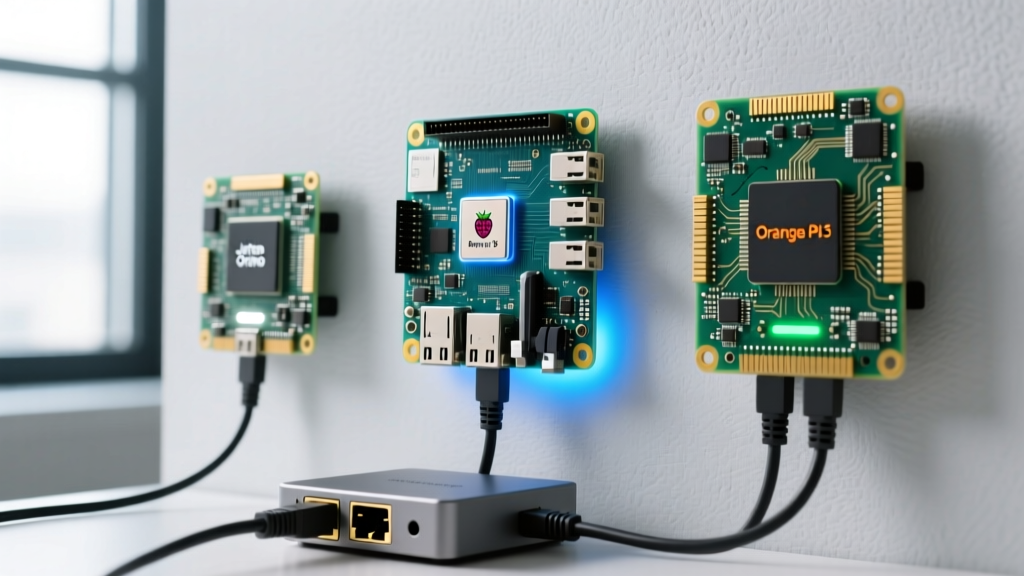
When figuring out how to use Raspberry Pi for streaming media across a whole home, network topology is usually the culprit behind buffering and playback failures. The Raspberry Pi 5 features a true Gigabit Ethernet MAC. You must wire the Pi directly to your primary router or switch.
Expert Warning: Never rely on the Pi 5's dual-band Wi-Fi 5 for a media server. Wi-Fi introduces jitter and latency spikes that will cause high-bitrate 4K REMUX files (often pushing 60-80 Mbps) to buffer continuously on client devices like the Nvidia Shield or Apple TV.
Common Failure Modes and Thermal Throttling
Even with active cooling, sustained transcoding sessions can push the BCM2712 chip to its thermal limits. If the Pi reaches 80°C, it will begin to throttle, resulting in dropped frames and stuttering streams. You can monitor the thermal and voltage state of your Pi in real-time using the terminal:
vcgencmd get_throttledIf the command returns throttled=0x50000 or similar hex values indicating active throttling, your cooling solution is inadequate. The Argon ONE V3 case routes heat from the SoC directly to the aluminum chassis, acting as a massive passive heatsink, but you must ensure the case's internal fan profile is configured via i2c to spin up aggressively under load.
Another common failure mode is database corruption due to power brownouts. The Pi 5 is notoriously sensitive to voltage drops on the 5V rail. If you are using a USB 3.0 hard drive dock for your media storage without an external powered hub, the drive's spin-up current can pull the Pi's voltage below 4.65V, triggering an immediate reboot or SD/NVMe filesystem corruption. Always use a powered USB hub or a dedicated NAS for bulk storage.
Optimizing Client Direct Play
The ultimate goal of your Raspberry Pi media server is to avoid transcoding entirely. Transcoding degrades image quality and taxes the Pi's hardware. To ensure 'Direct Play' works seamlessly, organize your media library using standard naming conventions (e.g., Movie Name (Year).mkv) and prioritize media encoded in H.264 or H.265 with AAC or AC3 audio tracks. Modern streaming clients like the Roku Ultra, LG WebOS TVs, and Apple TV 4K natively support these containers, allowing the Raspberry Pi to act purely as a high-speed file server rather than a rendering engine.
By combining the PCIe NVMe storage capabilities of the Pi 5, the open-source flexibility of Jellyfin, and precise V4L2 hardware mapping, you transform a $80 single-board computer into a formidable, low-power streaming media hub capable of serving your entire household.