
Unlocking the Best Things to Do on a Raspberry Pi Through Hardware
When makers and engineers discuss the most exciting things to do on a Raspberry Pi, the conversation often revolves around software stacks like Home Assistant, Frigate NVR, or RetroPie. However, software is only half the equation. The true capability of your single-board computer (SBC) is dictated by the physical accessories and Hardware Attached on Top (HATs) you connect to it. As we move through 2026, the Raspberry Pi 5 and updated Pi 4 ecosystems have matured, allowing for enterprise-grade edge computing, localized AI vision, and ultra-low-latency smart home routing.
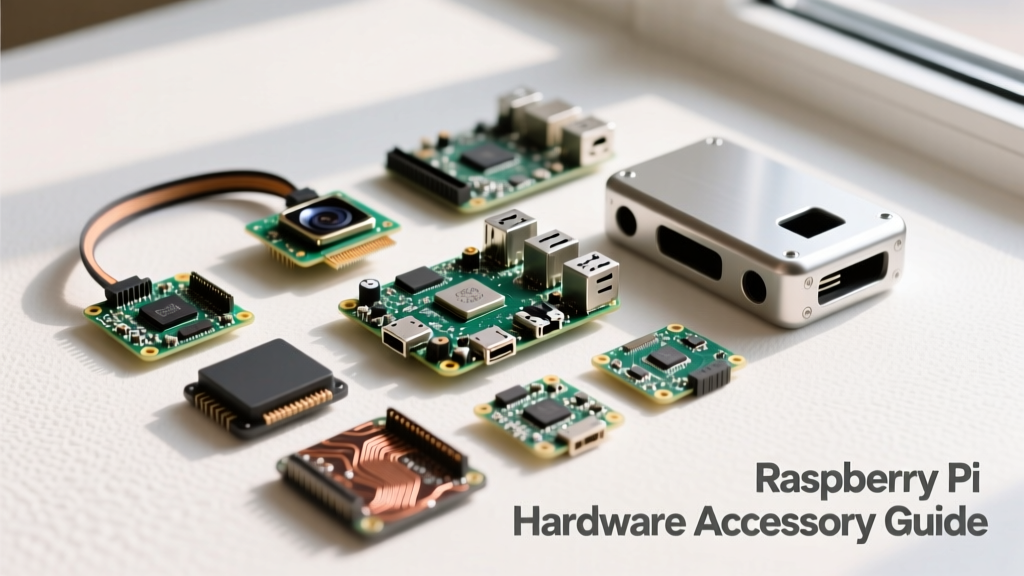
In this accessory review, we are looking past the basic starter kits. We will evaluate three premium hardware add-ons that unlock the most demanding and rewarding things to do on a Raspberry Pi, analyzing their technical specifications, real-world failure modes, and integration requirements. Whether you are building an AI-driven security node or a high-fidelity media server, the right hardware is non-negotiable.
Computer Vision & AI: Arducam IMX477 HQ Camera Module
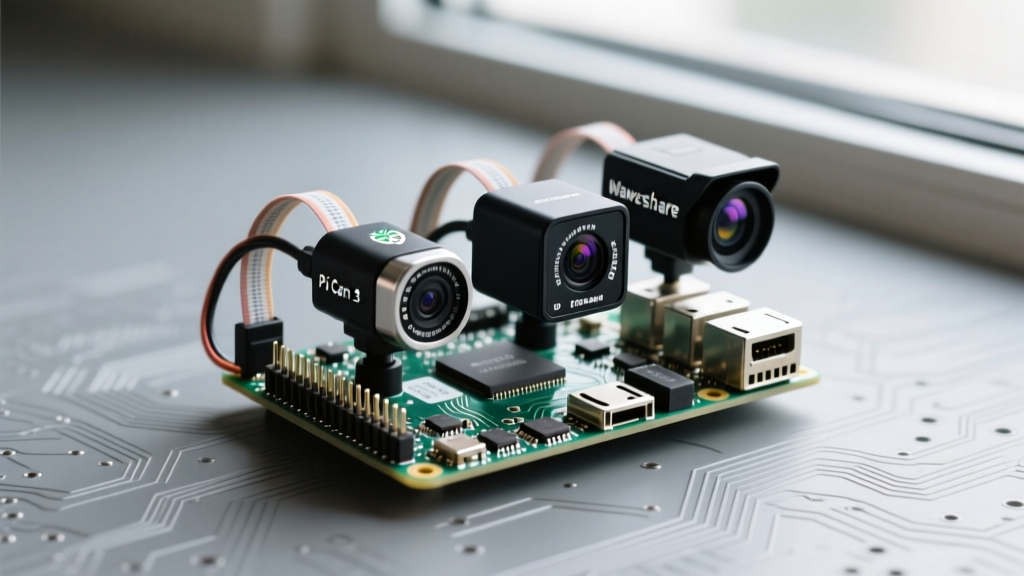
If your list of things to do on a Raspberry Pi includes running local machine learning models, object detection, or high-resolution time-lapse photography, the official 8MP camera module will quickly bottleneck your project. The Arducam IMX477 HQ Camera Module is the definitive upgrade for computer vision tasks.
Technical Specifications & Real-World Performance
The IMX477 features a 12.3-megapixel Sony back-illuminated sensor with a 1.55µm x 1.55µm pixel size. Unlike fixed-lens alternatives, this module utilizes a standard C/CS lens mount, allowing you to attach high-quality, interchangeable CCTV or industrial lenses. When paired with a Raspberry Pi 5 running the modern libcamera stack, the IMX477 can output 4056x3040 resolution at 30 frames per second.
- Best Use Case: Frigate NVR for localized, subscription-free security camera processing.
- AI Integration: Excellent for TensorFlow Lite object detection when paired with a Hailo-8L AI accelerator HAT.
- Low Light: The back-illuminated sensor architecture provides vastly superior signal-to-noise ratios in sub-10 lux environments compared to the older OV5647 sensors.
Installation Caveats and Failure Modes
The most common failure mode with the IMX477 is not electronic, but mechanical. The 22-pin Flexible Printed Circuit (FPC) ribbon cable is highly susceptible to micro-tears if bent at a sharp 90-degree angle during enclosure mounting. Furthermore, because the IMX477 draws more current and utilizes the I2C bus for sensor initialization, users occasionally encounter I2C ID conflicts if they have multiple peripherals (like environmental sensors) sharing the same SDA/SCL lines. Always ensure your secondary I2C devices are mapped to a software I2C bus via dtoverlay configurations in your config.txt file.
Smart Home Automation: RaZberry 7 Pro Z-Wave HAT
Building a localized, cloud-independent smart home is arguably one of the most practical things to do on a Raspberry Pi. While Zigbee and Thread are popular, Z-Wave remains the gold standard for reliable, mesh-networked smart home actuators due to its strict certification requirements and sub-GHz frequency penetration. The RaZberry 7 Pro Z-Wave HAT plugs directly into the Pi’s GPIO header, eliminating the need for messy USB dongles.
UART Mapping and Interference Mitigation
The RaZberry 7 Pro utilizes the Silicon Labs EFR32ZG23 SoC, communicating with the Raspberry Pi via the hardware UART pins (GPIO 14 and 15). To make this accessory function correctly with the Home Assistant Z-Wave JS Integration, you must disable the Pi's onboard Bluetooth, which reserves the primary UART by default.
Pro Tip: Add
dtoverlay=disable-btto your/boot/firmware/config.txtand disable thehciuartsystemd service. This frees up the/dev/ttyAMA0port, ensuring stable 115200 baud rate communication between the Pi and the Z-Wave silicon.
Unlike USB-based Z-Wave sticks, which frequently suffer from catastrophic packet loss due to USB 3.0 broadband noise interference, the GPIO-mounted RaZberry HAT bypasses the USB bus entirely. This results in a vastly more stable mesh network, capable of reliably polling over 150 nodes without the latency spikes common in USB dongle setups.
Retro Gaming & Media: Argon ONE V3 NVMe Aluminum Case
Transforming the Pi into a retro gaming console or a 4K media center are classic things to do on a Raspberry Pi. However, thermal throttling and sluggish microSD card I/O can ruin the experience. The Argon ONE V3 NVMe case solves both issues while providing a sleek, consumer-electronics aesthetic.
Thermal Mass and PCIe Bridge Stability
The Argon ONE V3 is machined from a single block of aerospace-grade aluminum alloy. The top plate acts as a massive passive heatsink, making direct contact with the Pi’s CPU and PMIC via high-density thermal pads. Under sustained synthetic loads, the passive mass alone keeps the Raspberry Pi 5 under the 85°C thermal throttling threshold for nearly 15 minutes before the integrated programmable PWM fan engages.
More importantly, the V3 baseplate features an M.2 NVMe SSD slot. Utilizing the Raspberry Pi 5’s newly exposed PCIe 2.0 x1 lanes, the case routes the connection via a flexible FPC cable to the board's PCIe FFC connector. Booting RetroPie or Recalbox from an NVMe drive reduces game ROM load times by up to 400% compared to UHS-I microSD cards, and eliminates the filesystem corruption issues inherent to flash memory during sudden power losses.
Power Delivery: The 27W USB-C PD Requirement
No accessory review is complete without addressing power. When executing high-load things to do on a Raspberry Pi—such as compiling code, running local LLMs, or powering NVMe drives and USB peripherals simultaneously—voltage drop is the silent killer of system stability. The Raspberry Pi 5 requires a strict 5V/5A (27W) USB-C Power Delivery profile to unlock the full 1.6A current limit to downstream USB peripherals. Using a standard 5V/3A phone charger will trigger a firmware-level warning and restrict USB current, causing external SSDs to randomly unmount during heavy I/O operations. Always pair your premium accessories with the official Raspberry Pi 27W USB-C PD power supply.
Project Matrix: Matching Accessories to Your Pi Ambitions
To help you decide which hardware to invest in, refer to the matrix below. This outlines the optimal accessory pairings for the most popular things to do on a Raspberry Pi in 2026.
| Project Goal | Primary Accessory | Secondary Add-On | Est. Hardware Cost |
|---|---|---|---|
| Local AI Security NVR | Arducam IMX477 HQ | Hailo-8L AI HAT | $145 - $180 |
| Cloud-Free Smart Home | RaZberry 7 Pro HAT | Argon ONE V3 Case | $130 - $150 |
| High-Fidelity Retro Console | Argon ONE V3 NVMe | 1TB WD SN570 NVMe | $120 - $140 |
| Environmental Data Logger | Pimoroni Enviro+ HAT | Official RTC Battery | $65 - $85 |
Final Verdict: Building Your 2026 Pi Arsenal
The things to do on a Raspberry Pi are limited only by your imagination and your hardware budget. While the base SBC is a marvel of engineering, it is the ecosystem of HATs, precision-machined cases, and high-quality optical sensors that elevate it from a hobbyist toy to a robust piece of edge infrastructure. The Arducam IMX477 remains undefeated for vision tasks, the RaZberry 7 Pro provides unmatched Z-Wave stability, and the Argon ONE V3 ensures your compute module stays cool and fast. Before you flash your next SD card or configure your next Docker container, ensure your physical layer is built to handle the workload. For more foundational knowledge on configuring these hardware stacks, always refer to the Raspberry Pi Official Documentation.