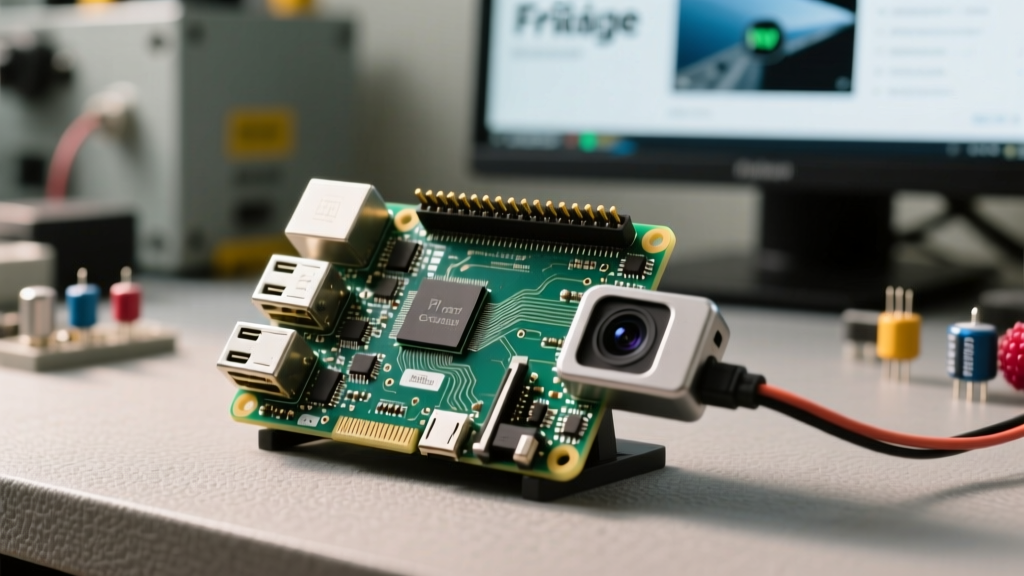

The Evolution of Raspberry Pi Vision Hardware
When approaching a new computer vision project, home security node, or time-lapse rig, the raspberry pi camera install process is often where makers hit their first major roadblock. The ecosystem has evolved drastically since the early days of the fixed-focus 5-megapixel OV5647 sensor. Today, a successful deployment requires navigating a fragmented landscape of official modules, third-party alternatives, and a completely overhauled software stack. If you are still searching for raspistill tutorials, you are already three years behind the current libcamera architecture.
In this accessory review and installation guide, we tear down the most popular camera modules available on the market, evaluate their real-world hardware quirks, and provide a definitive, failure-proof guide to getting your CSI (Camera Serial Interface) connection running on Raspberry Pi OS Bookworm and beyond.
Official vs. Third-Party: What Actually Works?
The Raspberry Pi Foundation has maintained a tight grip on the official camera ecosystem, but third-party manufacturers like Arducam and Waveshare have carved out massive niches by solving specific pain points—namely, low-light performance and motorized focus. While official modules guarantee out-of-the-box device tree overlay support, third-party boards often require manual config.txt edits. However, as we will see in the hardware teardown, the silicon inside these third-party boards often outperforms the official offerings in specialized environments.
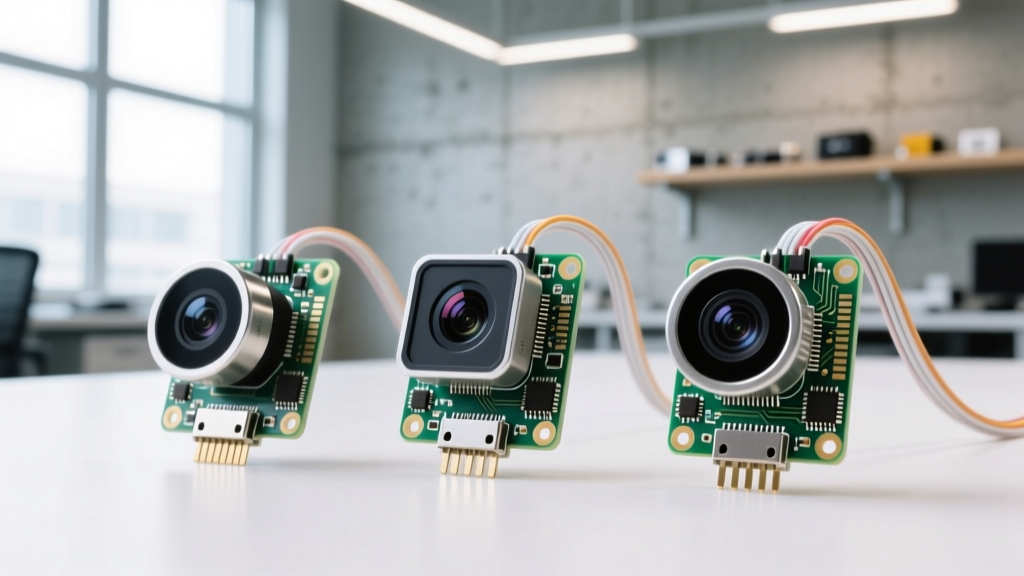
Hardware Teardown: Comparing the Top 3 Modules
Choosing the right sensor is the most critical step before you even touch the ribbon cable. Below is a comprehensive breakdown of the three most relevant modules for modern SBC projects, factoring in current market pricing and silicon capabilities.
| Module | Sensor Silicon | Resolution | Lens Mount | Approx. Price | Best Use Case |
|---|---|---|---|---|---|
| Pi Camera V3 | Sony IMX708 | 11.9 MP | Integrated / M12 | $25 - $30 | Smart home, PDAF tracking, HDR scenes |
| Pi HQ Camera | Sony IMX477 | 12.3 MP | C-Mount / CS-Mount | $50 + Lens | Telescopes, macro photography, CCTV |
| Arducam IMX462 | Sony IMX462 | 2.1 MP (1080p) | Integrated / M12 | $35 - $45 | Starlight night vision, astrophotography |
The Camera Module 3 is the undisputed king of general-purpose projects. Its inclusion of PDAF (Phase Detection Auto Focus) means the Pi can continuously track moving objects without the slow, contrast-hunting focus of older modules. However, the HQ Camera remains essential if your project requires optical zoom or specialized focal lengths via interchangeable C-mount lenses. For edge-case environments like nocturnal wildlife monitoring, the Arducam IMX462 features massive 2.9μm pixels that pull in nearly three times more light than the official V3, albeit at a lower native resolution.
The Physical Raspberry Pi Camera Install: Avoiding the Ribbon of Death
The physical installation of a Pi camera is deceptively simple, yet it accounts for over 80% of all hardware-related support tickets on the official forums. The bottleneck is the 15-pin, 1mm pitch FFC (Flat Flexible Cable) and the ZIF (Zero Insertion Force) connector on the Pi board.
Step-by-Step CSI Connection
- Power Down Completely: Never hot-swap a CSI camera. The 3.3V and 1.8V power rails on the CSI port are not hot-swappable and can trigger a brownout or permanently damage the Pi's MIPI CSI-2 receiver IC.
- Open the ZIF Latch: Using a fingernail or a plastic spudger, gently pull the black plastic retaining clip away from the PCB. It only moves about 1-2 millimeters. Do not force it upwards, or the plastic hinges will snap.
- Check Orientation: The blue tape (or stiffener) on the ribbon cable must face away from the PCB and towards the Ethernet/USB ports on a standard Pi 4/5. On a Pi Zero, the contacts face the board.
- Seat and Lock: Slide the cable in until it bottoms out evenly. Push the ZIF latch back down to clamp the traces.
Expert Warning: The most common fatal error during a raspberry pi camera install is creasing the FFC cable. Bending the ribbon at a sharp 90-degree angle directly against the solder pads can tear the microscopic copper traces carrying the I2C clock and data lines. Always loop the cable with a gentle teardrop curve.
Software Stack: Libcamera vs. The Legacy Ghost
If you are migrating from older projects, you must abandon the legacy raspicam stack. Raspberry Pi OS Bullseye and Bookworm rely entirely on libcamera and the DRM/KMS display pipeline. This shift was made to align the Pi with standard Linux V4L2 (Video4Linux2) frameworks, enabling better integration with third-party AI pipelines like TensorFlow Lite and OpenCV.
Configuring the Device Tree Overlays
For official modules, the Pi's bootloader automatically probes the I2C bus, reads the camera's onboard EEPROM, and loads the correct device tree overlay. However, for third-party boards or when using extended 2-meter CSI cables, you may need to manually declare the sensor in your boot configuration.
Edit your boot config file (located at /boot/firmware/config.txt on Bookworm):
# For Official V3 (IMX708)
dtoverlay=imx708

# For Arducam IMX462
dtoverlay=arducam-64mp
camera_auto_detect=0
After rebooting, you can verify the hardware handshake using the terminal command libcamera-hello --list-cameras. If the terminal returns the sensor model and available resolutions, your physical install and I2C handshake were successful.
Real-World Failure Modes and Troubleshooting
Even with a meticulous installation, environmental factors and software quirks can derail your setup. Here is how to diagnose the most frequent failure modes encountered in the field.
- Error: 'No cameras available'
The Cause: The Pi cannot read the camera's I2C EEPROM. This is almost always a physical issue. The ribbon cable may be inserted upside down, or the SDA/SCL traces on the cable are torn. Swap the cable before blaming the sensor. - Image is Extremely Dark / Purple Tint
The Cause: The IR (Infrared) cut filter is stuck or missing. The V3 module features an electronic IR cut filter. If you are runninglibcamera-stillin low light, ensure you aren't accidentally triggering the night-mode threshold incorrectly via software flags. - Focus Hunting / Blurry Image
The Cause: The PDAF on the IMX708 requires adequate contrast to lock phase. If you are pointing the camera at a blank wall or a low-contrast sky, it will fail to focus. Use the--autofocus-mode=autoflag and ensure the target has distinct edges. - CSI Port Latch Broke Off
The Fix: Do not throw the Pi away. You can use a small piece of Kapton tape to manually apply downward pressure on the ribbon cable, securing it against the internal contacts. It is not elegant, but it maintains electrical continuity for permanent enclosures.
For deeper software debugging, the Raspberry Pi Camera Software Documentation provides exhaustive flags for tuning the ISP (Image Signal Processor) pipeline, including manual exposure limits and lens shading corrections.
Final Verdict: Which Module Should You Buy?
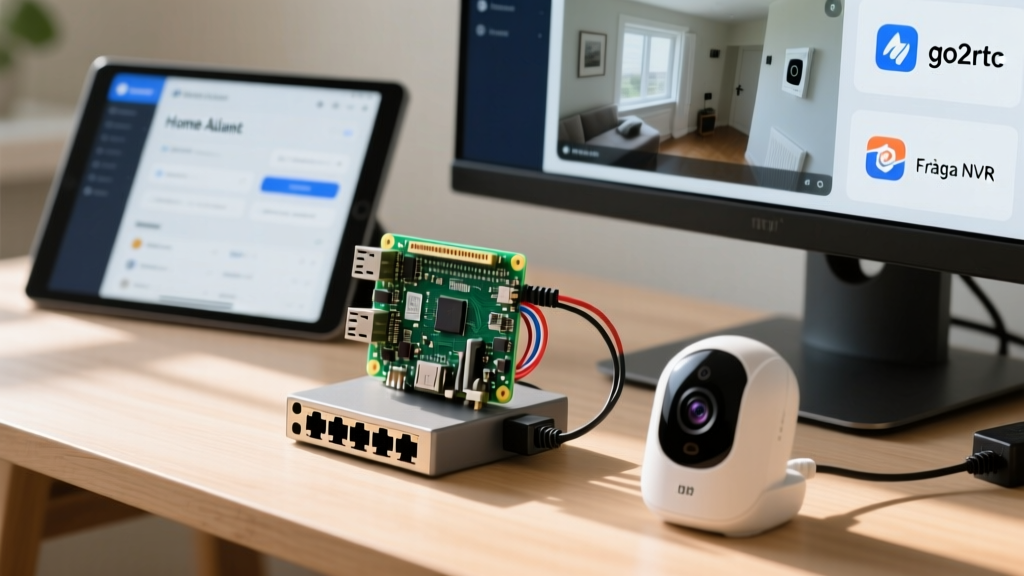
The 'best' module is entirely dictated by your optical requirements. If you are building a Home Assistant Frigate NVR node, a doorbell camera, or a standard robotics vision system, the Official Camera Module 3 (IMX708) is the undisputed champion. At $25, the inclusion of HDR and PDAF makes it an incredible value, and the official hardware support guarantees a frictionless software experience.
However, if your project involves microscopy, long-distance license plate reading, or custom focal lengths, the upfront cost of the HQ Camera and a 16mm C-mount lens is mandatory. Finally, for makers pushing the boundaries of low-light edge AI, third-party options like the Arducam IMX462 provide the necessary silicon to capture usable frames in near-darkness, provided you are comfortable navigating the Arducam Native Camera Quick Start Guide to configure the custom overlays.
Ultimately, a successful raspberry pi camera install is 20% hardware selection and 80% careful cable management. Treat the FFC ribbon with respect, embrace the libcamera ecosystem, and your SBC vision project will be online in minutes.