
The Evolution of Network Interfaces on Single-Board Computers
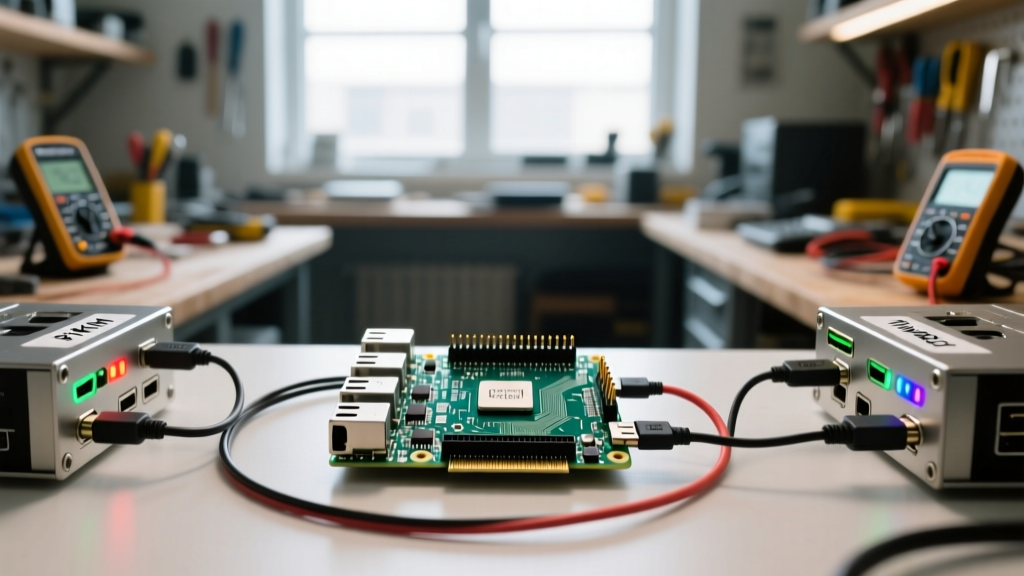
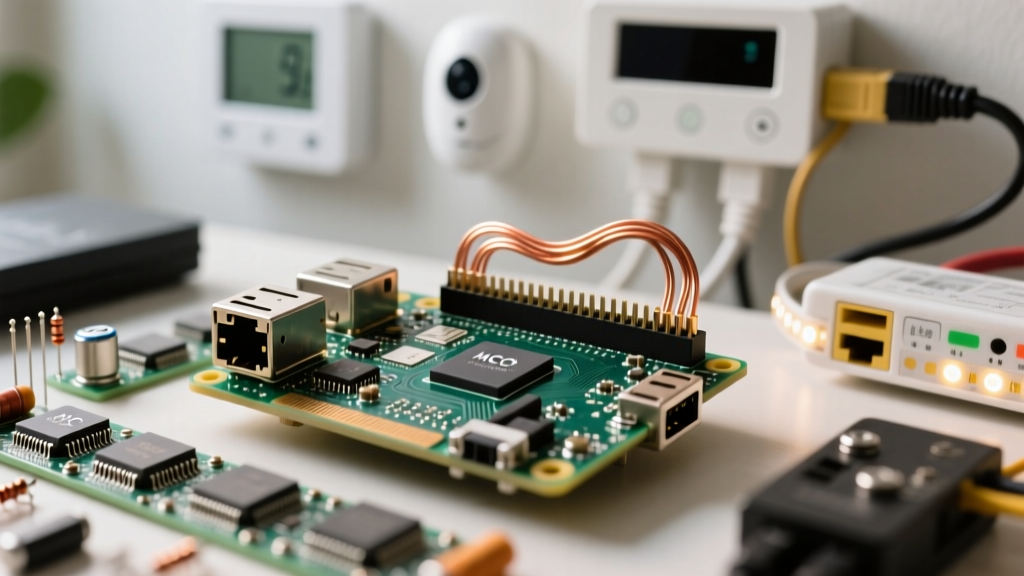
When embarking on your first single-board computer (SBC) project, understanding Raspberry Pi connectivity is the critical bridge between a standalone microcontroller and a fully integrated network node. Whether you are building a Home Assistant server, a remote weather station, or a NAS, the way your Pi communicates with the world dictates its reliability and speed.
Early iterations of the Raspberry Pi relied heavily on USB 2.0 bottlenecks and single-band 2.4GHz Wi-Fi. Today, modern boards like the Raspberry Pi 4 and Pi 5 feature native Gigabit Ethernet, dual-band 802.11ac Wi-Fi, and Bluetooth 5.0 BLE. However, hardware is only half the battle. With the recent shift in Raspberry Pi OS from legacy networking daemons to modern network management, beginners must understand both the physical layers and the software configurations to maintain a stable connection.
Wired vs. Wireless: Choosing Your Primary Connection
The first decision in any SBC deployment is choosing between wired Ethernet and wireless Wi-Fi. While Wi-Fi offers deployment flexibility, Ethernet guarantees the low-latency, high-throughput stability required for server applications like Pi-hole or Plex.
The Gigabit Ethernet Reality
A common beginner trap is assuming all Raspberry Pi Ethernet ports are created equal. The Raspberry Pi 3B+ features a Gigabit Ethernet port, but it is routed through an internal USB 2.0 bus, capping real-world throughput at roughly 300 Mbps. In contrast, the Raspberry Pi 4 and Pi 5 utilize dedicated RGMII interfaces, delivering true, unthrottled Gigabit speeds (up to 940 Mbps accounting for TCP/IP overhead).
| Model | Ethernet Spec | Real-World Max Throughput | Wi-Fi Standard |
|---|---|---|---|
| Pi Zero 2 W | None (USB OTG Only) | N/A | 802.11n (2.4GHz) |
| Pi 3B+ | Gigabit (over USB 2.0) | ~300 Mbps | 802.11ac (Dual-Band) |
| Pi 4 Model B | True Gigabit (RGMII) | ~940 Mbps | 802.11ac (Dual-Band) |
| Pi 5 | True Gigabit (RGMII) | ~940 Mbps | 802.11ac (Dual-Band) |
Wi-Fi 5 and the PCB Antenna
The Raspberry Pi 4 and 5 utilize the Infineon/Cypress CYW43455 chip, supporting 2.4GHz and 5GHz bands. For beginners, the 5GHz band is highly recommended in urban environments to avoid congestion from neighboring routers and Bluetooth devices. However, the Pi's onboard PCB antenna is highly directional. If your Pi is housed in a metal case or placed behind a concrete wall, 5GHz signal degradation will be severe. In these scenarios, using a USB Wi-Fi adapter with an external high-gain antenna is a necessary upgrade.
Power Over Ethernet (PoE): Clean Cable Management
For smart home deployments and outdoor security camera nodes, running both an Ethernet cable and a USB-C power cable is impractical. Power over Ethernet (PoE) solves this by delivering data and power over a single Cat6 cable.
It is vital to match your PoE HAT to your specific Pi model and switch capabilities:
- Raspberry Pi 4 PoE HAT: Supports the 802.3af standard (up to 15.4W). This is sufficient for a basic Pi 4 setup but may trigger undervoltage warnings if you attach power-hungry USB peripherals.
- Raspberry Pi 5 PoE+ HAT: Supports the 802.3at standard (up to 25.5W). The Pi 5 requires a robust 27W USB-C PD equivalent for peak performance, making the PoE+ HAT mandatory for fully loaded Pi 5 deployments.
The Bookworm Shift: Mastering NetworkManager
If you are following tutorials written before late 2023, you will likely encounter instructions to edit the /etc/wpa_supplicant/wpa_supplicant.conf file or use dhcpcd.conf for static IPs. Stop immediately.
With the release of Raspberry Pi OS 'Bookworm', the foundation of Raspberry Pi connectivity was completely overhauled. The legacy wpa_supplicant and dhcpcd daemons have been deprecated in favor of NetworkManager. Attempting to use legacy configuration files will result in your Pi failing to connect to the network upon reboot. You can read more about this architectural shift in the Raspberry Pi OS Bookworm Release Notes.
Connecting to Wi-Fi via CLI
To connect your headless Pi to a wireless network using the modern standard, use the nmcli (NetworkManager Command Line Interface) tool:
nmcli device wifi list
nmcli device wifi connect 'Your_SSID' password 'Your_Password'
Setting a Static IP Address
For servers like Home Assistant or MQTT brokers, a static IP is mandatory. Instead of editing text files, apply the configuration directly to the NetworkManager connection profile:
nmcli connection modify 'Your_SSID' ipv4.addresses 192.168.1.50/24 ipv4.gateway 192.168.1.1 ipv4.dns '8.8.8.8,1.1.1.1' ipv4.method manual
nmcli connection up 'Your_SSID'
This ensures your IP persists across reboots and OS updates. For official documentation on these commands, refer to the Raspberry Pi NetworkManager Guide.
Expanding IoT: Bluetooth, Zigbee, and Cellular
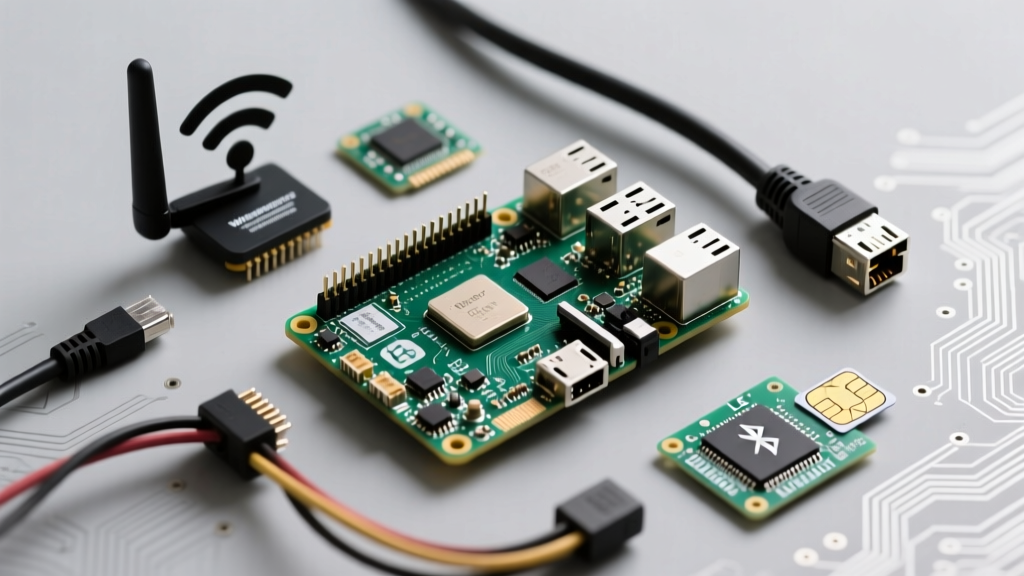
Standard IP networking is only one facet of SBC connectivity. For IoT gateways, you must interface with low-power mesh networks and wide-area cellular bands.
Bluetooth 5.0 BLE vs. Classic
The onboard Bluetooth 5.0 chip supports both Classic (for audio streaming) and BLE (Bluetooth Low Energy). BLE is the standard for smart home sensors (like Xiaomi temperature pucks). However, the onboard Bluetooth antenna shares the 2.4GHz spectrum with Wi-Fi. If you experience Bluetooth packet loss, disable the 2.4GHz Wi-Fi band and force the Pi to use 5GHz Wi-Fi exclusively.
Zigbee and Thread via USB
The Pi does not natively support Zigbee or Thread. To integrate these protocols, beginners should use a dedicated USB coordinator like the Sonoff Zigbee 3.0 USB Dongle Plus (P-Version). Plug this directly into a USB 2.0 port (or use a short USB extension cable) to avoid 2.4GHz interference from the Pi's CPU.
Cellular 4G/LTE HATs
For remote agricultural or environmental monitoring where Wi-Fi is unavailable, cellular connectivity is required. HATs like the Sixfab 4G/LTE Cellular Kit utilize Quectel modems to connect to local cell towers. These require an active SIM card and often rely on QMI or PPP protocols to establish a network interface (usually wwan0) that NetworkManager can route through.
Troubleshooting Common Connection Drops
Even with perfect configuration, physical and environmental factors can sever your Raspberry Pi connectivity. Use this diagnostic framework to isolate the failure mode:
1. The Undervoltage Wi-Fi Reset
The Wi-Fi chip draws peak current during high-throughput transmission. If you are using a cheap, third-party USB-C power supply instead of the official Raspberry Pi 27W PD adapter, the voltage may dip below 4.63V. The Pi's firmware will aggressively throttle or disable the Wi-Fi chip to prevent a total system brownout.
Diagnosis: Run dmesg | grep -i undervoltage. If you see warnings, replace your power supply immediately.
2. USB 3.0 Interference
Poorly shielded USB 3.0 devices (like external SSDs or webcams) emit broad-spectrum RF noise that directly overlaps the 2.4GHz Wi-Fi and Bluetooth frequencies. If your Pi's Wi-Fi drops every time you write data to an external USB drive, this is the culprit.
Solution: Move the Pi to a 5GHz Wi-Fi network, or wrap the USB 3.0 cable in copper foil shielding.
3. Soft Blocks via rfkill
Sometimes, a software glitch or a misplaced command will 'soft block' the wireless radios. If nmcli reports the Wi-Fi device as 'unavailable', check the radio kill switch status:
rfkill list
rfkill unblock wifi
Final Thoughts on Network Architecture
Mastering Raspberry Pi connectivity requires looking beyond the basic setup wizard. By understanding the hardware limitations of your specific board, adopting the modern nmcli workflow introduced in Bookworm, and mitigating physical RF interference, you transform your SBC from a fragile hobby toy into a robust, enterprise-grade network node. Whether you are deploying a PoE-powered security camera or a cellular-linked weather station, deliberate network planning is the foundation of a successful project. For deeper hardware specifications, consult the official Raspberry Pi 5 hardware documentation.