
The Anatomy of Potentiometer Legs and the Resistive Track
When you hold a standard through-hole potentiometer, the three metal pins extending from the bottom are the physical bridge between the mechanical resistive track and your printed circuit board (PCB) or breadboard. These potentiometer legs are typically stamped from phosphor bronze or brass and plated with tin, silver, or gold to ensure optimal solderability and electrical conductivity. However, simply soldering them to a board without understanding their internal topology is a common trap for beginners in electronics prototyping.
Inside the housing, the two outer legs are mechanically and electrically crimped or welded to the opposite ends of a resistive element. This element can be made of carbon composition, cermet (ceramic and metal), conductive plastic, or a wirewound alloy. The middle leg is connected to a spring-loaded metallic contact called the wiper. As you rotate the shaft, the wiper physically sweeps across the resistive track, altering the resistance ratio between the middle leg and the two outer legs. Understanding this internal geometry is the first step to mastering how potentiometer legs behave in real-world circuits.
Decoding the Three Terminals: Which Leg Does What?
Unlike symmetrical components like standard resistors or ceramic capacitors, the three potentiometer legs have distinct roles. Misidentifying the wiper leg will result in a circuit that either does nothing, behaves inversely to your expectations, or creates a dead short.
The Shaft-Facing Rule for Pinout Identification
While you should always verify pinouts with a multimeter, most major manufacturers (such as Bourns, ALPS, and TT Electronics) follow a standard physical orientation rule. If you hold the potentiometer so that the shaft is facing directly toward you, and the three legs are pointing downward:
- Pin 1 (Left Leg): Connects to the counter-clockwise (CCW) end of the resistive track.
- Pin 2 (Middle Leg): Connects to the wiper. This is your variable output or adjustment node.
- Pin 3 (Right Leg): Connects to the clockwise (CW) end of the resistive track.
It is crucial to note that Pin 1 and Pin 3 are functionally interchangeable in a pure voltage divider setup. Swapping them will simply reverse the direction of the taper (e.g., turning the knob clockwise will decrease voltage instead of increasing it). However, Pin 2 (the wiper) must never be swapped with an outer leg, as this will break the voltage divider mechanics.
Voltage Divider vs. Rheostat: Wiring Configurations
The way you utilize the potentiometer legs dictates whether the component acts as a voltage divider or a variable resistor (rheostat). According to the comprehensive guides on Electronics Tutorials, understanding the difference between these two configurations is foundational for analog circuit design.
Configuration 1: The Voltage Divider (All Three Legs)
To create a voltage divider, you must use all three potentiometer legs. This configuration is used when you need to provide a variable reference voltage to an analog-to-digital converter (ADC) on a microcontroller, or to set a bias voltage in an audio amplifier.
- Connect Pin 1 to your reference voltage (e.g., 5V or 3.3V).
- Connect Pin 3 to Ground (GND).
- Connect Pin 2 (Wiper) to your analog input pin.
As the wiper moves, the voltage at Pin 2 scales linearly (or logarithmically, depending on the taper) between 0V and your reference voltage. The formula governing this is V_out = V_in * (R2 / (R1 + R2)), where R1 is the resistance between Pin 1 and Pin 2, and R2 is the resistance between Pin 2 and Pin 3.
Configuration 2: The Rheostat (Two Legs Only)
If you need to vary current or resistance directly—such as dimming an LED or tuning an RC oscillator—you wire the potentiometer as a rheostat. In this setup, you only use two of the potentiometer legs: Pin 1 and Pin 2 (or Pin 3 and Pin 2).
Pro-Tip (The Wiper-Tie Trick): When wiring a rheostat, do not leave the third unused leg floating. Instead, physically bridge (tie) the unused outer leg to the wiper leg (Pin 2). Over time, the wiper can bounce or lose contact with the carbon track due to vibration or oxidation. If the third leg is tied to the wiper, a loss of wiper contact simply defaults the circuit to the maximum resistance of the pot. If left floating, the circuit becomes an open loop, which can cause microcontrollers to read erratic floating pin states or cause audio amplifiers to spike to maximum gain.
Taper Matters: Linear (B) vs. Audio (A) Leg Behavior
Not all potentiometer legs yield the same resistance change per degree of rotation. The resistive track is manufactured with specific geometric tapers. Reading the silk-screen or stamped marking on the metal casing is vital before soldering the legs to your board.
| Taper Type | Common Marking | Resistance at 50% Rotation | Primary Use Case |
|---|---|---|---|
| Linear | B (e.g., B10K) | 50% of total resistance | Microcontroller ADC inputs, motor speed, LED dimming, sensor calibration |
| Audio (Logarithmic) | A (e.g., A10K) | ~10% to 15% of total resistance | Audio volume controls (matches human ear perception) |
| Anti-Logarithmic | C (e.g., C10K) | ~85% to 90% of total resistance | Specialized audio pan pots, reverse-logarithmic scaling |
If you accidentally use an Audio (A-taper) potentiometer for a microcontroller dial, your software will register a massive jump in values during the last 20% of the knob's physical rotation, making precise UI navigation nearly impossible.
Real-World Troubleshooting: Testing Potentiometer Legs with a Multimeter
Before soldering, or when diagnosing a faulty vintage amplifier, you must verify the integrity of the potentiometer legs and the internal track. All About Circuits emphasizes that mechanical wear is the primary enemy of potentiometers. Here is the definitive multimeter testing protocol:
Step-by-Step Resistance Sweep Test
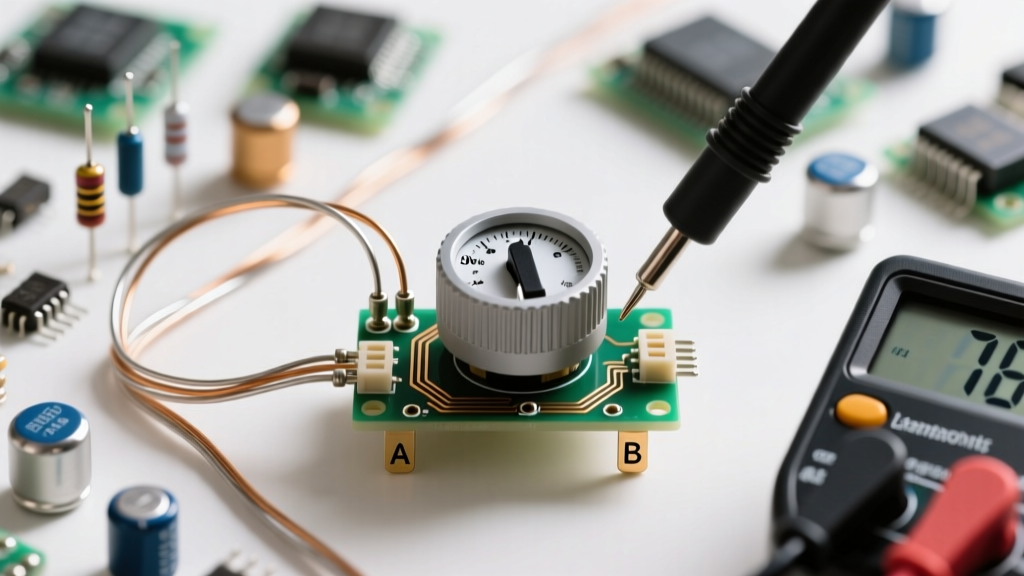
- Total Resistance Check: Set your multimeter to the appropriate Ohms range. Place the probes on Pin 1 and Pin 3. Rotate the shaft fully from left to right. The reading should remain completely stable at the rated resistance (e.g., 10,000 ohms for a 10K pot). If this value fluctuates, the internal crimps connecting the legs to the carbon track are broken.
- Wiper Sweep Check (CCW to CW): Place one probe on Pin 1 and the other on Pin 2 (Wiper). Turn the shaft slowly from the counter-clockwise extreme to the clockwise extreme. The resistance should sweep smoothly from near 0 ohms up to the total rated resistance.
- Wiper Sweep Check (CW to CCW): Move the probe from Pin 1 to Pin 3, keeping the other on Pin 2. Turn the shaft. The resistance should sweep inversely (from max resistance down to near 0 ohms).
Identifying Dead Spots: If your multimeter display suddenly spikes to 'OL' (Open Loop) or infinity during the sweep, the carbon track has a physical dead spot. This is incredibly common in older carbon-composition pots and will manifest as loud 'popping' noises in audio circuits or sudden erratic jumps in microcontroller ADC readings.
Common Failure Modes at the Terminal Junctions
While the wiper track gets a lot of attention, the actual junction where the potentiometer legs meet the internal substrate is a frequent point of failure, particularly during the prototyping and soldering phase.
- Thermal Damage from Soldering: The legs are pressed into a phenolic or plastic carrier that holds the carbon track. If you apply a soldering iron to the legs for more than 3-4 seconds, the heat conducts directly into the carrier, melting the plastic. This warps the internal geometry, causing the wiper to lose physical tension against the track. Always use a heat sink (like a pair of hemostats clamped to the leg) or work quickly with a properly tinned iron.
- Mechanical Stress Fractures: Because the legs are rigidly mounted, pressing a PCB-mounted potentiometer firmly against a panel without proper mechanical support (like a mounting nut) transfers all the physical stress of turning the knob directly to the solder joints. Over time, this causes micro-fractures where the legs enter the housing, leading to intermittent connectivity.
- ADC Jitter and Wiper Noise: Even brand-new potentiometers can introduce electrical noise. The microscopic bouncing of the wiper leg across the carbon grains creates high-frequency transients. When interfacing potentiometer legs with high-impedance microcontroller ADC pins (like those on an Arduino or ESP32), it is standard practice to solder a 0.1µF ceramic capacitor directly between the wiper leg (Pin 2) and Ground (Pin 3) to filter out this mechanical noise.
For a deeper dive into selecting the right component for your next build, the SparkFun Potentiometer Tutorial offers excellent visual breakdowns of how different form factors—from slide pots to multi-turn trimpots—handle these internal connections. Mastering the behavior of these three simple metal legs is a rite of passage for any serious electronics hobbyist or hardware engineer.