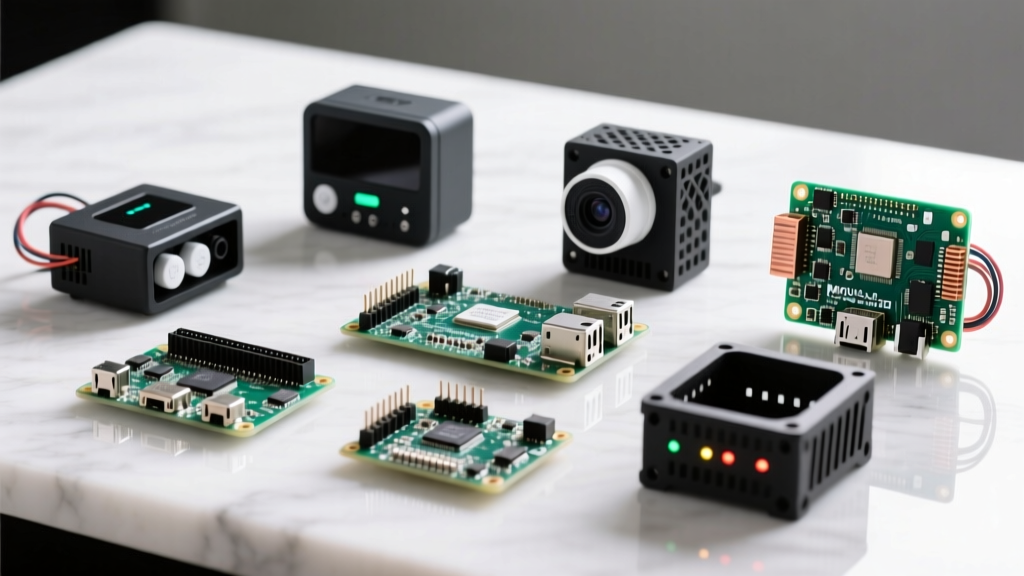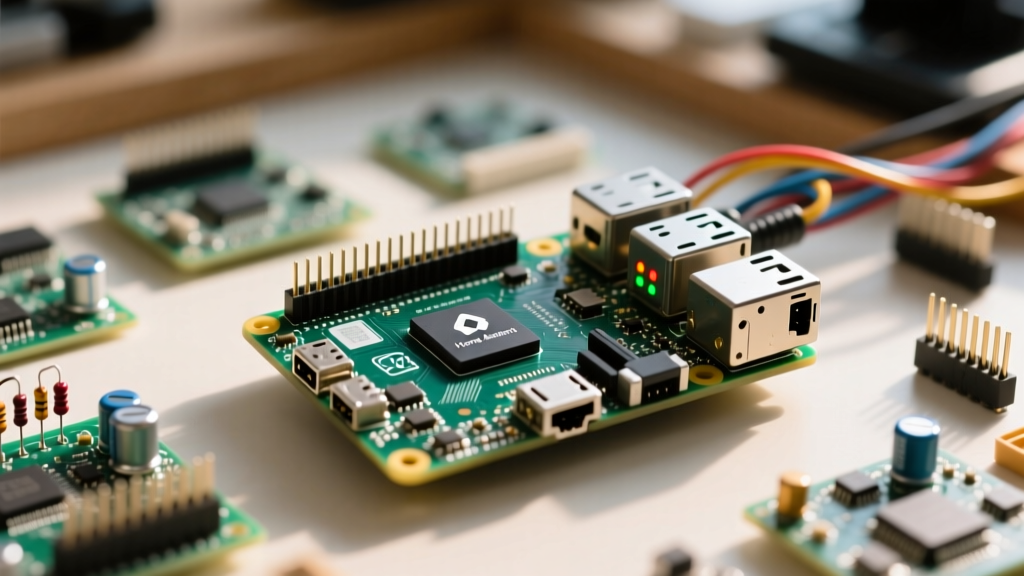

When embarking on home automation projects Raspberry Pi builds, the hardware is only half the battle. The true nerve center of your smart home lies in the software stack. While many tutorials gloss over the intricacies of OS selection, database management, and radio protocol integration, this comprehensive software walkthrough will guide you through architecting a resilient, bare-metal Home Assistant environment on a Raspberry Pi 4 or 5.
The Software Stack Decision: HAOS vs. Docker
Before flashing a single byte, you must choose your deployment architecture. For 90% of smart home enthusiasts, Home Assistant OS (HAOS) is the definitive choice. HAOS is a minimal, read-only Linux distribution built specifically to run the Home Assistant Supervisor. It handles OS-level updates, add-on container management, and hardware abstraction seamlessly.
Conversely, installing Home Assistant Core via Docker on Raspberry Pi OS is reserved for Linux veterans who need to run conflicting network services (like Pi-hole or custom Nginx reverse proxies) on the same host. For dedicated home automation hubs, HAOS provides superior stability and drastically reduces maintenance overhead.
Hardware Baseline & Storage Architecture
Home Assistant relies heavily on a SQLite database that writes state changes continuously. Standard microSD cards will succumb to write-fatigue and corrupt your installation within 6 to 12 months. Below is the performance and endurance matrix for current Pi models running HAOS.
| SBC Model | RAM | Storage Recommendation | HAOS Boot Time | Database Write Endurance |
|---|---|---|---|---|
| Raspberry Pi 4 | 4GB / 8GB | SanDisk High Endurance 64GB | ~45 Seconds | Medium (1-2 Years) |
| Raspberry Pi 4 | 4GB / 8GB | USB 3.1 SATA SSD Enclosure | ~25 Seconds | High (5+ Years) |
| Raspberry Pi 5 | 8GB | NVMe SSD via PCIe HAT | ~15 Seconds | Maximum (10+ Years) |
Expert Insight: If you are using a Raspberry Pi 5, leverage the newly exposed PCIe 2.0 x1 lane. Using an M.2 NVMe HAT (like the Pimoroni NVMe Base) completely bypasses the USB bottleneck and eliminates the SD card corruption failure mode that plagues Pi 4 home automation projects.
Phase 1: Flashing and Booting HAOS
For this walkthrough, we assume a bare-metal HAOS installation. Download the latest Raspberry Pi Imager. Do not simply download the generic HAOS image from GitHub; use the Imager's built-in OS menu.
Step-by-Step Flashing Protocol
- Open Raspberry Pi Imager and select Choose OS > Other specific-purpose OS > Home assistants and home automation > Home Assistant.
- Select the exact board (e.g., Pi 4 64-bit or Pi 5 64-bit). The 64-bit architecture is mandatory for modern add-ons like Frigate NVR or local AI voice processing.
- Click the gear icon (Advanced Options) to pre-configure your hostname (e.g.,
ha-hub) and inject your SSH public key. Enabling SSH at the OS level is critical for debugging kernel panics or USB radio failures later. - Flash the drive, insert it into the Pi, and apply power. Monitor your router's DHCP table for the
homeassistanthostname to grab the initial IP address.
Phase 2: Network Configuration & Static IP Binding
A common failure mode in Pi-based smart homes is the router reassigning the Pi's IP address after a power outage, breaking local dashboard bookmarks and mobile app webhooks. While you can set a static IP within HAOS using the nmcli terminal command, the superior method is a DHCP Reservation at the router level.
Log into your router, locate the Pi's MAC address, and bind it to an IP outside your standard DHCP pool (e.g., 192.168.1.10). Once HAOS finishes its initial 5-minute container extraction phase, navigate to http://192.168.1.10:8123 to create your primary admin account.
Phase 3: Integrating the Zigbee and Matter Backbone
Wi-Fi is unsuited for high-density sensor networks due to latency and power consumption. Your Pi needs a dedicated radio coordinator. The community standard is the Sonoff Zigbee 3.0 USB Dongle Plus, but you must choose the correct silicon variant for your software stack.
Adapter Selection Framework
- ZBDongle-P (TI CC2652P Chip): The gold standard for Zigbee2MQTT (Z2M). It features an RF front-end amplifier that drastically improves mesh routing for large homes (50+ devices).
- ZBDongle-E (Silicon Labs EFR32MG21 Chip): Required if you plan to run OpenThread Border Router for Matter-over-Thread devices alongside Zigbee via the native ZHA integration.
Software Setup: Zigbee2MQTT vs. ZHA
For maximum compatibility and decoupling of the radio hardware from the Home Assistant core, we recommend Zigbee2MQTT. Navigate to the Add-on Store in HAOS and install the Mosquitto Broker followed by Zigbee2MQTT. Consult the Zigbee2MQTT supported adapters list to verify your exact dongle firmware requirements.
Crucially, you must edit the Z2M configuration.yaml to point to the correct serial path. In HAOS, this is typically /dev/serial/by-id/usb-ITead_Sonoff_Zigbee_3.0_USB_Dongle_Plus_...-if00-port0. Never use /dev/ttyUSB0, as the path assignment can shift upon reboot if you have multiple USB peripherals connected.
Phase 4: Writing Advanced YAML Automations
While the Home Assistant UI builder is excellent for basic triggers, complex logic requires YAML. Below is a production-ready automation that adjusts circadian lighting color temperature based on the sun's elevation, but only if the room is occupied.
alias: "Circadian Lighting & Occupancy Sync"
description: "Adjusts living room lights based on solar elevation and presence."
trigger:
  - platform: state
    entity_id: binary_sensor.living_room_occupancy
  - platform: numeric_state
    entity_id: sun.sun
    attribute: elevation
action:
  - choose:
      - conditions:
          - condition: state
            entity_id: binary_sensor.living_room_occupancy
            state: 'on'
        sequence:
          - service: light.turn_on
            target:
              entity_id: light.living_room_main
            data:
              color_temp_kelvin: >-
                {{ [2700, (2700 + (state_attr('sun.sun', 'elevation') | float * 50)) | int, 6500] | middle }}
              brightness_pct: 100
      - conditions:
          - condition: state
            entity_id: binary_sensor.living_room_occupancy
            state: 'off'
        sequence:
          - service: light.turn_off
            target:
              entity_id: light.living_room_main
mode: restart
This script utilizes Jinja2 templating to clamp the color temperature between 2700K (warm sunset) and 6500K (cool daylight), ensuring the math never sends an invalid value to the bulb's API.
Troubleshooting Common Software Bottlenecks
Even with a perfect software walkthrough, hardware realities will introduce friction. Here is how to debug the three most common Pi home automation failures.
1. The USB 3.0 Interference Phenomenon
If your Zigbee dongle is plugged directly into the Raspberry Pi 4's blue USB 3.0 port, your mesh network will experience massive packet loss. The Pi 4's USB 3.0 controller emits broadband RF noise directly in the 2.4GHz spectrum, effectively deafening the Zigbee radio. The Fix: Use a 1-meter USB 2.0 extension cable to physically separate the dongle from the Pi's logic board.
2. Supervisor Database Bloat
If your HAOS dashboard takes more than 3 seconds to load, your home-assistant_v2.db SQLite file has likely exceeded 2GB. Navigate to Settings > System > Recorder and implement strict exclude filters. Do not record high-frequency entities like smart plug power consumption (Watts) or solar inverter telemetry to the default database; route those to an InfluxDB add-on instead.
3. Z-Wave JS vs. Z-Wave JS UI
For Z-Wave networks, avoid the deprecated "Z-Wave JS" integration. Install the Z-Wave JS UI add-on. It provides a standalone web interface for managing Z-Wave node parameters and firmware updates, while simultaneously forwarding state data to Home Assistant via MQTT or WebSockets. This separation ensures that restarting Home Assistant does not drop your Z-Wave mesh connection. For deeper architectural guidance on SBC protocols, refer to the official Raspberry Pi compute documentation.
Final System Hardening
Before deploying your Pi into a production enclosure, install the Google Drive Backup add-on. Configure it to generate a full HAOS snapshot every night at 3:00 AM. In the event of a catastrophic kernel panic or SSD failure, you can flash a fresh HAOS image on a new Pi, install the backup add-on, and restore your entire smart home infrastructure—including Zigbee mesh keys and Z-Wave node maps—in under 10 minutes.