
The Hardware Reality: Pi 4 vs. Pi 5 for Media Centers
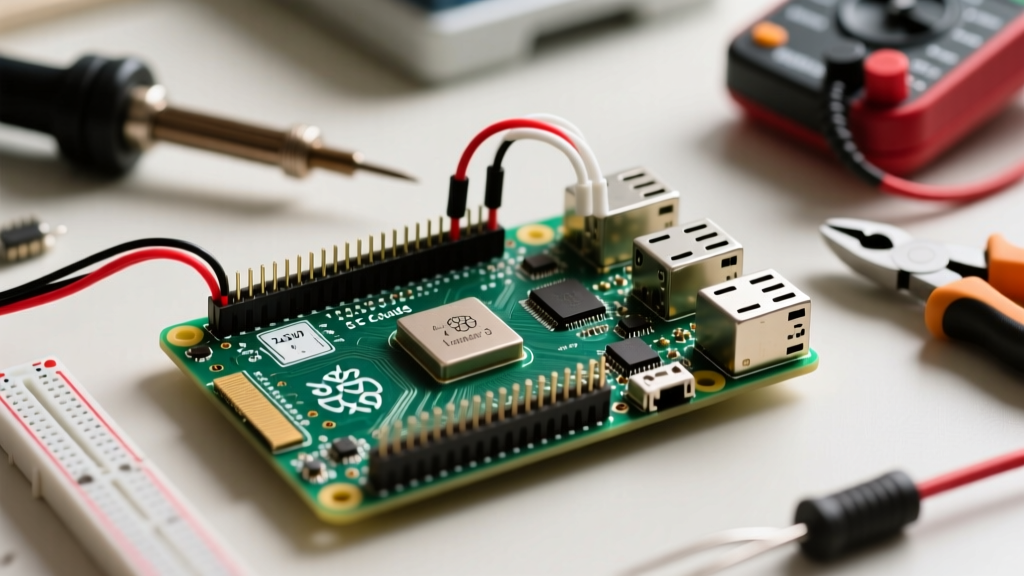
Building a dedicated media center using Kodi on the Raspberry Pi remains one of the most rewarding weekend projects for electronics enthusiasts and beginners alike. Unlike off-the-shelf streaming sticks that limit your codec support and interface customization, a Pi-based Kodi setup gives you absolute control over your local media library, network-attached storage (NAS) integration, and high-fidelity audio passthrough. However, before flashing an SD card, you must select the right single-board computer (SBC) hardware to ensure smooth 4K playback.
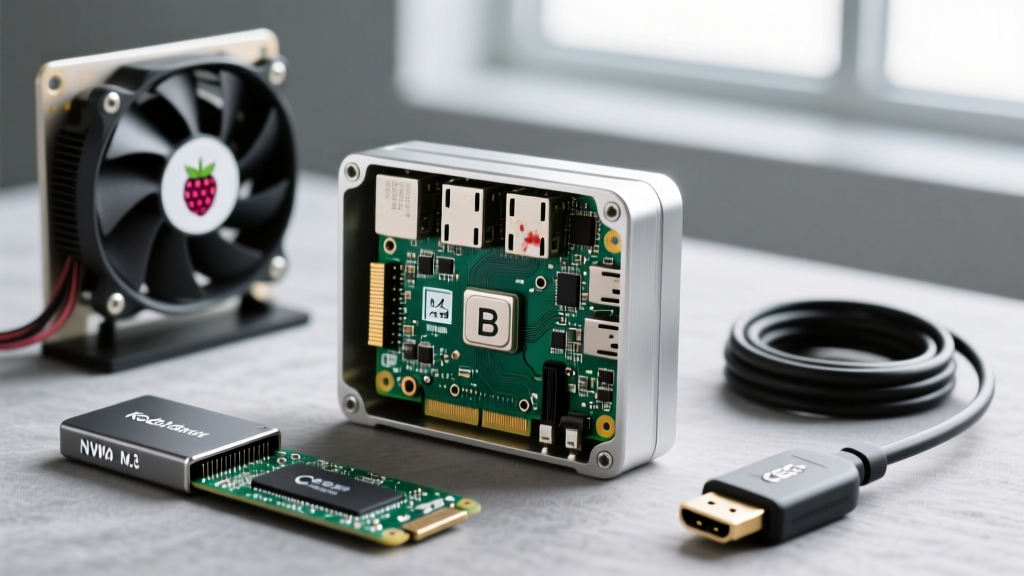
The Raspberry Pi 4 Model B (4GB or 8GB) is currently the undisputed sweet spot for a beginner Kodi build. Its BCM2711 SoC features a dedicated hardware video decoder capable of handling 4K@60fps HEVC (H.265) content flawlessly. While the newer Raspberry Pi 5 offers superior CPU performance and PCIe lanes for NVMe storage, its media decoding pipeline relies more heavily on software-based handling for certain niche codecs, and it requires mandatory active cooling. For a pure, plug-and-play living room media center, the Pi 4's thermal profile and established LibreELEC support make it the superior starting point.
Essential Hardware Bill of Materials (BOM)
| Component | Recommendation | Est. Price | Why It Matters |
|---|---|---|---|
| SBC | Raspberry Pi 4 Model B (4GB) | $55.00 | 4GB RAM is ideal for 4K HEVC decoding and caching large library artwork. |
| Power Supply | Official USB-C 5.1V 3.0A | $10.00 | Prevents undervoltage throttling and USB bus drops. |
| Storage | SanDisk Extreme 64GB A2 | $15.00 | The 'A2' rating handles Kodi's heavy SQLite database I/O operations. |
| Cooling | Argon ONE V3 Aluminum Case | $25.00 | Passive/Active hybrid prevents thermal throttling at 80°C. |
| Cable | Certified Premium High-Speed HDMI | $12.00 | Required for 4K@60Hz HDR and HDMI-CEC remote passthrough. |
Choosing the Right OS for Kodi on the Raspberry Pi
When setting up Kodi on the Raspberry Pi, you are not just installing an app; you are choosing an underlying operating system architecture. Beginners generally choose between three routes:
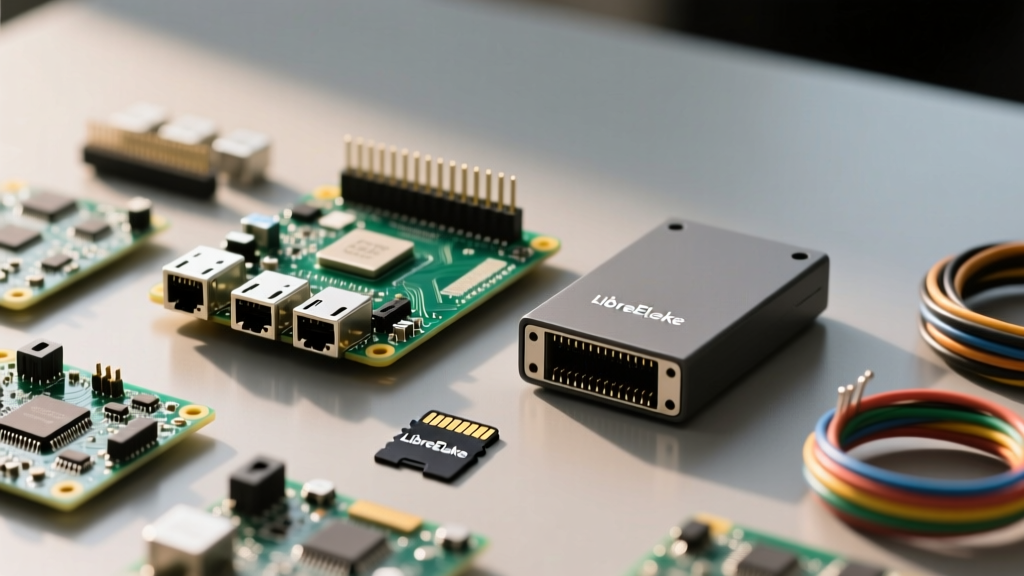
- LibreELEC (Recommended): A 'Just Enough OS for Kodi' Linux distribution. It strips away the desktop environment and background services, dedicating 100% of the Pi's resources to media playback. It boots directly into Kodi in under 15 seconds.
- OSMC (Open Source Media Center): Based on Debian Linux, OSMC provides a traditional app-store interface and allows you to install background services like Pi-hole or Samba alongside Kodi. It is slightly heavier on system resources.
- Raspberry Pi OS + Kodi App: Booting into the standard desktop and running Kodi from the terminal. This is highly discouraged for media centers, as the X11 window manager introduces screen tearing and limits hardware-accelerated video rendering.
For this beginner guide, we will focus entirely on LibreELEC, as it provides the most stable, console-like experience for the living room.
Step-by-Step: Flashing LibreELEC via Raspberry Pi Imager
Gone are the days of manually downloading .img files and using third-party flashing tools. The official Raspberry Pi Imager handles everything natively.
- Download and install the Raspberry Pi Imager on your Windows, Mac, or Linux PC.
- Insert your SanDisk A2 MicroSD card into your computer.
- Open the Imager, click Choose Device, and select Raspberry Pi 4.
- Click Choose OS, navigate to Media Player OS, and select the latest stable build of LibreELEC.
- Click Choose Storage and select your inserted MicroSD card.
- Press Ctrl + Shift + X (or click the gear icon) to open Advanced Options. Here, you should pre-configure your WiFi SSID, set a custom hostname (e.g.,
kodi-pi.local), and enable SSH for remote library management. - Click Save and then Write. Once verified, insert the card into your Pi and connect the HDMI and power cables.
Critical Post-Install Configurations for 4K HEVC
Once LibreELEC boots into the Kodi interface, the default settings are optimized for basic 1080p compatibility, not high-end 4K HDR home theaters. You must adjust specific display configurations to prevent judder and frame-rate mismatching.
Navigate to Settings (Gear Icon) > System > Display. Ensure your resolution is set to 3840x2160p at 60Hz. Next, locate the Whitelist settings. You must add your TV's native refresh rates (e.g., 23.98Hz, 24Hz, 50Hz, 59.94Hz, 60Hz) to the whitelist. This allows Kodi to automatically switch your TV's hardware refresh rate to match the source video file, eliminating the dreaded '3:2 pulldown' judder common in 24fps cinematic content.
Furthermore, verify your hardware decoding pipeline. According to the Kodi hardware decoding wiki, the Pi 4 requires the Allow hardware decoding - VideoPlayer setting to be enabled under Settings > Player > Videos (set to 'Expert' level). Without this, the Pi's CPU will attempt to software-decode 4K streams, resulting in immediate thermal throttling and slideshow-like playback.
Mastering HDMI-CEC and Audio Passthrough
A true beginner guide to Kodi on the Raspberry Pi must address living room integration. You should not need a separate remote control for your Pi.
Pro-Tip for CEC: HDMI-CEC (Consumer Electronics Control) allows your TV remote to send commands through the HDMI cable directly to the Pi. In LibreELEC, go to Settings > System > Input > Peripherals > CEC Adapter. Ensure 'Device Type' is set to 'Playback Device' and 'Wake on startup' is enabled. If your TV brand uses a proprietary name for CEC (like Samsung's Anynet+ or LG's SimpLink), ensure it is toggled ON in your TV's native settings menu.
For users with an AV Receiver or Soundbar, audio passthrough is critical. Navigate to Settings > System > Audio. Enable Allow passthrough and select your specific audio receiver. Check the boxes for the formats your receiver supports (e.g., DTS-HD, TrueHD, E-AC3). This sends the raw, uncompressed bitstream from your media files directly to your receiver for lossless decoding, bypassing the Pi's internal audio mixer entirely.
Troubleshooting Thermal Throttling and Database Corruption
Even with perfect software configuration, hardware realities can ruin the experience. The two most common failure modes for Pi-based Kodi setups are thermal throttling and SD card corruption.
The 80°C Thermal Wall
The Raspberry Pi 4 will aggressively throttle its CPU and GPU clock speeds the moment the SoC hits 80°C. During heavy 4K HDR tone-mapping or when scraping thousands of movie posters, the Pi can hit this wall in minutes if housed in a cheap, unventilated plastic case. Invest in an aluminum case that acts as a massive passive heatsink, or a hybrid case with a PWM-controlled fan that only spins up when the core temperature exceeds 65°C.
SQLite Database Locking
Kodi stores your entire media library in a local SQLite database file named MyVideos119.db (the number changes with Kodi versions). When you scroll rapidly through a library of 5,000+ movies, Kodi performs thousands of tiny, random read/write operations. Standard Class 10 MicroSD cards are designed for sequential video recording, not random I/O. Using a cheap SD card will result in 'database locked' errors, corrupted artwork, and eventual boot loops. Always use an Application Performance Class 2 (A2) rated SD card, or better yet, boot LibreELEC from a USB 3.0 SSD for lightning-fast library scraping and zero corruption risk.
Golden Rule of Pi Media Centers: Never use a spare smartphone charger. Inconsistent voltage delivery will cause the Pi to drop the USB bus, instantly disconnecting external hard drives and corrupting your media library mid-playback. Always use the official Raspberry Pi power supply.
By selecting the right A2 storage, utilizing an aluminum cooling chassis, and properly whitelisting your display refresh rates, your Raspberry Pi Kodi build will rival commercial media boxes costing three times as much, while giving you the ultimate privacy-focused, local-first media experience.