
The Reality of the BCM2837 SoC in Modern Smart Homes
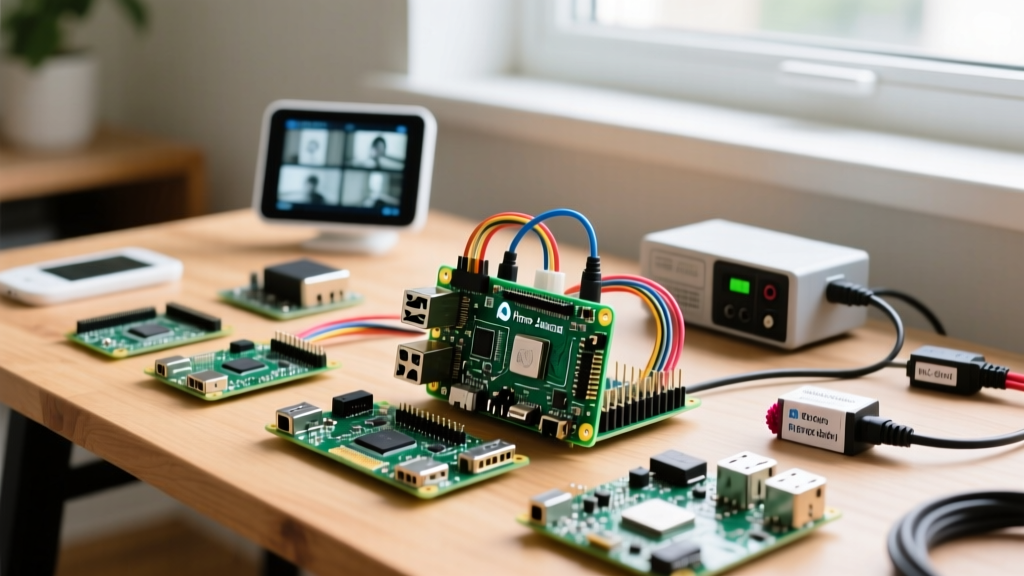
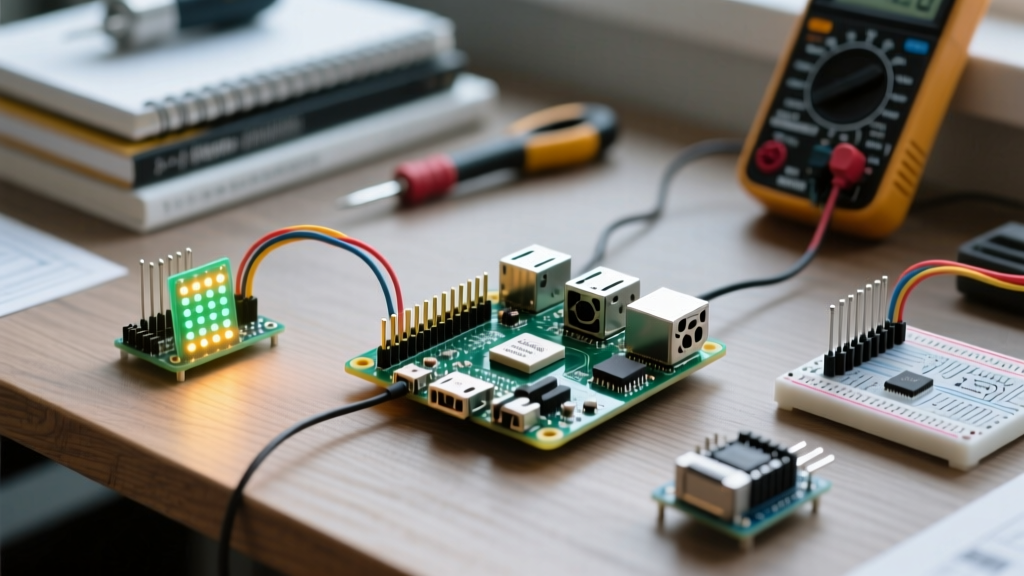
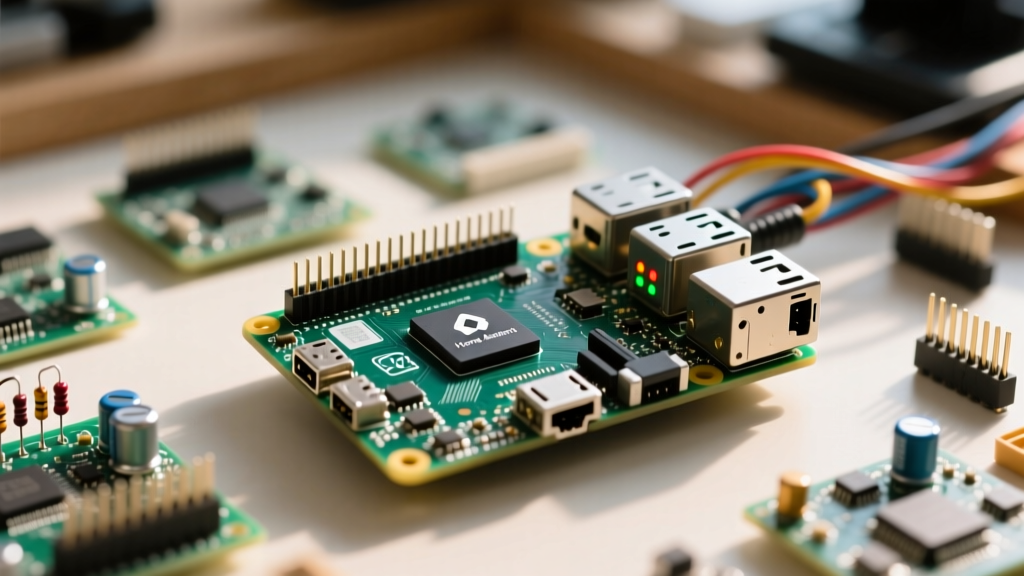
When it comes to building a budget-friendly smart home, running Home Assistant on Raspberry Pi 3B hardware remains a popular rite of passage for many DIY enthusiasts. Released in 2016, the Pi 3B features the Broadcom BCM2837 system-on-chip (SoC) with a 1.2GHz quad-core ARM Cortex-A53 CPU and exactly 1GB of LPDDR2 RAM. While this hardware was revolutionary at the time, modern smart home platforms have grown significantly in complexity. Today, Home Assistant operates via a supervised Docker architecture, running multiple containers for the core system, add-ons, and the Supervisor itself.
If you are attempting to integrate Zigbee meshes, Z-Wave networks, and IP cameras into a single dashboard using a legacy 3B, you will quickly encounter the physical limitations of the board. The primary bottlenecks are not just raw processing power, but rather memory ceiling, USB 2.0 bus saturation, and MicroSD card I/O degradation. However, with aggressive optimization and strategic add-on management, the Pi 3B can still serve as a highly reliable, dedicated smart home brain for small to medium-sized deployments.
Pi 3B vs. Modern SBC Alternatives
| Feature | Raspberry Pi 3B | Raspberry Pi 3B+ | Raspberry Pi 4 (4GB) |
|---|---|---|---|
| SoC / CPU | BCM2837 (1.2GHz) | BCM2837B0 (1.4GHz) | BCM2711 (1.5GHz+) |
| RAM | 1GB LPDDR2 | 1GB LPDDR2 | 4GB LPDDR4 |
| USB Interface | USB 2.0 (Shared) | USB 2.0 (Shared) | USB 3.0 / 2.0 |
| Ethernet | 10/100 Mbps | Gigabit (over USB 2.0) | True Gigabit |
| HA Suitability | Light / Tuned | Light / Tuned | Heavy / Ideal |
Pre-Flight Hardware Checklist: Power and Storage
Before flashing the Home Assistant OS (HAOS) image, you must address the two most common hardware failure points on the Pi 3B: power delivery and storage endurance. The Pi 3B requires a precise 5.1V / 2.5A power supply. Using a standard 5V/2A phone charger will inevitably trigger the kernel's undervoltage protection, leading to CPU throttling, random system reboots, and corrupted databases during heavy write cycles. According to the official Raspberry Pi hardware documentation, voltage dropping below 4.63V will cause the SoC to aggressively downclock, completely ruining the responsiveness of your smart home dashboard.
Storage is equally critical. The default Home Assistant installation writes heavily to the home-assistant_v2.db SQLite database. Standard consumer MicroSD cards (like the SanDisk Ultra) are designed for sequential read/write operations (like recording video), not the random I/O operations required by a database. Within months, a standard card will suffer from worn-out NAND blocks, resulting in a read-only file system. You must invest in a High Endurance or Max Endurance MicroSD card (e.g., SanDisk Max Endurance or Samsung PRO Endurance), which utilize superior NAND flash designed for continuous dashcam and database logging.
Overcoming the 1GB RAM Bottleneck
The 1GB LPDDR2 RAM on the Pi 3B is shared between the CPU, GPU, and system processes. By default, Home Assistant OS allocates a portion of this to the GPU, which is unnecessary for a headless smart home server. While HAOS manages memory dynamically, you are working with a razor-thin margin. The Linux kernel will quickly invoke the OOM (Out of Memory) killer if the Supervisor, Core, and a few add-ons exceed the physical RAM, often killing the Home Assistant core container and leaving your smart home unresponsive.
ZRAM, Swap, and Add-on Triage
Modern versions of Home Assistant OS utilize ZRAM by default, which creates a compressed block device in RAM to act as swap space. This is a lifesaver for the Pi 3B, effectively giving you a compressed swap pool that reduces the need to write to the slow MicroSD card. However, ZRAM requires CPU cycles to compress and decompress data on the fly. If your Pi 3B is already thermally throttling, ZRAM operations will introduce noticeable latency in your automations.
To survive on 1GB of RAM, you must practice strict add-on triage. Avoid running memory-hungry containers locally. For example, do not run Frigate NVR or Node-RED on a Pi 3B. Frigate requires massive amounts of RAM for object detection caching, and Node-RED's visual flow editor easily consumes 300MB+ of RAM just to keep the web interface alive. Instead, rely on native Home Assistant YAML automations and offload camera processing to a dedicated NVR or an older desktop PC running Docker.
Database Optimization: Saving Your MicroSD Card
The recorder integration is the backbone of Home Assistant's history and logbook features. By default, it commits sensor state changes to the SQLite database almost instantly. In a smart home with 50+ Zigbee sensors reporting temperature, humidity, and battery states every minute, this results in thousands of write operations per hour. On a Pi 3B using a MicroSD card, this I/O bottleneck will cause the dashboard to lag, automations to delay, and the SD card to die prematurely.
SQLite Tuning for Low I/O Environments
You can drastically reduce the I/O load by modifying your configuration.yaml file. By increasing the commit_interval and reducing the retention period, you give the Pi 3B's storage controller time to breathe. The Home Assistant Recorder documentation suggests tuning these parameters for resource-constrained environments. Here is a highly optimized configuration for the Pi 3B:
recorder:
  db_url: sqlite:////config/home-assistant_v2.db
  commit_interval: 10
  purge_keep_days: 5
  auto_purge: true
  include:
    domains:
      - sensor
      - binary_sensor
      - light
      - switch
    entity_globs:
      - climate.*
Setting the commit_interval to 10 seconds batches database writes, reducing IOPS by up to 80%. Furthermore, explicitly including only the domains you care about prevents the database from being flooded with transient system events, debug logs, and spammy UPnP discovery data, keeping the database file size under 200MB.
Smart Home Integration Limits: Protocol Selection
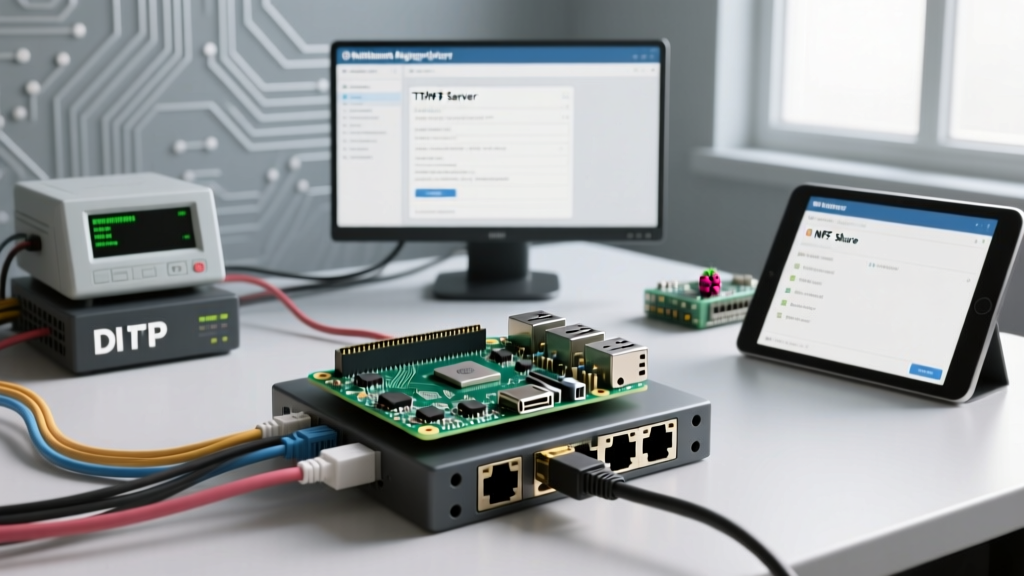
When integrating wireless protocols on the Pi 3B, you must consider the USB 2.0 bus and CPU overhead. The Pi 3B shares its USB 2.0 bus with the Ethernet controller, meaning total bandwidth is capped around 300 Mbps. While this doesn't affect low-bandwidth IoT protocols, it does dictate how you connect your coordinators.
For Zigbee integration, avoid running Zigbee2MQTT alongside a separate Mosquitto MQTT broker container if you are strictly limited on RAM. Instead, use the native ZHA (Zigbee Home Automation) integration. ZHA is built directly into the Home Assistant core process, eliminating the overhead of running a secondary Docker container and a message broker. Pair ZHA with a modern CC2652P-based USB coordinator (like the Sonoff Zigbee 3.0 USB Dongle Plus 'P' version). The CC2652P handles much of the packet parsing on the dongle itself, offloading CPU cycles from the Pi 3B's aging Cortex-A53 cores.
For Z-Wave, the Z-Wave JS UI add-on is remarkably lightweight and stable on the Pi 3B, provided you use a high-quality UART-based Z-Wave stick rather than a cheap, generic USB dongle that requires constant CPU polling. Avoid attempting to run Matter or Thread border routing natively on the Pi 3B; the IPv6 multicast traffic and edge-routing requirements will quickly overwhelm the 10/100 Ethernet interface and the 1GB RAM limit.
Troubleshooting Common Pi 3B Failures
Even with perfect software tuning, the physical realities of the Pi 3B will occasionally surface. Here is how to diagnose and fix the most common failure modes specific to this board when running Home Assistant OS:
- Thermal Throttling: The Pi 3B runs notoriously hot. If the SoC reaches 80°C, it will throttle down to 600MHz. You will notice this as delayed automations or a sluggish dashboard. You must install a passive aluminum heatsink at a minimum, but a 5V active cooling fan connected to the GPIO 5V and GND pins is highly recommended to keep the BCM2837 under 60°C.
- Wi-Fi Dropout Issues: The Pi 3B's 2.4GHz Wi-Fi chip shares an antenna with Bluetooth. If you are using Bluetooth Low Energy (BLE) tracking alongside 2.4GHz Wi-Fi, you will experience severe packet loss. Hardwire your Pi 3B via Ethernet whenever possible. If Wi-Fi is mandatory, disable the onboard Bluetooth in the
config.txtboot file and use an external USB BLE adapter for smart home integrations. - WebSocket Disconnects: If your mobile app frequently shows 'Connecting...' or drops WebSocket connections, it is rarely a network issue. It is usually the Pi 3B's CPU spiking to 100% while compiling YAML configurations or processing a heavy Z-Wave mesh heal. Check the 'System Health' panel in Home Assistant to monitor CPU throttling indicators.
Ultimately, running Home Assistant on Raspberry Pi 3B hardware is an exercise in constraint management. By respecting the 1GB RAM ceiling, aggressively tuning your SQLite database, and choosing lightweight native integrations over heavy Docker add-ons, you can maintain a highly responsive, reliable smart home hub without needing to upgrade to modern silicon.