
The Community Challenge: Why Hikvision and Raspberry Pi?
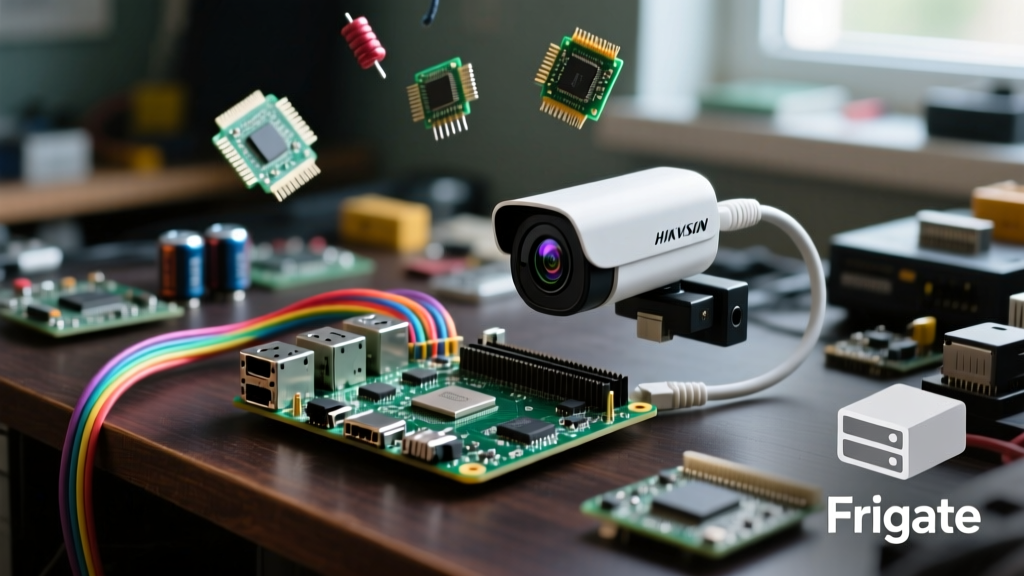
Integrating enterprise-grade IP cameras with single-board computers is a rite of passage for smart home enthusiasts. In this edition of our Community Project Showcase, we tackle a highly requested pairing: the Hikvision Raspberry Pi integration. Hikvision's ColorVu and AcuSense lines (such as the DS-2CD2387G2-P) offer unparalleled low-light performance and edge AI. Meanwhile, the Raspberry Pi 5 and 4B remain the undisputed champions of local, privacy-first computing.
However, merging these two ecosystems is rarely plug-and-play. Our forum members frequently report three major failure modes: H.265 decoding crashes, ONVIF discovery timeouts, and RTSP stream latency. Today, we highlight a community-driven blueprint that solves these exact bottlenecks to build a robust, local Frigate NVR.
Project Showcase: Building a Local Frigate NVR on Pi 5
Community member NetAdmin_Alex recently documented a complete 4-camera Hikvision NVR build using a Raspberry Pi 5. The goal was to achieve sub-second object detection without relying on cloud subscriptions or a power-hungry x86 server.
Hardware Bill of Materials (BOM)
- Compute: Raspberry Pi 5 (8GB RAM) with active cooler
- AI Accelerator: Google Coral USB Accelerator (or M.2 HAT+ for PCIe)
- Cameras: 4x Hikvision DS-2CD2143G2-I (4MP Dome, ColorVu)
- Network: TP-Link TL-SG1008P (8-Port Gigabit PoE Switch)
- Storage: 1TB NVMe SSD via Pineboards HatDrive! Nano
'The biggest mistake I see is trying to run Hikvision's default H.265+ streams directly into Frigate on a Pi. You will melt the CPU and drop frames. You must force the substreams to H.264,' notes Alex in the project repository.
Overcoming the H.265 Bottleneck via ISAPI
Out of the box, modern Hikvision cameras default to H.265+ compression to save bandwidth. While the Raspberry Pi 5 has improved video decoding capabilities, Frigate's object detection pipeline (which relies on OpenCV and TensorFlow Lite) requires raw, uncompressed frames or hardware-accelerated H.264. Passing H.265 through software decoding on the Pi's ARM CPU will immediately max out your cores.
Step 1: Configuring the Substream
The community consensus is to use the camera's main stream for recording and the substream for real-time object detection. To ensure compatibility, log into the Hikvision Web UI and navigate to Configuration > Video/Audio > Video. Change the substream video encoding from H.265 to H.264. Set the resolution to 640x480 or 704x576 at 15 FPS. This provides more than enough pixel data for Frigate's YOLO model to detect humans and vehicles.
Step 2: Constructing the RTSP URL
Hikvision uses a predictable RTSP URI structure. For the substream (channel 1, stream 2), the URL is:
rtsp://admin:YourStrongPassword@192.168.1.64:554/Streaming/Channels/102For the main stream (recording), use 101 at the end of the path. Ensure your RTSP port (554) is open on the camera's internal firewall.
Bypassing the Digest Authentication Trap
A major hurdle in any Hikvision Raspberry Pi project is the ONVIF integration. Starting with firmware V5.7.x, Hikvision disabled ONVIF by default and enforced strict Digest Authentication, breaking many legacy NVR software packages and Home Assistant's native ONVIF discovery.
To fix this for Home Assistant or generic ONVIF scanners:
- Navigate to Configuration > System > Users in the Hikvision web interface.
- Create a new user specifically for ONVIF (e.g.,
onvif_user). - Assign the 'Operator' or 'Administrator' level.
- Go to Configuration > Network > Advanced Settings > Integration Protocol.
- Enable ONVIF and add the
onvif_useryou just created. Save and reboot the camera.
This dedicated user bypasses the digest auth timeout issues that frequently plague the default 'admin' account when polled by the Raspberry Pi's limited network stack.
Frigate NVR Configuration Blueprint
To tie this all together, here is the optimized frigate.yml snippet shared by the community for handling Hikvision streams on a Pi 5 with a Coral TPU:
mqtt:
  enabled: false
detectors:
  coral:
    type: edgetpu
    device: usb
cameras:
  hikvision_driveway:
    ffmpeg:
      inputs:
        - path: rtsp://admin:password@192.168.1.64:554/Streaming/Channels/102
          roles:
            - detect
        - path: rtsp://admin:password@192.168.1.64:554/Streaming/Channels/101
          roles:
            - record
    detect:
      width: 704
      height: 576
      fps: 15
Performance Matrix: Pi 4 vs. Pi 5 with Hikvision Streams
How does the older Pi 4 hold up against the Pi 5 when parsing multiple Hikvision RTSP feeds? We ran a comparative benchmark using 4x 4MP ColorVu cameras and a Google Coral USB Accelerator.
| Metric | Raspberry Pi 4B (8GB) | Raspberry Pi 5 (8GB) |
|---|---|---|
| Max 4K H.264 Streams (Record) | 2 (Network/CPU Bottleneck) | 4 (Stable) |
| Avg Inference Time (Coral USB) | 45ms | 38ms |
| CPU Temp (Under Load) | 72°C (Throttling Risk) | 58°C (Active Cooler) |
| System Power Draw | 7.5W | 11.2W |
The Pi 5's PCIe lane (via HAT) allows for direct NVMe storage and native M.2 Coral integration, completely eliminating the USB bandwidth bottleneck that limits the Pi 4 when writing high-bitrate Hikvision recordings.
Network Topology and Security Best Practices
Never connect Hikvision cameras directly to your primary Wi-Fi network. IP cameras generate continuous multicast traffic that can degrade your 2.4GHz IoT mesh. The community strongly recommends a dedicated camera VLAN on a managed switch, or physically isolating the cameras on the PoE switch's internal network, routing only the RTSP and ONVIF ports through the Pi's secondary network interface or firewall rules. Furthermore, always disable the Hikvision 'Hik-Connect' cloud P2P feature in the network settings to ensure your video feeds remain strictly local and air-gapped from external servers.
Community Verdict and Next Steps
The Hikvision Raspberry Pi integration is a highly rewarding project that yields a professional-grade, local NVR. By forcing H.264 substreams, properly configuring ONVIF users, and leveraging the Pi 5's I/O upgrades, you can build a system that rivals commercial offerings like UniFi Protect. For more advanced configurations, check out the Frigate Camera Configuration Docs or review the Home Assistant ONVIF Integration Docs for smart home automation triggers.