
Architecting Headless Access for Smart Home Hubs
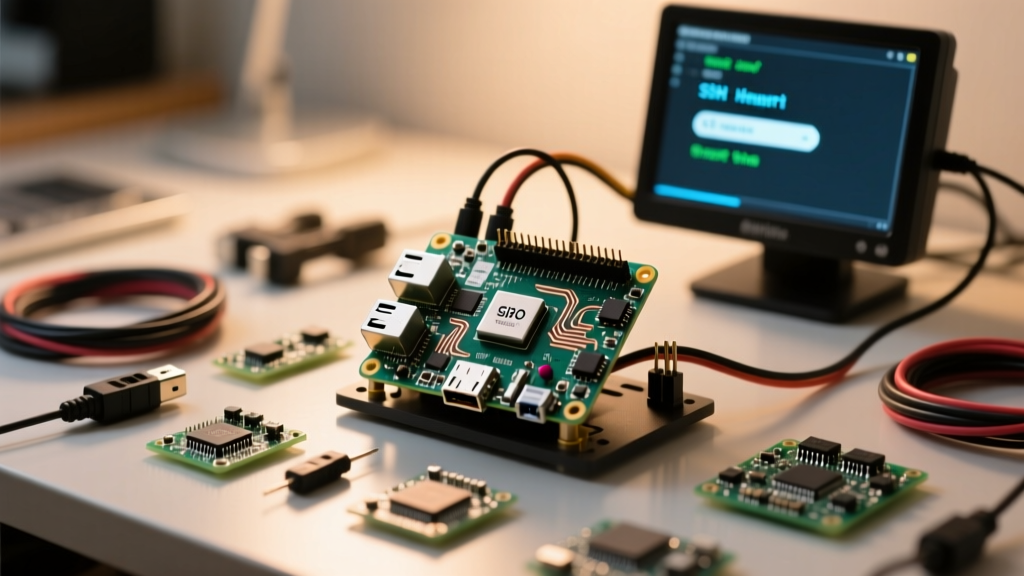
When building a robust, local-first smart home, the Raspberry Pi remains the undisputed champion of single-board computing. Whether you are deploying a Raspberry Pi 5 as a Frigate NVR host with a Coral TPU accelerator, or a Pi 4 running a Docker stack of Mosquitto, Node-RED, and Zigbee2MQTT, graphical user interfaces are a liability. The default Raspberry Pi OS desktop environment (Wayland/X11) can consume upwards of 300MB of RAM and introduce unnecessary thermal throttling. For dedicated smart home integration, headless operation is mandatory, making Raspberry Pi SSH the critical lifeline for system administration, log parsing, and container management.
However, treating your smart home hub like a standard desktop PC is a security risk. Smart home networks are often populated with cheap, vulnerable IoT devices (like Tuya Wi-Fi plugs or ESP8266-based sensors) that can be compromised and used to scan local subnets. In this guide, we will bypass basic tutorials and dive deep into architecting, hardening, and troubleshooting SSH access specifically tailored for IoT VLANs and Home Assistant environments.
Generating Cryptographically Secure Ed25519 Keys
The era of typing passwords into a terminal is over, and relying on RSA 2048-bit keys is no longer recommended for modern infrastructure. For your smart home nodes, you should exclusively use Ed25519 keys. They offer superior security, faster cryptographic operations, and significantly smaller key sizes, which is ideal for rapid authentication across multiple Pi nodes.
From your primary administration machine (Linux, macOS, or Windows Subsystem for Linux), generate a dedicated key for your smart home cluster:
ssh-keygen -t ed25519 -C "ha-node-cluster" -f ~/.ssh/smarthome_ed25519
Leave the passphrase empty if you are integrating this key with automated Ansible playbooks or Home Assistant shell commands, but use a strong passphrase if this is your manual administrative key. Once generated, push the public key to your Raspberry Pi running Raspberry Pi OS Bookworm:
ssh-copy-id -i ~/.ssh/smarthome_ed25519.pub pi@192.168.1.50
Note: If you are using Home Assistant OS (HAOS) instead of Raspberry Pi OS, standard SSH is disabled by design. You must install the "Advanced SSH & Web Terminal" add-on from the HAOS store and paste your public key into the add-on configuration YAML under the authorized_keys array.
Hardening the Daemon for IoT VLANs
If your Raspberry Pi resides on an IoT VLAN alongside smart bulbs, Wi-Fi cameras, and cheap Zigbee gateways, you must assume the network is hostile. Automated LAN worms frequently scan port 22, attempting brute-force attacks against default credentials. Hardening your sshd_config file is a non-negotiable step for smart home integrators.
Access your Pi and edit the daemon configuration:
sudo nano /etc/ssh/sshd_config
Below is a comparison of default settings versus a hardened configuration optimized for a smart home environment.
| Parameter | Default Raspberry Pi OS | Hardened IoT VLAN Config | Smart Home Rationale |
|---|---|---|---|
| Port | 22 | 2222 | Evades basic automated LAN subnet scanners targeting default ports. |
| PermitRootLogin | prohibit-password | no | Forces lateral movement; attackers must compromise a standard user first. |
| PasswordAuthentication | yes | no | Eliminates brute-force vector entirely; relies solely on Ed25519 keys. |
| MaxAuthTries | 6 | 2 | Drops connection rapidly on failed key attempts, saving Pi CPU cycles. |
| ClientAliveInterval | 0 | 300 | Severs dead sessions caused by Wi-Fi mesh network dropouts. |
After modifying the file, restart the service using sudo systemctl restart ssh. According to the OpenBSD sshd_config documentation, setting ClientAliveInterval is particularly crucial in smart homes where devices connect via Wi-Fi mesh nodes that occasionally drop TCP states without sending FIN packets.
Streamlining Multi-Node Management via SSH Config
A mature smart home rarely relies on a single Pi. You might have one Pi 4 dedicated to Zigbee2MQTT, a Pi 5 handling Frigate NVR, and an Intel NUC running Home Assistant Supervised. Remembering IP addresses and custom ports for each node is inefficient. Instead, leverage the local ~/.ssh/config file on your admin machine to create semantic aliases.
Create or edit the config file:
nano ~/.ssh/config
Add your smart home nodes with their specific hardening parameters:
Host frigate-nvr
    HostName 192.168.2.15
    Port 2222
    User pi
    IdentityFile ~/.ssh/smarthome_ed25519

Host z2m-gateway
    HostName z2m-pi.local
    Port 2222
    User pi
    IdentityFile ~/.ssh/smarthome_ed25519
Now, accessing your Frigate server is as simple as typing ssh frigate-nvr. This abstraction layer is invaluable when writing bash scripts to pull Docker logs or push configuration updates via scp across your smart home infrastructure.
Advanced Troubleshooting: VLANs, mDNS, and Host Keys
Integrating Raspberry Pi SSH into a segmented network architecture introduces unique failure modes. Here is how to resolve the most common issues encountered by smart home engineers.
1. The mDNS (.local) Routing Failure
By default, Raspberry Pi OS uses avahi-daemon to broadcast its hostname via multicast DNS (mDNS), allowing you to connect using ssh pi@raspberrypi.local. However, mDNS relies on multicast traffic (224.0.0.251), which does not cross VLAN boundaries. If your admin PC is on the "Trusted" VLAN and your Pi is on the "IoT" VLAN, the .local address will fail to resolve.
The Fix: You must configure an mDNS reflector on your router. If you use pfSense/OPNsense, enable the Avahi daemon package and select the Trusted and IoT interfaces. If you use UniFi, enable the "Multicast DNS" setting in the UniFi Network Application under Settings > Networks. Alternatively, abandon mDNS and assign static DHCP leases mapped to local DNS records in Pi-hole or AdGuard Home.
2. Host Key Verification Failed
This error occurs when the cryptographic fingerprint of the target IP address changes. In a smart home lab, this happens frequently when you swap SD cards, reflash Home Assistant OS, or assign a recycled static IP to a new Pi. Your admin machine blocks the connection to prevent Man-in-the-Middle (MitM) attacks.
The Fix: Purge the old fingerprint from your known_hosts file. Do not manually edit the file; use the built-in SSH utility:
ssh-keygen -R 192.168.1.50
This safely removes the offending key, allowing you to accept the new Pi's fingerprint on your next connection attempt.
3. Headless Boot "Connection Refused" on Bookworm
In older versions of Raspberry Pi OS, placing an empty file named ssh in the boot partition enabled the daemon permanently. With the shift to Debian 12 (Bookworm) and the new Raspberry Pi Imager customizations, headless SSH configuration is now handled via the userconf or Imager GUI settings. If you cloned an SD card and forgot to enable SSH via sudo raspi-config (Interface Options > SSH), you will be locked out.
The Fix: If you lack a physical monitor, power down the Pi, mount the SD card on your PC, and create a file named ssh (no extension) in the root of the bootfs partition. Upon booting, the OS will enable the service, rename the file to ssh.txt, and allow network access so you can permanently enable it via systemctl.
Expert Insight: When managing Home Assistant OS (HAOS), remember that you are interacting with a heavily restricted Docker environment. Standard SSH access via the add-on store drops you into a container with limited visibility of the host OS. To access the underlying host for tasks like passing USB Zigbee dongles (
/dev/ttyUSB0) or editingcmdline.txt, you must enable the protected port 22222 using the official Home Assistant "os-agent" and a specialized authorized_keys file. Never attempt to break out of the HAOS container via standard Docker escape vulnerabilities; use the sanctioned port 22222 host-access method outlined in the Home Assistant documentation.
Conclusion
Mastering Raspberry Pi SSH is about more than just opening a terminal; it is about establishing a secure, resilient, and scalable administrative pipeline for your smart home. By utilizing Ed25519 cryptography, hardening your daemon against local IoT threats, and understanding the nuances of VLAN routing and HAOS containerization, you ensure that your home automation infrastructure remains both accessible to the administrator and invisible to the attacker.