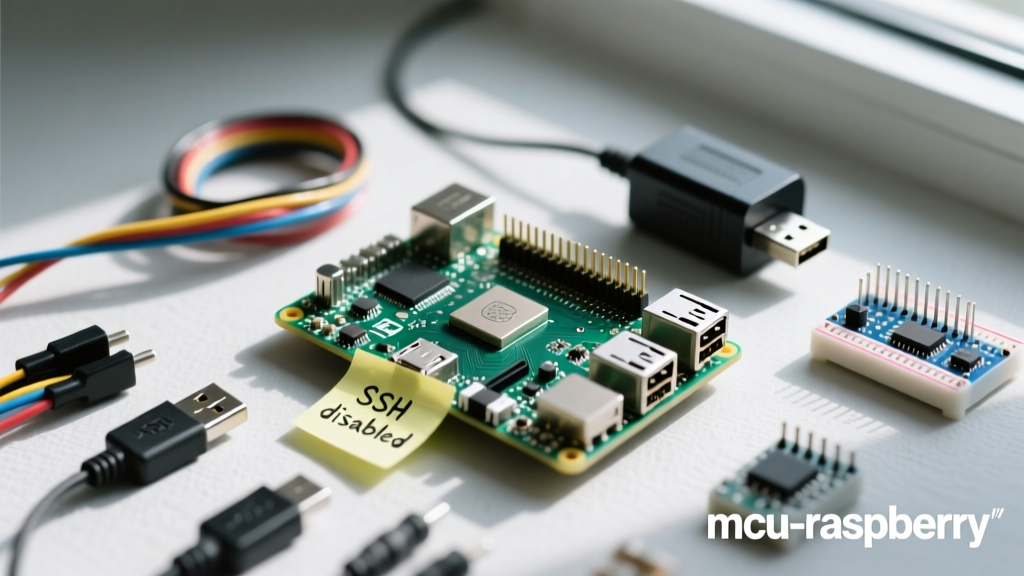

There are few things more frustrating in a headless SBC build than sitting at your desk, staring at a terminal that refuses to connect, while the device itself works perfectly when plugged into a monitor. If your Raspberry Pi can login directly but not via SSH, you are dealing with a divergence between local TTY authentication and remote daemon accessibility. This is not a hardware failure; it is a software configuration bottleneck.
In this software walkthrough, we will bypass the generic 'reboot your router' advice and dive directly into the Raspberry Pi OS architecture. We will cover the recent shifts in Raspberry Pi OS Bookworm, the deprecation of the default pi user, and exact terminal commands to diagnose whether your issue is a disabled daemon, a silent firewall drop, or a corrupted host key.
The Architecture: Local TTY vs. Remote SSH Daemon
To fix the issue, you must first understand why local login succeeds while SSH fails. When you connect a keyboard and monitor to your Raspberry Pi, you are interacting with the getty (get terminal) service via the local TTY. This service is bound to the physical hardware console and is enabled by default on all Debian-based distributions.
SSH, however, relies on the sshd (Secure Shell Daemon) listening on port 22 over the network stack. If the Pi can login directly but not via SSH, it means the Linux kernel and local user space are healthy, but the network-facing SSH service is either inactive, blocked by a local firewall, or misconfigured to reject your specific authentication method.
Phase 1: The Boot Partition Flag (Bookworm & Newer)
For security reasons, the Raspberry Pi Foundation disabled SSH by default on all headless images starting in 2017. However, the method to enable it headlessly changed significantly with the release of Raspberry Pi OS Bookworm.
The Legacy Method (Bullseye and older)
On older systems, creating an empty file named ssh in the /boot partition was sufficient. The OS would detect this file on startup, enable the SSH service, and delete the file.
The Modern Method (Bookworm and newer)
If you are running a modern OS, the boot partition has been restructured. The /boot directory is now a symlink, and the actual firmware partition is mounted at /boot/firmware. If you are preparing an SD card from your main PC, you must place the empty ssh file in the /boot/firmware directory, not the root of the visible FAT32 partition if your OS auto-mounts it differently.
Pro-Tip: If you already have local access via a connected keyboard and monitor, do not mess with the boot partition. Simply open the local terminal and run
sudo raspi-config, navigate to Interface Options > SSH, and enable it. Alternatively, use the direct systemd command:sudo systemctl enable --now ssh.
Phase 2: The Deprecation of the Default 'pi' User
A massive source of 'Permission Denied' errors in recent years stems from a security update implemented via the Raspberry Pi Imager. The default pi user with the password raspberry has been entirely deprecated.
If you flashed your OS using the Raspberry Pi Imager and set a custom username (e.g., admin or fluxuser), attempting to SSH into the device using ssh pi@192.168.1.50 will instantly fail, even if the SSH daemon is running perfectly. The local login works because you are physically typing your custom credentials into the TTY, but your SSH client might be defaulting to your current PC's username or the legacy 'pi' user.
The Fix: Explicitly declare your custom user in the SSH command:
ssh your_custom_username@192.168.1.50Phase 3: Symptom-to-Solution Diagnostic Matrix
When your SSH client fails, the exact error message is the key to the solution. Use the table below to map your client-side error to the underlying Pi configuration fault.
| Client Error Message | Technical Meaning | Primary Suspect on the Pi | Local Terminal Fix |
|---|---|---|---|
Connection refused |
TCP SYN reached the Pi, but no service is listening on Port 22. | SSH daemon is stopped or disabled. | sudo systemctl start ssh |
Operation timed out |
Packets are being dropped silently; no TCP handshake is completed. | Local firewall (UFW/iptables) or network AP isolation. | sudo ufw allow 22/tcp |
Permission denied (publickey,password) |
SSH daemon is running, but authentication credentials were rejected. | Wrong username, or password auth is disabled in sshd_config. |
Edit /etc/ssh/sshd_config |
Connection closed by [IP] port 22 |
The Pi actively severed the connection during the handshake. | Corrupted SSH host keys or MaxStartups limit reached. | Regenerate host keys via dpkg. |
Phase 4: Inspecting and Repairing the SSH Daemon
If you received a 'Connection Refused' error, the daemon is down. Log into your Pi directly and check the service status:
sudo systemctl status sshNote that on Debian/Raspberry Pi OS, the service is named ssh, whereas on RedHat/Arch systems it is usually sshd. If the output shows Active: inactive (dead), start it and force it to persist across reboots:
sudo systemctl enable ssh
sudo systemctl start ssh
Checking for Port Conflicts
Occasionally, another service (like a Docker container or a rogue Python script) might bind to port 22. Verify that the SSH daemon actually owns the port:
sudo ss -tulpn | grep :22You should see sshd listed as the process. If you see something else, you have a port conflict that must be resolved by stopping the offending service.
Phase 5: Firewall Blockades (UFW and iptables)
If your client reports 'Operation timed out', the Pi is likely dropping the packets. While Raspberry Pi OS does not enable a firewall by default, many users install ufw (Uncomplicated Firewall) or run Docker, which manipulates iptables rules and can inadvertently block port 22.
Check the UFW status locally:
sudo ufw status verboseIf UFW is active and blocking incoming traffic, explicitly allow SSH:
sudo ufw allow ssh
sudo ufw reload
If you are not using UFW, inspect the raw iptables rules to ensure no DROP rules are targeting your local subnet:
sudo iptables -L INPUT -n -vFor a deeper dive into Debian networking security, refer to the Debian SSH Wiki, which covers edge cases involving TCP wrappers and hosts.allow/deny files.
Phase 6: Fixing Corrupted SSH Host Keys
If your Pi experienced a sudden power loss or SD card corruption, the cryptographic host keys located in /etc/ssh/ might be zeroed out or corrupted. When this happens, the Pi will accept the TCP connection but immediately close it during the key exchange phase.
To fix this, you must delete the corrupted keys and force the OpenSSH server package to generate fresh ones. Run these commands locally on the Pi:
sudo rm /etc/ssh/ssh_host_*
sudo dpkg-reconfigure openssh-server
sudo systemctl restart ssh
This process takes about three seconds and guarantees that your Pi has valid RSA, ECDSA, and Ed25519 keys for incoming handshakes.
Phase 7: Client-Side Verbose Debugging
If you have exhausted the local Pi checks and still cannot connect, the issue may lie in how your client is negotiating the connection. Modern Raspberry Pi OS images enforce strict cryptographic standards, disabling older, insecure ciphers and key exchange algorithms.
If you are using an outdated SSH client (like an old version of PuTTY or a legacy terminal emulator), the Pi will reject the connection. To see exactly why the Pi is rejecting you, run your SSH command with the triple-verbose flag from your main computer:
ssh -vvv your_user@192.168.1.50Scroll through the debug output and look for the kex_exchange_identification or debug1: SSH2_MSG_SERVICE_ACCEPT lines. If the connection drops immediately after the key exchange, your client is proposing weak ciphers that the Pi's sshd_config is hardcoded to reject. Updating your local SSH client or PuTTY to the latest 2026 release will resolve this cryptographic mismatch.
Summary Checklist for Headless Recovery
- Verify User: Ensure you are not defaulting to the deprecated 'pi' user.
- Verify Daemon: Run
sudo systemctl status sshlocally. - Verify Network: Ping the Pi from your host machine to rule out VLAN or AP isolation issues on your router.
- Verify Firewall: Check
ufwandiptablesfor silent packet drops. - Verify Keys: Regenerate host keys if the connection closes instantly.
By systematically isolating the local TTY environment from the remote network stack, you can resolve any scenario where the Raspberry Pi can login directly but not via SSH. For comprehensive details on headless configurations and remote access protocols, always consult the Official Raspberry Pi Remote Access Documentation.