
The Headless Paradigm: Pre-Configuring Remote Access
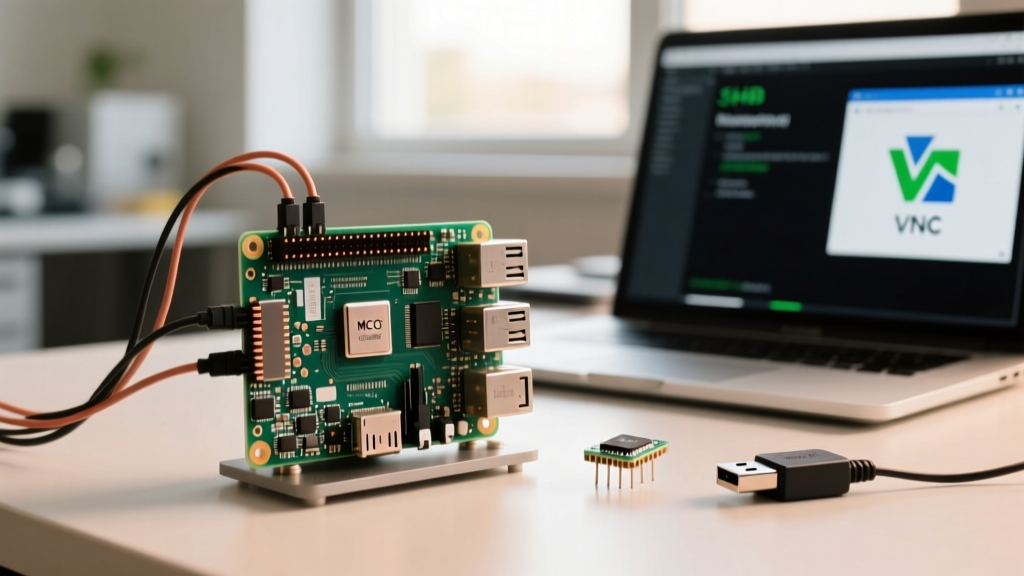
Understanding how to connect to Raspberry Pi remotely is a foundational skill for any SBC enthusiast, home lab administrator, or IoT developer. Whether you are deploying a Pi 5 in an attic for Home Assistant, running a headless OctoPrint server, or managing a fleet of Pi Zero 2 W nodes, relying on a dedicated monitor and keyboard is entirely impractical. Modern remote access requires a layered approach: secure command-line access, reliable GUI desktop sharing, and encrypted Wide Area Network (WAN) tunneling.
In this comprehensive setup and configuration guide, we will bypass basic tutorials and dive deep into enterprise-grade remote access configurations. We will address the critical shift to the Wayland display server in Raspberry Pi OS Bookworm, harden SSH against brute-force attacks, and implement zero-trust networking for remote access outside your local LAN.
Phase 1: Headless Boot & Initial Provisioning
Before you can connect remotely, the Pi must be configured to accept connections on first boot. The days of manually placing an empty ssh file and a wpa_supplicant.conf on the boot partition are largely behind us, replaced by the much safer Raspberry Pi Imager advanced configuration menu.
- Open the Raspberry Pi Imager on your host PC.
- Select your target OS (Raspberry Pi OS 64-bit Bookworm recommended) and your SD card.
- Press
Ctrl+Shift+X(or click the gear icon) to open the Advanced Options. - Enable Enable SSH and select Use password authentication for the initial boot.
- Configure your WiFi SSID and exact BSSID to prevent initial connection timeouts.
- Set a strong initial password and a unique hostname (e.g.,
pi-node-01.local).
Pro-Tip: Always check the 'Eject media when finished' box. Once flashed, insert the SD card into your Pi, power it on, and wait 60-90 seconds for the first-boot resize and network handshake to complete.
Phase 2: Secure Shell (SSH) Hardening
By default, SSH relies on password authentication. If your Pi is exposed to the internet, automated botnets will attempt to brute-force port 22 within minutes. We must transition to Ed25519 cryptographic keys and disable password logins entirely.
Generating and Deploying Ed25519 Keys
On your host machine (not the Pi), generate a modern key pair:
ssh-keygen -t ed25519 -C "admin@electricalflux-lab"Copy the public key to your Pi using ssh-copy-id:
ssh-copy-id -i ~/.ssh/id_ed25519.pub username@pi-node-01.localVerify that you can log in without a password prompt before proceeding to the next step. If you lock yourself out, you will need to physically access the SD card to fix the configuration.
Locking Down sshd_config
Once key-based authentication is verified, SSH into the Pi and edit the daemon configuration:
sudo nano /etc/ssh/sshd_configLocate and modify the following parameters to harden the daemon:
PermitRootLogin no(Prevents direct root access)PasswordAuthentication no(Forces key-based auth)ChallengeResponseAuthentication noMaxAuthTries 3(Limits brute-force attempts per connection)
Restart the SSH service to apply changes: sudo systemctl restart ssh. For an additional layer of brute-force protection, install fail2ban via sudo apt install fail2ban, which will automatically ban IP addresses that exhibit malicious authentication patterns.
Phase 3: GUI Remote Desktop (Navigating the Wayland Shift)
Historically, enabling VNC via sudo raspi-config was all that was required for GUI access. However, Raspberry Pi OS Bookworm introduced Wayland as the default display server for Pi 4 and Pi 5. Wayland's strict security model prevents applications from scraping the screen buffer, rendering traditional X11-based VNC servers (like RealVNC) completely non-functional, often resulting in a black screen or immediate service crash.
You have two distinct paths to resolve this, depending on your workflow requirements.
Option A: Reverting to X11 (Best for Legacy Compatibility)
If you rely on specific X11 forwarding or legacy VNC clients, you must force the Pi to use the X11 windowing system.
- Run
sudo raspi-config. - Navigate to Advanced Options > Wayland.
- Select X11 and confirm.
- Reboot the Pi.
- Return to
raspi-config> Interface Options > VNC and enable it.
This restores full compatibility with RealVNC and standard screen-scraping remote desktop tools.
Option B: Native Wayland via WayVNC (Best for Pi 5 Performance)
If you want to maintain Wayland's superior performance and tear-free rendering on a Pi 5, you must use a Wayland-native compositor hook. wayvnc is the standard solution here. According to the wayvnc GitHub repository, it attaches directly to the wlroots-based compositor.
sudo apt update
sudo apt install wayvnc
wayvnc 0.0.0.0 5900
Note: WayVNC requires an active local user session. If you are running headless without a physical monitor attached, you must configure a dummy HDMI plug or edit /boot/firmware/config.txt to force a virtual display resolution, otherwise the VNC server will have no buffer to capture.
Phase 4: Secure WAN Access via Tailscale
A common, yet disastrous, mistake beginners make when learning how to connect to Raspberry Pi remotely from outside their home network is setting up Port Forwarding on their router to expose port 22 or 5900 to the open internet. Never do this.
Instead, utilize a Zero-Trust mesh VPN like Tailscale. Tailscale creates a secure, encrypted WireGuard tunnel between your Pi and your remote devices (laptop, phone) without opening any inbound firewall ports on your router.
- Install Tailscale from the official Debian repositories:
sudo apt install tailscale - Authenticate the node:
sudo tailscale up - Follow the terminal URL to log into your Tailscale admin console and authorize the Pi.
Once connected, your Pi will be assigned a stable 100.x.y.z CGNAT IP address. You can now SSH or VNC into your Pi from anywhere in the world using this IP, with traffic routed peer-to-peer via WireGuard. For deeper network integration, you can configure the Pi as an exit node or subnet router to access other non-Tailscale IoT devices on your home LAN. Refer to the official Tailscale Raspberry Pi documentation for advanced subnet routing configurations.
Remote Access Protocol Comparison Matrix
Choosing the right protocol depends heavily on your latency tolerance, bandwidth constraints, and security requirements. Below is a decision framework for SBC remote management.
| Protocol | Use Case | Security Level | Bandwidth Req. | Wayland Compatible? |
|---|---|---|---|---|
| SSH (CLI) | Server management, scripting, Docker | High (with Keys) | Extremely Low | N/A (Terminal) |
| RealVNC (X11) | Legacy GUI apps, basic desktop access | Medium (Proprietary) | Medium | No (Requires X11) |
| WayVNC | Modern GUI access on Pi 4 / Pi 5 | Medium (Unencrypted LAN) | High | Yes (Native) |
| RDP (xrdp) | Windows-native remote desktop clients | Medium | Medium-High | Partial (Requires Xorg) |
| Tailscale + SSH | Secure WAN CLI access without port forwarding | Extremely High | Extremely Low | N/A (Tunnel) |
Troubleshooting Common Remote Connection Failures
Even with meticulous configuration, remote access can fail. Here are the most common failure modes and their exact resolutions, as documented in the official Raspberry Pi remote access guides.
1. 'Connection Refused' on First Boot
Cause: The Pi has not yet generated its unique SSH host keys, or the systemd resize process is still blocking the network stack.
Fix: Wait 120 seconds. If using a Pi Zero W, allow up to 3 minutes for the initial WiFi handshake and package cache generation. Verify the IP via your router's DHCP lease table.
2. VNC Shows a Black Screen or 'Cannot Connect'
Cause: You are running Wayland on Bookworm, or no physical display is detected, causing the GPU to disable the framebuffer.
Fix: Add max_framebuffers=2 and force a resolution by uncommenting hdmi_force_hotplug=1 in /boot/firmware/config.txt. Reboot and ensure you are using a Wayland-compatible VNC client if you haven't reverted to X11.
3. 'REMOTE HOST IDENTIFICATION HAS CHANGED' Error
Cause: You re-flashed the SD card or replaced the Pi, but your host machine's known_hosts file remembers the old cryptographic fingerprint for that IP address.
Fix: Run ssh-keygen -R pi-node-01.local on your host machine to purge the old fingerprint, then reconnect and accept the new one.
Summary
Mastering how to connect to Raspberry Pi remotely is about balancing accessibility with stringent security. By pre-configuring headless boot parameters, enforcing Ed25519 SSH keys, adapting to the Wayland display server for GUI access, and utilizing WireGuard-based mesh networks like Tailscale for WAN connectivity, you transform a simple microcomputer into a resilient, enterprise-manageable node. Never expose raw ports to the internet, and always respect the architectural shifts introduced in modern Raspberry Pi OS releases.