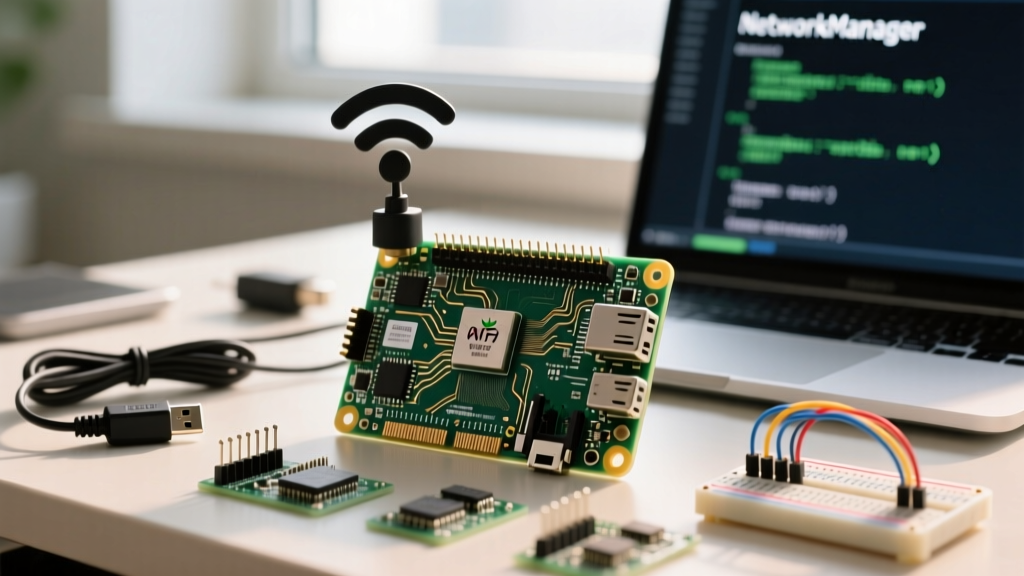

Getting your single-board computer online without a monitor or ethernet cable is a fundamental skill for IoT deployments, smart home nodes, and remote sensor arrays. However, the landscape of Raspberry Pi networking has fundamentally changed. If you are trying to configure WiFi on Raspberry Pi devices running the latest OS, following outdated tutorials will lead to frustrating failures.
The Bookworm Paradigm Shift: NetworkManager vs. wpa_supplicant
With the release of Raspberry Pi OS 'Bookworm' (based on Debian 12), the Raspberry Pi Foundation officially deprecated dhcpcd and wpa_supplicant in favor of NetworkManager. This is the most critical piece of information for modern Pi deployments. The classic method of dropping a wpa_supplicant.conf file into the /boot partition no longer works on Bookworm and newer releases.
For Pi 4, Pi 5, and Pi Zero 2 W boards running Bookworm or later, you must use NetworkManager tools like nmcli or the Raspberry Pi Imager's pre-configuration settings.
Method 1: The Pre-Flash Approach (Raspberry Pi Imager)
The most reliable way to configure WiFi on a headless Raspberry Pi before it even boots is by using the Raspberry Pi Imager. This method injects the network configuration directly into the OS image during the flashing process, bypassing the need for post-boot CLI configuration.
- Open Raspberry Pi Imager and select your target OS (e.g., Raspberry Pi OS Lite 64-bit).
- Click the gear icon or press
Ctrl+Shift+Xto open the OS Customisation menu. - Check Configure Wireless LAN.
- Enter your exact SSID and Password.
- Crucial Step: Set the correct Wireless LAN Country code (e.g., US, GB, DE). The 5GHz spectrum is heavily regulated, and the Pi's WiFi chip (like the Infineon CYW43439 on the Pi 5) will refuse to connect to 5GHz networks if the country code is missing or incorrect.
- Save and flash the SD card.
Once connected via this method, headless users can leverage mDNS to access their devices via raspberrypi.local over SSH, provided the host OS supports Bonjour/Avahi. This eliminates the need to scan the local subnet for dynamically assigned DHCP IP addresses.
Method 2: Headless CLI Configuration via NetworkManager
If your Pi is already running Bookworm and you are connected via serial console, Ethernet, or a temporary hotspot, you will use nmcli (NetworkManager Command Line Interface) to configure WiFi on the Raspberry Pi.
Scanning and Connecting with nmcli
First, ensure the WiFi radio is enabled and scan for available networks:
nmcli radio wifi on
nmcli device wifi list
Once you identify your SSID, initiate the connection. NetworkManager will automatically handle the WPA2/WPA3 handshake and DHCP requests:
sudo nmcli device wifi connect 'Your_SSID_Name' password 'Your_Secure_Password'To ensure this connection persists across reboots and automatically reconnects, verify the connection profile:
nmcli connection show
sudo nmcli connection modify 'Your_SSID_Name' connection.autoconnect yes
The Legacy wpa_supplicant Method (Bullseye and Older)
If you are maintaining legacy hardware running Raspberry Pi OS 'Bullseye' or 'Buster', the old method still applies. You can create a wpa_supplicant.conf file in the root of the /boot partition (which is FAT32 formatted and accessible via Windows/macOS).
ctrl_interface=DIR=/var/run/wpa_supplicant GROUP=netdev
update_config=1
country=US

network={
    ssid='Your_Network_SSID'
    psk='Your_Network_Password'
    key_mgmt=WPA-PSK
}
Upon booting, the OS moves this file to /etc/wpa_supplicant/ and applies the settings. Remember, Raspberry Pi's official documentation confirms this behavior is retired in Bookworm.
Method 3: Desktop GUI Configuration
For users running the desktop environment (Wayland or X11) on a Pi 4 or Pi 5 with a monitor attached, the process is handled by the NetworkManager applet located in the top-right system tray.
- Click the network icon (it may show two arrows or a disconnected symbol).
- Select your SSID from the dropdown list.
- Enter the pre-shared key (PSK).
- The icon will change to a signal strength indicator once the DHCP lease is acquired.
Troubleshooting Common Raspberry Pi WiFi Failures
Even with the correct configuration, RF environments and power states can cause connectivity drops. Here is how to diagnose and fix them.
1. The 5GHz Country Code Block
The WiFi chips on Raspberry Pi boards (such as the Cypress CYW43455 on the Pi 4B) comply with international RF regulations. If the country code is not set, the 5GHz band is completely disabled by the firmware to prevent illegal spectrum transmission. If your router uses Smart Connect (combining 2.4GHz and 5GHz under one SSID), the Pi might fail to connect. Run sudo raspi-config, navigate to Localisation Options > WLAN Country, and set it correctly.
2. WPA3-SAE Compatibility
If your router enforces WPA3-SAE exclusively, older Pi models (like the Pi 3B+) with legacy WiFi chips may physically lack the hardware acceleration to maintain a stable handshake, resulting in intermittent connection timeouts. The Pi 4 and Pi 5 handle WPA3 natively, but you may need to enable WPA2/WPA3 transitional mode on your router for backward compatibility with older SBCs.
3. Power Management and SSH Dropouts
By default, the Linux kernel may aggressively put the WiFi chip into power-saving mode to reduce thermals and current draw. This causes severe latency spikes and SSH session dropouts in headless IoT projects. To disable WiFi power management temporarily:
sudo iwconfig wlan0 power offTo make this persistent across reboots using NetworkManager, create a configuration file:
sudo nano /etc/NetworkManager/conf.d/default-wifi-powersave-on.confAdd or modify the following lines to set the value to 2 (which means disable power save in NetworkManager's logic):
[connection]
wifi.powersave = 2
Architecture Comparison: NetworkManager vs. wpa_supplicant
| Feature | NetworkManager (Bookworm+) | wpa_supplicant (Bullseye-) |
|---|---|---|
| Primary CLI Tool | nmcli / nmtui | wpa_cli / config files |
| Headless Pre-config | Raspberry Pi Imager / userconf | /boot/wpa_supplicant.conf |
| WPA3 Support | Native / Seamless | Requires specific config flags |
| Enterprise (EAP-TLS) | Robust profile management | Complex manual certificate mapping |
| Bluetooth PAN Tethering | Integrated | Requires external scripts |
Final Thoughts on SBC Networking
Mastering how to configure WiFi on Raspberry Pi hardware is no longer just about pasting a text file into a boot directory. As the ecosystem matures toward enterprise-grade networking stacks like NetworkManager, understanding tools like nmcli and the underlying RF regulatory requirements is essential for building stable, long-term smart home and industrial IoT deployments. Always verify your OS version before attempting headless network provisioning to avoid the deprecated wpa_supplicant trap.