
The Hardware Decision Framework: Choosing Your First SBC
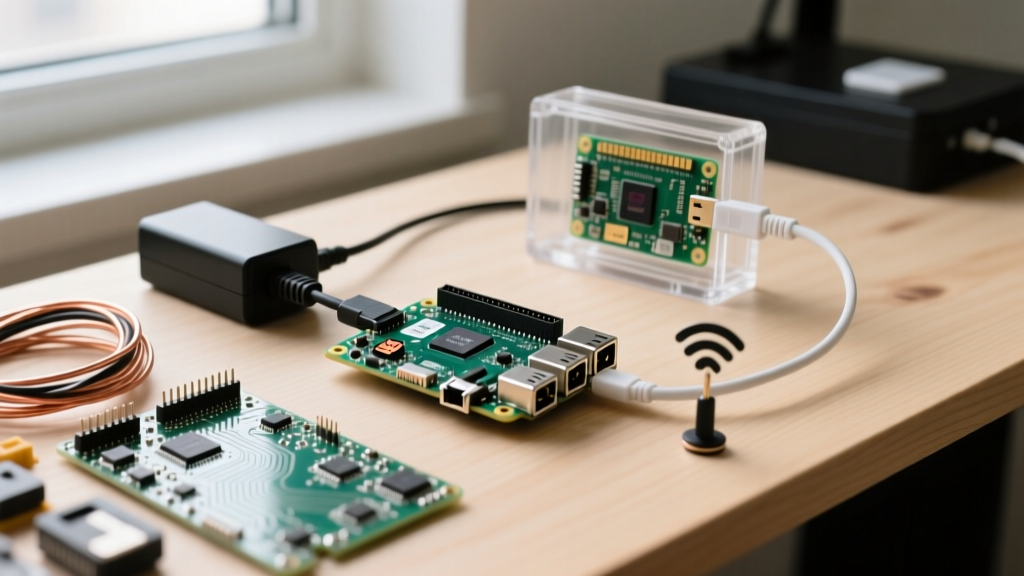
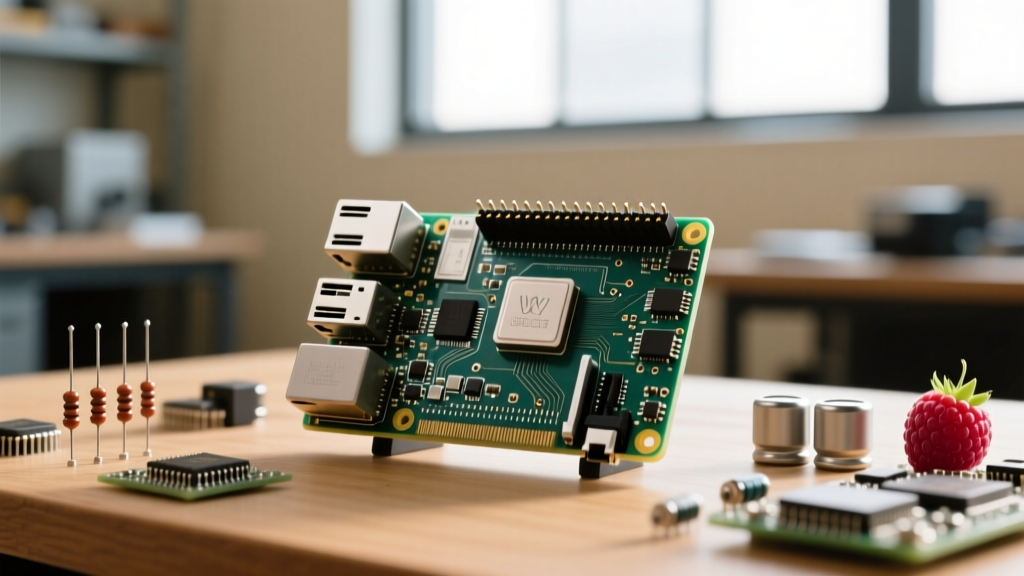
When diving into the world of single-board computers, finding the right starting point is crucial. The sheer volume of raspberry pi project ideas online can be overwhelming, often leading beginners to purchase hardware that is either overpowered for their needs or too underpowered to handle the task. Before selecting a build, you must match the silicon to the workload. The Raspberry Pi 5 represents the current pinnacle of the lineup, but it is not always the correct choice for a simple headless server.
Below is a decision matrix to help you choose the right board for your first build. Understanding power requirements and RAM limitations will save you from the dreaded "lightning bolt" brownout icon and out-of-memory kernel panics.
| Model | Target RAM | Avg. Price (USD) | Power Requirement | Best Beginner Use Case |
|---|---|---|---|---|
| Raspberry Pi 5 | 8GB | $80 | 27W USB-C PD | Home Assistant, Desktop Replacement, AI Edge |
| Raspberry Pi 4 Model B | 4GB | $55 | 15.3W USB-C | Retro Gaming, Media Centers, Docker Hosts |
| Raspberry Pi Zero 2 W | 512MB | $15 | 5V/2.5A Micro-USB | Pi-hole, IoT Sensors, Portable Cameras |
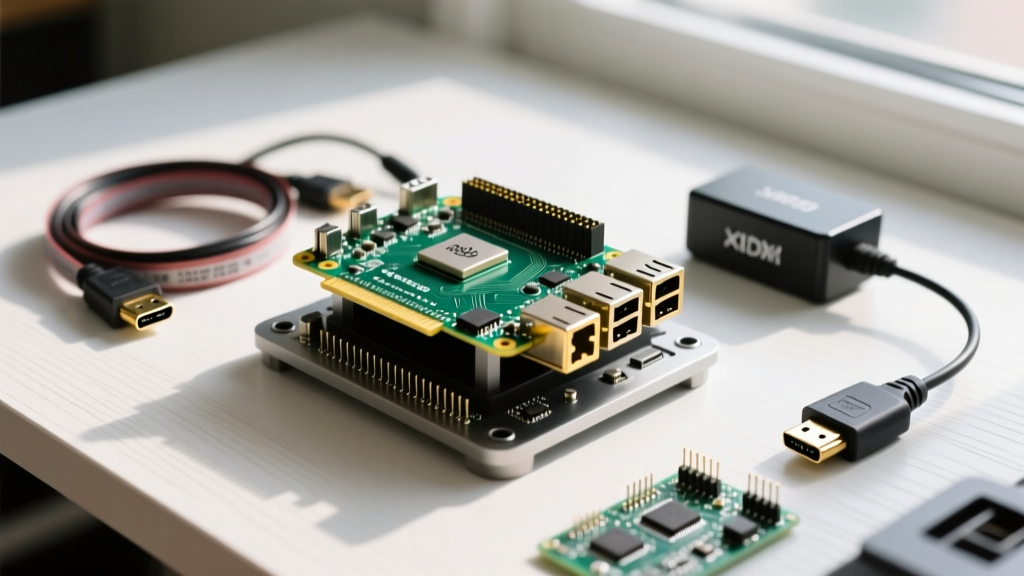
For a comprehensive overview of board specifications and official peripherals, always refer to the Raspberry Pi Getting Started Documentation. Using third-party power supplies is the number one cause of beginner failure; always invest in the official power supply for your specific board to ensure stable voltage under load.
5 High-Success Raspberry Pi Project Ideas for Beginners
Once your hardware is provisioned and you have flashed Raspberry Pi OS (or a specialized distribution) using the official Raspberry Pi Imager, it is time to build. Here are five highly actionable raspberry pi project ideas that teach fundamental Linux, networking, and hardware interfacing skills.
1. The Offline Network Ad-Blocker (Pi-hole)
A network-wide ad-blocker is widely considered the ultimate first project. Pi-hole acts as a DNS sinkhole, intercepting requests to known ad-serving domains and returning a null route. This project is perfect for the Raspberry Pi Zero 2 W because it requires minimal CPU and RAM. You will learn essential networking concepts, including assigning static IP addresses via your router's DHCP reservations, configuring DNS forwarding (using upstream servers like Cloudflare's 1.1.1.1 or Quad9), and managing headless Linux environments via SSH.
To install, you simply run the automated script via terminal: curl -sSL https://install.pi-hole.net | bash. For deeper configuration options and gravity list management, consult the official Pi-hole Documentation.
2. Retro Gaming Console (RetroPie / Batocera)
Transforming your Pi into a retro arcade is a rite of passage. While RetroPie is the classic choice, Batocera Linux has emerged as a highly polished, plug-and-play alternative that handles emulator core updates seamlessly. The Raspberry Pi 4 (4GB or 8GB) is the sweet spot here, capable of smoothly emulating everything from the NES and SNES up to the original PlayStation and select Nintendo 64 titles.
Pro-Tip for Hardware Interfacing: Don't just rely on USB controllers. Purchase a GPIO arcade button kit. You will need to map the physical buttons to the keyboard inputs expected by the RetroArch frontend. Remember that the Pi's GPIO pins operate at 3.3V logic levels; never connect 5V arcade hardware directly to the GPIO header without a logic level converter, or you risk permanently frying the SoC.
3. Local Smart Home Hub (Home Assistant)
Relying on cloud-based smart home ecosystems introduces latency and privacy risks. Home Assistant runs locally, giving you absolute control over your IoT devices. While you can run Home Assistant via Docker on a standard Raspberry Pi OS install, the recommended beginner route is flashing the dedicated Home Assistant OS (HAOS) image, which includes the Supervisor for easy add-on management.
To make this project truly powerful, pair your Pi with a Zigbee coordinator. The Sonoff Zigbee 3.0 USB Dongle Plus (P-Version) is currently the gold standard for reliability and range. Plug it into a USB 2.0 extension cable to move it away from the Pi's noisy USB 3.0 and Wi-Fi/Bluetooth antennas, which operate on the same 2.4GHz spectrum and can cause severe Zigbee mesh interference. Learn more about supported hardware on the Home Assistant Pi Installation Guide.
4. I2C OLED Desktop System Monitor
If you want to write your own code and interact with physical hardware, building a system monitor using a 0.96-inch SSD1306 OLED display is an excellent introduction to the I2C (Inter-Integrated Circuit) bus. This project requires only four jumper wires: VCC (3.3V), GND, SDA (GPIO 2), and SCL (GPIO 3).
Using Python, you will enable the I2C interface via sudo raspi-config, install the smbus2 and luma.oled libraries, and write a script that polls the Linux /proc/stat and /proc/meminfo files to calculate real-time CPU temperature, RAM usage, and IP address. This teaches you foundational Python scripting, Linux file system navigation, and hardware pinout reading.
5. Automated Time-Lapse Photography Rig
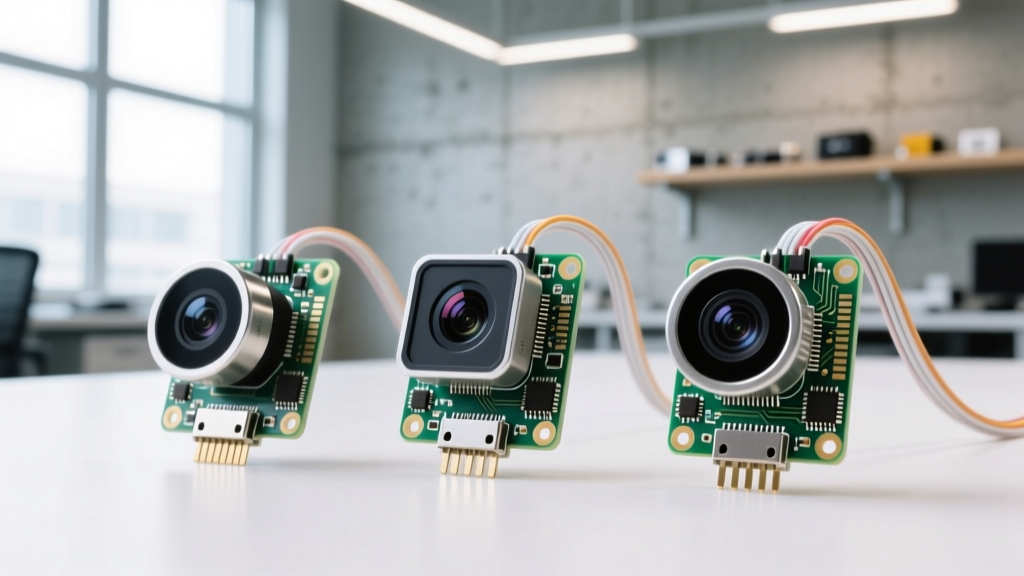
The Raspberry Pi Camera Module 3 features a 12-megapixel Sony IMX708 sensor with built-in HDR and phase-detection autofocus. By combining this hardware with Linux cron jobs and ffmpeg, you can build a rugged time-lapse camera for construction sites, 3D printing farms, or nature observation.
Using the modern libcamera stack, you can script the Pi to capture an image every 60 seconds. The real learning curve here is power management and storage. Writing thousands of small JPEG files will quickly destroy a standard microSD card's NAND flash cells. You must configure your script to write to a RAM disk (tmpfs) and periodically batch-transfer the files to a network-attached storage (NAS) drive via rsync or an external USB SSD.
Common Beginner Pitfalls and How to Avoid Them
Expert Insight: Over 70% of "broken" Raspberry Pi boards returned by beginners are actually victims of SD card corruption caused by sudden power loss, not hardware failure. Always shut down the OS gracefully via
sudo shutdown -h nowbefore removing power.
- SD Card Wear-Leveling: Standard consumer microSD cards are not designed for the constant log-writing of a Linux server. If you are building a Pi-hole or Home Assistant hub, invest in a "High Endurance" or "Industrial" grade microSD card (like the SanDisk High Endurance line), or use an NVMe M.2 HAT with a 2230 SSD on the Raspberry Pi 5.
- Power Supply Ripple: Cheap, generic USB-C chargers often suffer from voltage ripple. If your Pi randomly reboots or drops USB peripherals, check your power supply. The Pi requires a rock-solid 5.1V; dropping below 4.65V will trigger the hardware brownout protection.
- Thermal Throttling: The Raspberry Pi 5 runs significantly hotter than the Pi 4. Attempting to compile code or run heavy Docker containers without the official Active Cooler will result in immediate thermal throttling at 80°C, severely degrading performance.
Essential Tools and Components Checklist
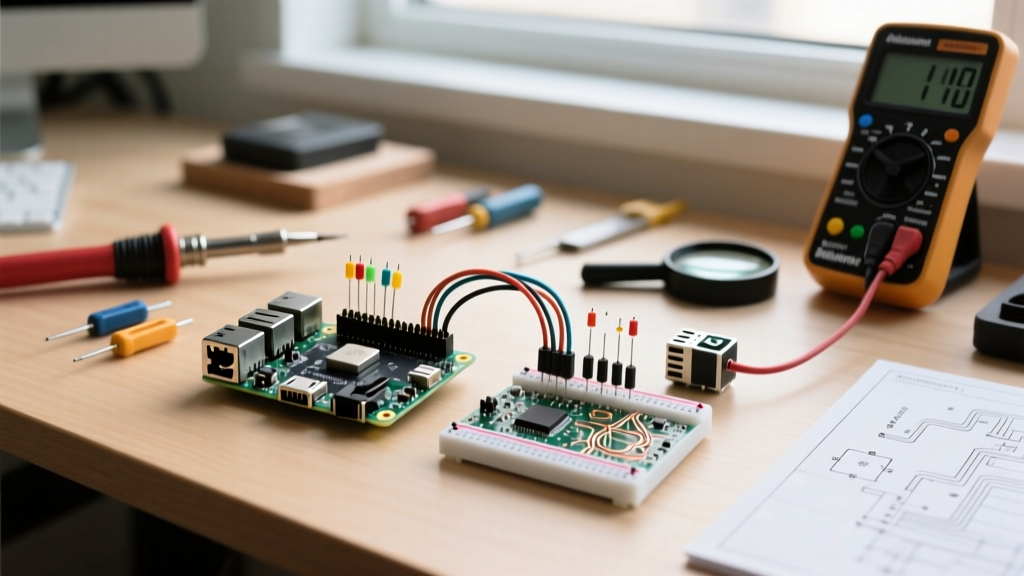
To successfully execute these raspberry pi project ideas, your workbench should be equipped with a few specific tools beyond the board itself:
- Flush Cutters & Wire Strippers: Essential for preparing 22 AWG hookup wire for GPIO connections.
- Digital Multimeter: Crucial for debugging I2C/SPI connections and verifying power supply voltage at the GPIO header (Pin 2 to Pin 6 should read exactly 5.1V).
- Soldering Iron (Temperature Controlled): Many beginner kits ship with unpopulated GPIO headers. A reliable iron (like the Pinecil or Hakko FX-888D) set to 320°C with 63/37 rosin-core solder is required.
- USB-to-TTL Serial Cable: If you misconfigure your Wi-Fi or lock yourself out of SSH, a serial console cable connected to GPIO pins 8 (TX), 10 (RX), and 6 (GND) will give you direct terminal access to recover your system without needing a monitor.
Next Steps: Moving Beyond the Breadboard
Completing your first few builds is just the beginning. Once you are comfortable with headless Linux administration, basic Python scripting, and GPIO manipulation, you can begin integrating microcontrollers like the ESP32 or Arduino into your Pi ecosystem via MQTT. The Pi acts as the central brain and database, while the low-power microcontrollers handle real-time sensor polling in remote corners of your home. Start small, document your pinouts, and always keep a backup image of your working SD card using Win32DiskImager or DD.