
The Anatomy of a Dead Receptacle: Initial Diagnostics
When you plug in a device and nothing happens, the immediate question is: why did my electrical outlet stop working? While it is tempting to assume the worst, a dead receptacle is rarely a catastrophic failure. In most residential scenarios, the issue stems from a localized wiring fault, an upstream trip, or degraded internal contacts. Before you tear open the wall, you need a systematic diagnostic approach using the right tools.
Forget the cheap neon testers from the bargain bin. To accurately diagnose a dead 120V branch circuit in 2026, you need a non-contact voltage tester (NCVT) like the Klein Tools NCVT-3 and a True-RMS multimeter such as the Fluke 117.
Step 1: Verify the Breaker and Upstream GFCIs
According to the National Electrical Code (NEC), modern homes require Ground Fault Circuit Interrupter (GFCI) protection in kitchens, bathrooms, garages, and outdoor areas. A standard receptacle in your living room might be wired downstream from a GFCI in an adjacent bathroom. If that upstream GFCI trips, your standard outlet dies. Check all GFCI and AFCI breakers in your main panel, and press the 'TEST' and 'RESET' buttons on all nearby GFCI receptacles.
Step 2: Test for Voltage at the Receptacle
Insert your multimeter probes into the hot (short slot) and neutral (long slot) slots. A healthy circuit should read between 115V and 125V. If you read 0V, the circuit is open. If you read a phantom voltage (e.g., 40V-80V), you likely have a broken neutral wire or a high-resistance connection somewhere upstream.
5 Common Reasons Why Your Outlet Stopped Working
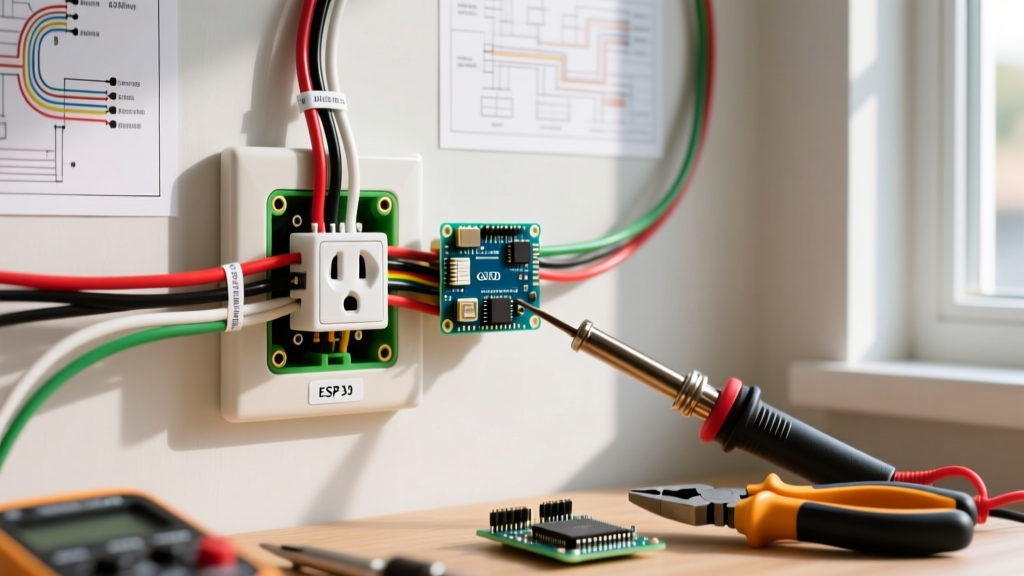
If the breaker is on and upstream GFCIs are reset, the fault lies within the outlet box itself. Here are the most frequent culprits we see in the field:
- Backstab Push-In Connection Failure: This is the number one cause of dead outlets in homes built between 1990 and 2015. Push-in connectors rely on a small brass spring to grip the wire. Under thermal cycling (heating up under load, cooling down when idle), the wire expands and contracts, eventually working loose from the spring.
- Loose or Broken Neutral Pigtail: If the hot wire is intact but the neutral wire nut connection has vibrated loose or corroded, the circuit cannot complete. The outlet will test 'hot' with an NCVT, but a multimeter will show no usable voltage under load.
- Internal Brass Tab Corrosion: In high-humidity environments (like coastal areas or poorly ventilated bathrooms), the internal brass contacts can oxidize. This creates a high-resistance path that generates excessive heat, eventually melting the thermoplastic face and breaking the connection.
- Tripped Internal Thermal Cutoff: Some older smart outlets and surge-protecting receptacles feature internal thermal fuses. If the device experienced a massive surge or sustained overload, the internal fuse blows permanently to prevent a fire, killing the outlet.
- Daisy-Chain Downstream Failure: Standard receptacles often act as junction points for the next outlet in the room. If the 'LINE' wires are secure but the 'LOAD' wires are burnt or disconnected, the downstream outlets will die, though the primary outlet may still work.
Expert Warning: Never attempt to 'repair' a melted or scorched receptacle. The U.S. Fire Administration reports that electrical distribution equipment is a leading cause of residential fires. If the plastic faceplate shows brown scorch marks, cut the power immediately and replace the entire device.
Repair vs. Upgrade: The Decision Matrix
Once you have identified why your electrical outlet stopped working, you must decide whether to simply swap in a basic replacement or use the open wall box as an opportunity to modernize. The 2026 NEC heavily emphasizes Tamper-Resistant (TR) technology and advanced circuit protection.
| Symptom / Root Cause | Standard Repair Action | Recommended 2026 Upgrade Path | Estimated Material Cost |
|---|---|---|---|
| Backstab connection failed | Re-terminate using side screw terminals | Upgrade to Spec-Grade TR receptacle with deep-wrap side clamps | $4.00 - $8.00 |
| Scorched / Melted faceplate | Replace with basic builder-grade TR outlet | Install 20A Commercial-Grade TR receptacle (e.g., Leviton 5362) | $8.00 - $14.00 |
| Dead outlet in kitchen/bath | Replace with standard 15A GFCI | Install 20A Self-Testing GFCI with nightlight (e.g., Leviton GFSNT) | $22.00 - $30.00 |
| Dead outlet behind TV / Desk | Replace with standard duplex receptacle | Install USB-C/A combo receptacle (e.g., Leviton T5636 with PD 3.1) | $28.00 - $38.00 |
Modernizing Your Space: Top Receptacle Upgrades
If you are already cutting the power and pulling the old device out of the box, spending an extra $20 to upgrade the functionality of the space is a high-ROI project.
1. The USB-C Power Delivery (PD) Receptacle
With the universal adoption of USB-C for everything from smartphones to high-wattage laptops, standard USB-A charging outlets are becoming obsolete. The Leviton T5636 features a 20A tamper-resistant duplex receptacle paired with two USB-C ports capable of delivering up to 30W combined via Power Delivery 3.1 protocols. This eliminates the need for bulky charging bricks and provides optimized, device-specific voltage negotiation.
2. The Smart Z-Wave / Wi-Fi Receptacle
If the dead outlet controlled a lamp or a specific appliance, consider upgrading to a smart receptacle like the Eaton RFTR9505-T (Z-Wave) or a modern Wi-Fi equivalent. These devices allow you to monitor real-time energy consumption via an app, set automated schedules, and receive push notifications if the breaker trips or if an abnormal current draw is detected.
3. Self-Testing GFCI with Nightlight
For wet areas, the Consumer Product Safety Commission (CPSC) strongly recommends GFCI protection to prevent fatal shocks. Modern self-testing GFCIs (like the Leviton GFSNT series) automatically test their own ground-fault circuitry every 3 hours. If the internal protection circuit degrades, the device cuts power to the face and illuminates a red LED, removing the guesswork from monthly manual testing.
Pro Installation Procedure: Doing It Right
When installing your new receptacle, abandon the sloppy habits of the past. Follow these professional-grade steps to ensure a connection that will last for decades:
- Strip to the Gauge: Use the built-in strip gauge on the back of the new receptacle. Stripping too much wire leaves exposed copper (a shock hazard), while stripping too little results in the screw clamping onto the wire insulation, causing a high-resistance fault.
- Ditch the Backstabs: Even if the new receptacle has push-in holes, do not use them. Always use the side-screw terminals or the rear pressure-clamp plates found on spec-grade devices.
- Form a Proper Hook: When using side screws, bend the wire into a tight 'J' hook using needle-nose pliers. Loop it clockwise around the screw so that tightening the screw pulls the loop tighter, rather than pushing it out.
- Use a Torque Screwdriver: This is the most skipped step by DIYers. Over-tightening strips the brass threads; under-tightening causes arcing. Use an insulated torque screwdriver (like the Klein Tools 32500 series) set to the manufacturer's specification—typically 14 in-lbs for 12 AWG and 14 AWG copper wire on standard residential receptacles.
- Wrap with Electrical Tape: Once the wires are terminated, wrap the sides and back of the receptacle with two layers of 3M Super 33+ vinyl electrical tape. This covers the exposed terminal screws, preventing accidental short circuits against the metal box or grounding wires when you push the device back in.
Frequently Asked Questions
Can a bad outlet cause a fire if nothing is plugged into it?
Yes, but it is rare. If the outlet is part of a daisy-chained circuit, current is still passing through the internal brass bus bars to feed downstream outlets. If those internal contacts are heavily corroded or the backstab connections are arcing, the heat generated can ignite surrounding drywall paper or wood framing, even with no load plugged directly into the faulty receptacle.
Why did my outlet stop working after a power outage?
Power outages are often accompanied by massive voltage surges when the grid restores power. If your outlet was a GFCI, AFCI, or a surge-protecting model, the internal metal-oxide varistors (MOVs) or sensing circuitry likely sacrificed themselves to protect downstream electronics. You will need to replace the receptacle.
Is it safe to upgrade a 15A outlet to a 20A outlet?
You can only install a 20A receptacle if the branch circuit is wired with 12 AWG copper wire and protected by a 20A breaker. If your wall contains 14 AWG wire (common on 15A lighting circuits), installing a 20A receptacle is a severe code violation and fire hazard, as the wire will overheat before the breaker trips. Always verify wire gauge before upgrading amperage ratings.