
The Hidden Danger of an Overloaded Electrical Outlet
An overloaded electrical outlet is one of the most common, yet frequently ignored, fire hazards in modern residential and commercial wiring. According to the National Fire Protection Association (NFPA), electrical distribution and lighting equipment are consistently among the leading causes of home structure fires. When a receptacle is forced to carry more current than its thermal and mechanical design allows, the resulting resistance generates excessive heat. This heat degrades the PVC insulation, melts the polycarbonate faceplate, and eventually causes an arc fault or direct ignition.
As a homeowner or electrical technician in 2026, relying solely on the circuit breaker to protect you is a critical mistake. Breakers are designed to protect the wire from melting, not necessarily the receptacle terminals from slow thermal degradation. This inspection and testing guide will walk you through the exact protocols, diagnostic tools, and edge cases required to identify and mitigate an overloaded electrical outlet before it becomes a catastrophic failure point.
Understanding the 80% Rule and NEC Standards
Before testing, you must understand the legal and physical limits of your branch circuits. The National Electrical Code (NEC) Article 210.23 outlines the permissible loads for branch circuits. The most critical concept for outlet inspection is the 80% Rule for Continuous Loads.
- Non-Continuous Loads: Devices that operate for less than 3 hours (e.g., a vacuum cleaner or toaster) can draw up to 100% of the circuit rating (15 Amps on a 15A circuit).
- Continuous Loads: Devices that operate for 3 hours or more (e.g., space heaters, window AC units, server racks, or reptile terrarium heaters) must be derated to 80% of the circuit capacity. Therefore, a standard 15-Amp circuit can only safely handle a continuous load of 12 Amps (1,440 Watts at 120V).
If your outlet is feeding a continuous load that exceeds this 80% threshold, it is technically overloaded according to the Occupational Safety and Health Administration (OSHA) and NEC guidelines, even if the breaker has not tripped.
Essential Diagnostic Tool Loadout for 2026
To properly inspect an overloaded electrical outlet, you need more than a simple voltage tester. Assemble the following diagnostic tools:
- Thermal Imaging Camera: The FLIR C5 Compact Thermal Camera (approx. $499) or the Seek Thermal CompactPRO ($449). These allow you to see invisible heat buildup inside the wall cavity.
- AC Clamp Meter: The Klein Tools CL800 ($135) or Fluke 323 ($160). Essential for measuring actual amperage draw at the panel without breaking the circuit.
- Plug-in Watt Meter: The P3 International Kill A Watt P4460 ($32). Useful for measuring the exact wattage and power factor of individual appliances plugged into the suspect outlet.
- Digital Multimeter (DMM): Any True-RMS CAT III or CAT IV meter, such as the Fluke 117 ($200), for voltage drop testing.
Step-by-Step Inspection and Testing Protocol
Phase 1: Non-Contact Thermal Imaging Scan
The fastest way to identify an overloaded electrical outlet is by detecting thermal anomalies. Heat is the byproduct of resistance ($I^2R$ losses). When an outlet is overloaded, the brass terminal contacts lose their spring tension, increasing resistance and generating heat.
- Turn on all appliances connected to the suspect outlet and let them run for at least 15 minutes to reach thermal equilibrium.
- Aim your thermal camera at the receptacle faceplate and the surrounding wall.
- Evaluate the Delta T: According to InterNational Electrical Testing Association (NETA) standards, a temperature rise of 40°C (104°F) above ambient at the terminal is a critical failure point requiring immediate de-energization. If your faceplate shows a hot spot exceeding 45°C (113°F), the outlet is severely overloaded or suffering from a failing backstabbed connection.
Phase 2: Amperage Draw and Wattage Summation
Visual heat only tells you the symptom; measuring the current tells you the cause. Do not guess the amperage based on appliance labels, as motor startup surges and degraded heating elements can skew actual draw.
- Plug the Kill A Watt meter into the outlet and connect your heaviest continuous load (e.g., a 1,500W space heater). Record the exact amperage. A standard 1,500W heater draws exactly 12.5 Amps at 120V, which already violates the 12A continuous limit of a 15A circuit.
- Navigate to your main electrical panel. Identify the breaker controlling the outlet.
- Clamp your AC Clamp Meter around the single hot wire (usually black or red) connected to that breaker. Never clamp around the entire Romex cable, as the opposing magnetic fields of the hot and neutral wires will cancel each other out, resulting in a zero reading.
- Compare the clamped amperage to the breaker rating. If you are reading 14.2 Amps on a 15A breaker with a continuous load, the outlet and wire are operating in a dangerous thermal zone.
Phase 3: Voltage Drop Testing Under Load
An overloaded electrical outlet often causes a noticeable voltage drop, especially if the circuit run is long or uses undersized 14 AWG wire.
- With the heavy load turned off, measure the voltage at the outlet using your DMM. (e.g., 121.5V).
- Turn the heavy load on and measure again. (e.g., 116.2V).
- Calculate the percentage drop. A drop greater than 3% (3.6V on a 120V circuit) for branch circuits is considered excessive by NEC recommendations. High voltage drop means the wire is acting as a heating element, compounding the overload condition at the receptacle terminals.
Circuit Capacity vs. Appliance Draw Matrix
Use the following matrix to quickly determine if your specific combination of devices constitutes an overloaded electrical outlet. This table assumes a standard 120V residential system.
| Circuit Breaker | Wire Gauge | Max Continuous Load (80%) | Max Non-Continuous (100%) | Common Overload Culprits |
|---|---|---|---|---|
| 15 Amp | 14 AWG Copper | 12 Amps (1,440W) | 15 Amps (1,800W) | Space heaters, window AC units, microwaves |
| 20 Amp | 12 AWG Copper | 16 Amps (1,920W) | 20 Amps (2,400W) | Multiple high-end gaming PCs, server racks, shop vacs |
| 30 Amp (RV/TT) | 10 AWG Copper | 24 Amps (2,880W) | 30 Amps (3,600W) | RV air conditioners running concurrently with water heaters |
Critical Failure Modes: Why Breakers Don't Always Trip
Many homeowners falsely believe that if an outlet is overloaded, the breaker will simply trip, keeping them safe. The Consumer Product Safety Commission (CPSC) warns against this assumption due to specific mechanical failure modes inherent in modern receptacle design.
The "Backstabbed" Terminal Vulnerability
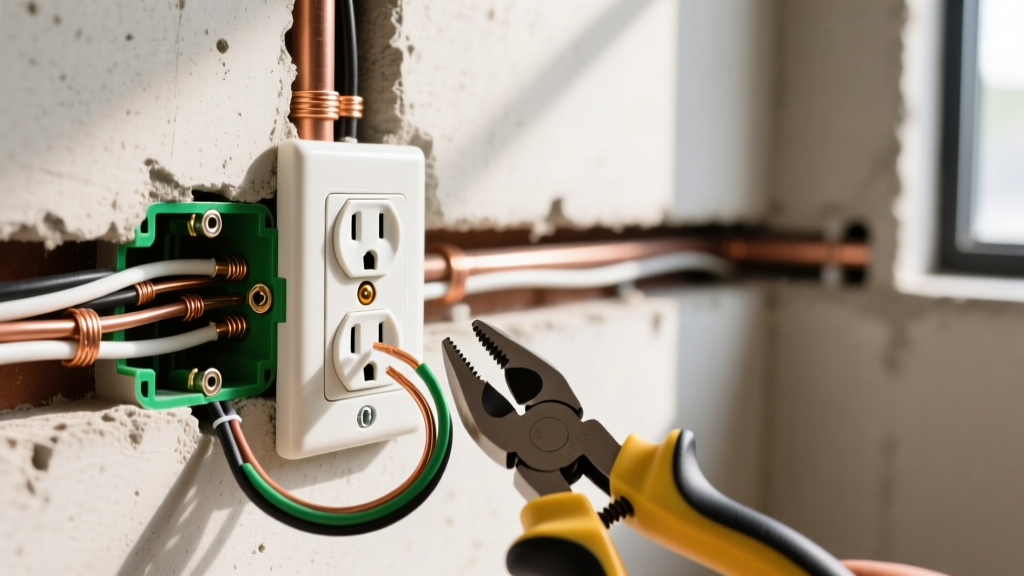
Builder-grade 15-Amp receptacles (such as standard Leviton or Hubbell residential models costing $0.80 each) feature push-in "backstab" wiring terminals. These rely on a tiny internal brass spring to grip the 14 AWG wire. When subjected to loads approaching 14 Amps, the thermal expansion and contraction cycles cause the spring to lose tension. The resulting micro-arcing and high resistance will melt the back of the plastic receptacle and ignite surrounding drywall paper long before the 15-Amp breaker detects a fault. Always use commercial-grade receptacles (e.g., Leviton T5262, approx. $3.50) and wire them using the side-screw terminals or a pigtail wire nut connection.
Multi-Wire Branch Circuits (MWBC) and Shared Neutrals
In older homes or improperly wired renovations, you may encounter an MWBC where two hot wires (from opposite phases) share a single neutral wire. If an electrician mistakenly places both hot wires on the same phase, the neutral wire will carry the sum of both circuits' currents rather than the difference. This results in a severely overloaded neutral wire returning to the outlet box, which has no dedicated breaker to protect it. The neutral bus bar or the outlet's neutral terminal will overheat and melt, presenting an extreme fire hazard that standard outlet testing won't reveal without a panel-level clamp meter inspection.
Expert Warning: Never use "octopus" adapters or daisy-chain power strips to bypass a lack of wall outlets. The CPSC and OSHA explicitly prohibit daisy-chaining power strips in commercial environments, and it remains a leading cause of residential electrical fires. If you require more capacity, hire a licensed electrician to pull a new dedicated 20-Amp circuit using 12/2 NM-B Romex.
Final Mitigation and Upgrades
If your inspection confirms an overloaded electrical outlet, immediate action is required. First, redistribute the loads across different branch circuits. If the circuit is inherently undersized for the room's modern demands (common in kitchens and home offices built before 1990), upgrade the wiring. Replacing 14 AWG wire with 12 AWG wire and upgrading the breaker to a 20-Amp AFCI/GFCI dual-function breaker (such as the Square D HOM220DF, approx. $55) provides robust protection against both arc faults and ground faults while safely increasing your continuous load capacity to 1,920 Watts. Always prioritize side-wiring on commercial-spec receptacles to ensure a low-resistance, thermally stable connection for decades to come.