
Why Upgrading Your Swimming Pool Electrical Outlet is Critical
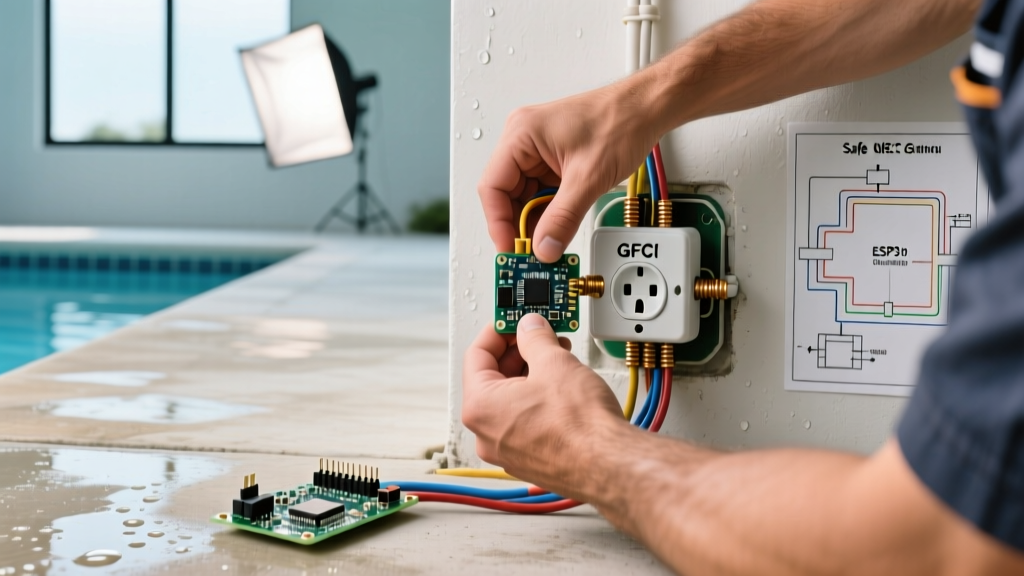
The combination of water, bare skin, and electricity creates an inherently high-risk environment. If your backyard setup relies on an older, non-GFCI protected receptacle, or a standard indoor outlet mounted in a flimsy weatherproof box, you are operating a severe safety hazard. According to the U.S. Consumer Product Safety Commission (CPSC), Ground Fault Circuit Interrupters (GFCIs) prevent thousands of electrical shocks and electrocutions annually, making them the absolute first line of defense in wet locations.
Upgrading a swimming pool electrical outlet is not merely about swapping a white plastic faceplate for a new one. It requires strict adherence to the National Electrical Code (NEC) Article 680, which governs swimming pools, fountains, and similar installations. In this comprehensive upgrade and replacement guide, we will break down the exact NEC distance requirements, specify the commercial-grade components you need, and provide a torque-specific installation walkthrough to ensure your pool area is safe, compliant, and built to withstand harsh outdoor elements.
NEC Distance and Placement Rules for Pool Receptacles
Before you purchase any materials, you must verify that your existing outlet location complies with current NEC spacing rules. The National Fire Protection Association (NFPA) outlines these clearances in NEC Article 680.22(A) to ensure that pool pumps, vacuums, and maintenance equipment can reach power without stretching cords across the water or creating trip hazards.
| Parameter | NEC Requirement (Article 680) | Practical Application |
|---|---|---|
| Minimum Distance from Pool Edge | At least 6 feet (1.83m) | Prevents accidental submersion of plugged-in devices or cords. |
| Maximum Distance from Pool Edge | No more than 20 feet (6.1m) | Ensures a standard pool vacuum cord can reach without extension cords. |
| Maximum Height Above Grade | Not more than 6.5 feet (2m) | Keeps the receptacle accessible without requiring a ladder. |
| GFCI Protection Zone | All 125V/250V receptacles within 20 feet | Every outlet in the immediate pool perimeter must be GFCI protected. |
Code Note: If your existing swimming pool electrical outlet is mounted closer than 6 feet to the water's edge due to an older code cycle or unpermitted work, it must be relocated during the upgrade process. There is no grandfather clause for life-safety violations in wet locations.
Choosing the Right Replacement Receptacle and Cover
Standard indoor GFCIs will fail rapidly in a pool environment due to UV degradation, humidity, and temperature cycling. When sourcing parts for your upgrade, you must look for three specific markings on the device:
- GFCI: Class A Ground Fault Circuit Interrupter (trips at 4-6mA).
- TR (Tamper Resistant): Internal shutters that prevent children from inserting foreign objects.
- WR (Weather Resistant): UV-stabilized thermoplastics and nickel-plated brass contacts that resist corrosion.
Recommended Component Specifications
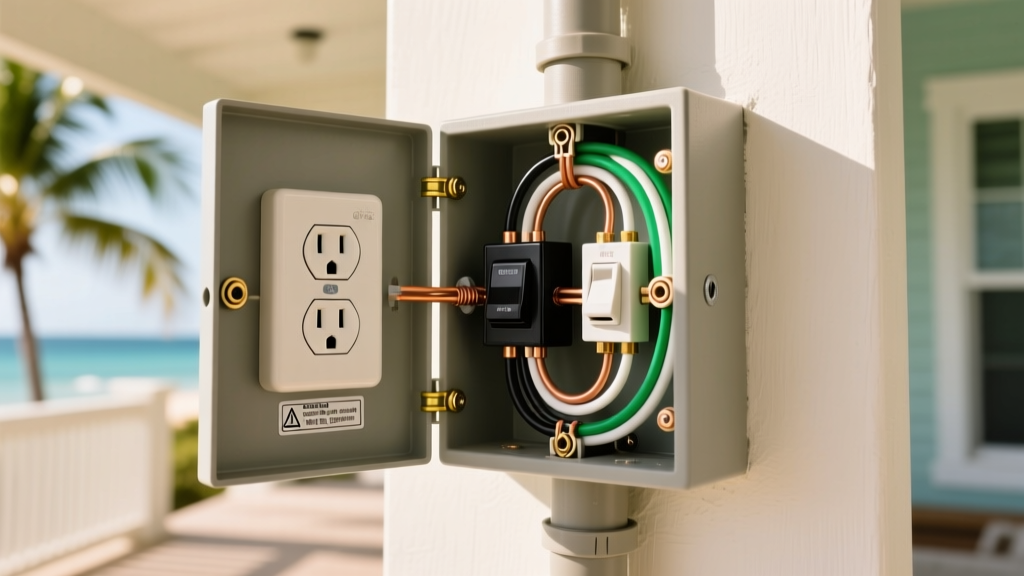
For a reliable, long-lasting upgrade, we recommend the Leviton 2091-W06 (20-Amp, 125-Volt, TR, WR GFCI). It typically retails between $35 and $45. Pair this with a heavy-duty while-in-use weatherproof cover, such as the Taymac ML750W (Non-Metallic While-In-Use Cover). The "while-in-use" designation is critical; NEC 406.9(B)(1) requires that outdoor receptacles in wet locations be enclosed in a cover that maintains weatherproofing even when a cord is plugged in.
Step-by-Step Swimming Pool Electrical Outlet Replacement
Upgrading the outlet requires working inside an outdoor junction box. Follow these precise steps to ensure a secure, code-compliant installation. For broader electrical safety protocols, always consult OSHA electrical safety guidelines before beginning any wiring project.
Phase 1: Preparation and Demolition
- Kill the Power: Turn off the dedicated 20-amp breaker at the main panel. Pool outlets should be on a dedicated circuit, not shared with interior lighting.
- Verify Zero Voltage: Use a non-contact voltage tester (like the Klein Tools NCVT-3) on the receptacle face, then remove the cover and test the bare wires inside the box. Confirm 0V on both Line and Load sides.
- Inspect the Junction Box: If your existing box is cast aluminum and shows signs of deep galvanic corrosion or cracking, it must be replaced with a PVC or fiberglass outdoor box. Do not mount a new WR receptacle into a compromised enclosure.
Phase 2: Wiring and Termination
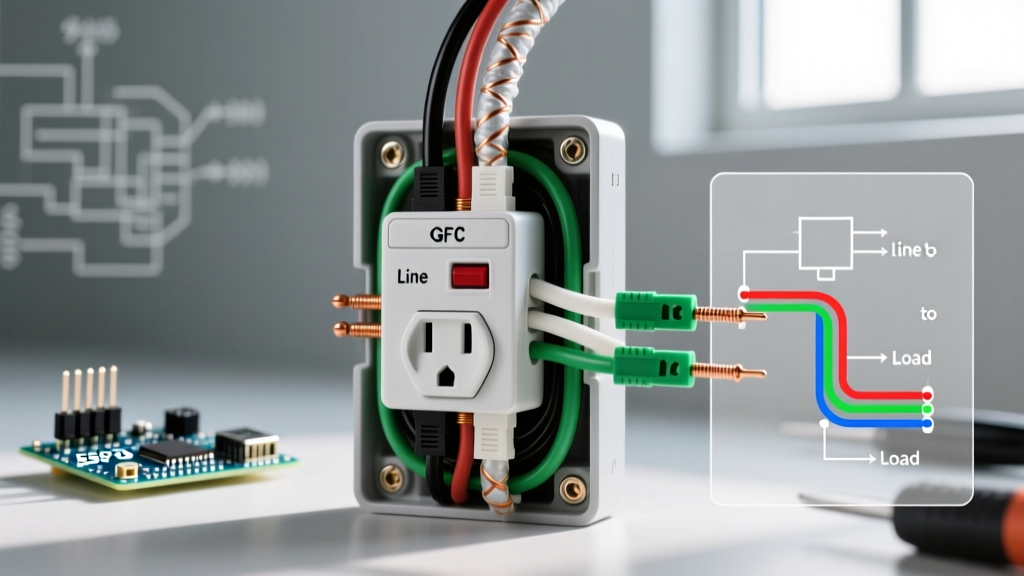
- Identify Line vs. Load: The "LINE" wires bring power from the panel. The "LOAD" wires feed downstream outlets. If this is the end of the run, you will only have Line wires. Cap any unused Load terminals with electrical tape to prevent accidental contact.
- Strip and Prep: Strip exactly 5/8-inch of insulation from the 12 AWG copper wires. Do not score the copper conductor, as this creates a weak point that can snap under thermal expansion.
- Terminate to Torque Spec: Wrap the wire clockwise around the terminal screws. Using a calibrated torque screwdriver, tighten the terminal screws to exactly 14 in-lbs (verify the specific torque value printed on the back of your Leviton GFCI). Under-torqued connections cause arcing; over-torqued connections strip the brass threads.
- Grounding: Connect the bare copper ground wire to the green grounding screw. If using a metal box, you must also run a grounding pigtail from the box to the receptacle ground.
Phase 3: Sealing and Testing
- Weatherproof the Box: Apply a bead of clear 100% silicone sealant around the back edge of the junction box where it meets the mounting surface (siding, stucco, or brick) to prevent water intrusion behind the wall.
- Mount the Cover: Secure the Taymac while-in-use cover using the provided stainless steel screws. Ensure the foam gasket sits flush against the wall.
- Energize and Test: Turn the breaker back on. Press the "TEST" button on the GFCI; it should click and cut power. Press "RESET" to restore power. Use a plug-in GFCI tester to verify correct wiring polarity.
Common Failure Modes and Troubleshooting
Even with premium WR components, outdoor pool outlets can experience nuisance tripping or premature failure. Here is how to diagnose and fix the most common edge cases:
1. Nuisance Tripping During Heavy Rain
The Cause: Water is bypassing the conduit hub or the cover gasket, pooling at the bottom of the junction box, and creating a micro-fault between the hot terminal and the grounded metal box or wet dirt.
The Fix: Ensure all conduit hubs entering the box are sealed with silicone dielectric grease. If the box is mounted on a porous surface like brick, water may be wicking through the masonry into the back of the box. Apply a generous bead of polyurethane masonry sealant behind the box during installation.
2. UV Degradation of the "While-In-Use" Cover
The Cause: Using a cheap, non-UV-rated plastic bubble cover. After two summers of direct sunlight, the plastic becomes brittle, the hinge snaps, and the cover fails to close, exposing the WR receptacle to direct rainfall.
The Fix: Always purchase covers specifically rated for UV resistance. Polycarbonate covers with stainless steel hinges (like the Taymac ML750 series) offer a 10+ year lifespan in direct sun.
3. Downstream Load Tripping the Main Pool GFCI
The Cause: You wired additional landscape lighting or a shed outlet to the "LOAD" terminals of the pool GFCI. A minor ground fault in the landscape lighting trips the pool receptacle, cutting power to your pool vacuum.
The Fix: Never daisy-chain unrelated outdoor loads off a swimming pool electrical outlet. Pigtail the Line wires to feed downstream circuits independently, leaving the GFCI's Load terminals unused and capped.
Cost Breakdown: DIY Upgrade vs. Professional Electrician
Understanding the financial scope of your upgrade helps in planning. Below is a realistic 2026 pricing matrix for replacing a single non-compliant pool outlet with a code-compliant WR GFCI setup.
| Expense Category | DIY Approach (Estimated) | Licensed Electrician (Estimated) |
|---|---|---|
| 20A WR/TR GFCI Receptacle | $35 - $45 | $45 - $65 (Contractor markup) |
| While-In-Use UV Cover | $20 - $30 | $30 - $45 |
| Misc. Hardware (Silicone, Wire Nuts) | $10 | $15 |
| Labor & Minimum Service Call | $0 (Your Time) | $150 - $250 |
| Total Estimated Cost | $65 - $85 | $240 - $375 |
Note: If your existing outlet requires trenching a new conduit run to meet the 6-foot minimum distance rule, expect professional labor costs to increase by $300 to $600 depending on landscaping complexity and local permitting fees.
Frequently Asked Questions (FAQ)
Can I use a standard GFCI breaker in the panel instead of a GFCI receptacle at the pool?
Yes, NEC 680.22(A) permits GFCI protection to be provided at the breaker level. However, upgrading to a local WR GFCI receptacle is highly recommended for convenience. If a GFCI breaker trips due to a faulty pool vacuum, you must walk all the way back to the main electrical panel to reset it. A local receptacle allows for immediate resetting right at the pool equipment pad.
Do I need a 15-amp or 20-amp receptacle for my pool?
The NEC requires at least one 125-volt, 20-ampere receptacle to be located between 6 and 20 feet from the inside wall of the pool. Therefore, you must install a 20-amp GFCI receptacle (which accepts both 15-amp and 20-amp plugs) wired with 12 AWG copper wire on a 20-amp breaker.
Is it safe to use an extension cord from my garage to the pool pump?
No. Extension cords are strictly prohibited for permanent pool equipment like pumps and heaters under NEC guidelines. They pose severe trip hazards, voltage drop issues, and ground fault risks. A dedicated, hardwired circuit or a properly placed swimming pool electrical outlet is mandatory for safe operation.