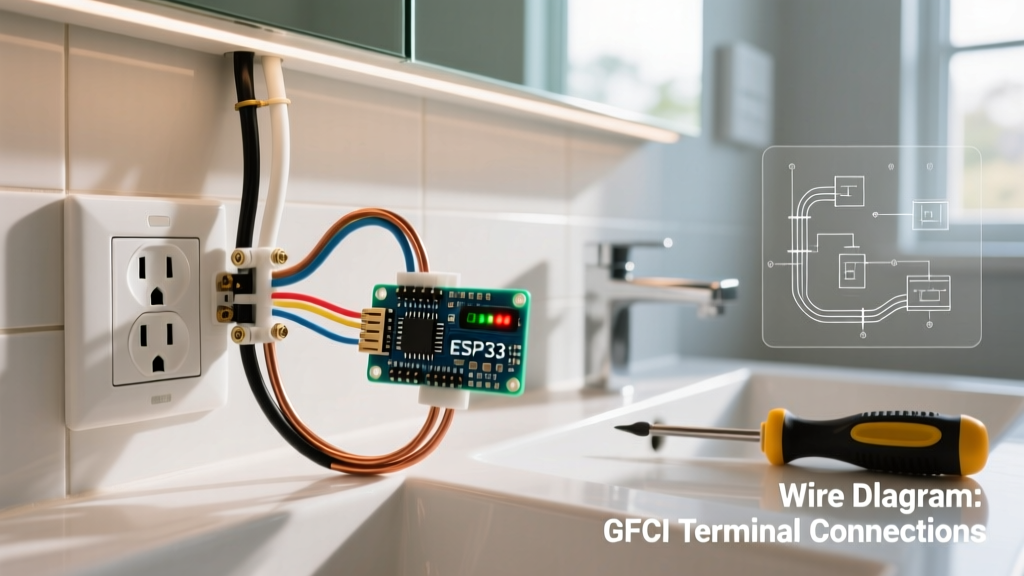

Understanding Sparks From Electrical Outlet Devices
Seeing sparks from electrical outlet receptacles when plugging in a high-draw appliance like a vacuum cleaner or space heater can be a terrifying experience. While a microscopic blue arc is sometimes a normal byproduct of physics when a circuit is completed under load, large orange sparks, accompanied by a popping sound or a distinct "fishy" odor, indicate a severe fire hazard. According to the National Fire Protection Association (NFPA), electrical failures or malfunctions are among the leading causes of home structure fires, often originating at compromised receptacle terminations.
As a beginner DIYer, your objective is not merely to understand the electrical theory, but to safely and permanently resolve the hazard by replacing the compromised device. This tutorial will guide you through diagnosing the fault, selecting the correct 2026-compliant materials, and executing a professional-grade receptacle replacement.
Diagnostic Matrix: Normal Arcing vs. Dangerous Faults
Before you reach for your tools, determine if the sparking is a benign physical reaction or a symptom of thermal failure.
| Feature | Normal Arcing (Benign) | Dangerous Sparking (Hazard) |
|---|---|---|
| Color & Size | Tiny, brief blue flash inside the slot | Bright orange, yellow, or white sparks shooting outward |
| Odor | None | Ozone, melting plastic, or a "fishy" chemical smell |
| Trigger | Plugging in an appliance that is already switched "ON" | Happens randomly, when wiggling a plug, or with no load |
| Faceplate Temp | Room temperature | Warm or hot to the touch; visible brown scorch marks |
| Action Required | Turn appliance off before unplugging | Immediate breaker shutoff and receptacle replacement |
Essential Tools and Materials for a Safe Swap
Do not attempt electrical work with improvised tools. The Electrical Safety Foundation International (ESFI) strongly recommends using properly insulated, rated testing equipment. Budget approximately $25-$45 for professional-grade tools and materials if you do not already own them.
- Voltage Tester: Klein Tools NCVT-1 Non-Contact Voltage Tester ($18) or a Fluke 117 True RMS Multimeter ($200+). Never rely solely on a breaker switch label.
- Replacement Receptacle: Leviton 5262-SW 15A Tamper-Resistant (TR) Duplex Receptacle ($2.50 - $3.50). Ensure it is marked "TR" to comply with NEC Article 406.12.
- Wire Strippers: Klein Tools 11057 (10-18 AWG) to ensure clean cuts without nicking the copper conductor ($22).
- Torque Screwdriver: Milwaukee 48-22-8602 or Wiha 60122. NEC 110.14(D) mandates that terminations be torqued to the manufacturer's specifications (typically 14 in-lbs for standard residential receptacles) to prevent future arcing.
- Screwdrivers: Insulated #2 Phillips and 1/4" flathead.
Step-by-Step Outlet Replacement Tutorial
Step 1: Lockout and Voltage Verification
Locate your main electrical panel and switch off the breaker controlling the affected room. Because panel labels in older homes are notoriously inaccurate, you must verify the power is dead. Insert your non-contact voltage tester into both the top and bottom slots of the receptacle. The tester must remain completely silent and unlit. For maximum safety, verify the tester on a known live circuit first, test the dead outlet, and then test the known live circuit again (the "Live-Dead-Live" method).
Step 2: Extraction and Thermal Damage Inspection
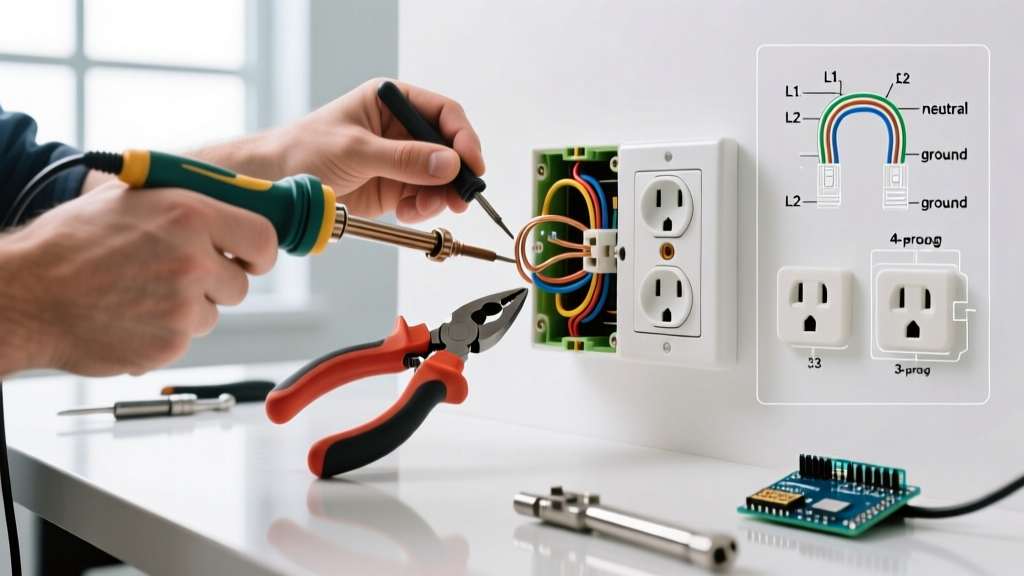
Remove the faceplate and unscrew the top and bottom mounting tabs. Gently pull the receptacle out of the gang box. Inspect the wiring and the device:
- Thermal Tracking: Look for brown or black soot marks on the plastic yoke or drywall. This indicates prolonged high-resistance arcing.
- The "Backstab" Failure: If the previous installer used the push-in "backstab" holes on the rear of the outlet, you have found the likely culprit. These spring-loaded contacts fatigue over time due to thermal expansion and contraction cycles, leading to loose connections, high resistance, and the dangerous sparks from electrical outlet that prompted this repair.
- Insulation Check: Bend the black and white wires gently. If the PVC insulation feels brittle, cracks, or flakes off, the wire has suffered heat damage. You must cut the damaged wire back to fresh, supple insulation using your wire strippers.
Step 3: Wire Prep and Proper Termination
Strip exactly 3/4-inch (19mm) of insulation from the black (hot), white (neutral), and bare/green (ground) wires. The copper should be clean and shiny. If the copper is black or heavily oxidized, snip it back and re-strip.
Termination Method: Always use the side-terminal screws or the internal back-wire pressure clamps (if your specific Leviton model features screw-clamp back-wiring). Never use the push-in backstab holes.
- Loop the bare ground wire clockwise around the green ground screw.
- Loop the white neutral wire clockwise around the silver terminal screw.
- Loop the black hot wire clockwise around the brass terminal screw.
Pro-Tip: Wrapping the wire clockwise ensures that tightening the screw pulls the wire loop tighter rather than pushing it out from under the screw head.
Step 4: Torque and Final Seating
Set your torque screwdriver to the value printed on the back of the receptacle (usually 14 in-lbs). Tighten the terminal screws until the tool clicks. This precise pressure guarantees a gas-tight connection that will not loosen over decades of thermal cycling, effectively eliminating the root cause of outlet sparking.
Carefully fold the wires into the back of the gang box using a "Z" fold pattern. Mount the receptacle using the provided mounting screws, ensuring it sits flush and level. Attach a new, clean faceplate.
Critical Edge Cases: When to Call a Licensed Electrician
While replacing a standard 15A receptacle is a highly manageable beginner project, certain conditions discovered during extraction require professional intervention:
- Aluminum Wiring: If your wires are silver-colored or marked "AL," standard copper-rated receptacles will cause galvanic corrosion and severe fire hazards. You must use CO/ALR rated receptacles (like the Leviton 5262-AL) or have an electrician pigtail the aluminum to copper using AlumiConn lug connectors.
- Melted Gang Box or Sheathing: If the heat from the arcing has melted the plastic gang box or the outer NM-B (Romex) cable sheathing, the structural integrity of the wiring system is compromised. An electrician will need to cut back the drywall and replace a section of the cable.
- Missing Ground Wire: If you open the box and find only a black and white wire with no bare copper ground, you cannot install a standard 3-prong receptacle. Per the U.S. Consumer Product Safety Commission (CPSC) and NEC guidelines, you must install a GFCI receptacle and label it "No Equipment Ground" to provide shock protection.
Summary and Safety Reminders
Ignoring sparks from electrical outlet fixtures is a gamble with your home's safety. By understanding the difference between benign load-arcing and dangerous high-resistance faults, you can take decisive action. Equipped with a voltage tester, a torque screwdriver, and a modern Tamper-Resistant receptacle, you can eliminate the hazard and restore safe, reliable power to your room. Always prioritize verification over assumption, and never hesitate to call a licensed professional if the wiring conditions exceed your comfort level.