
The 3-Prong vs. 4-Prong Dryer Dilemma in Modern Homes
If you are moving into an older home or replacing a frayed, damaged power cord on a legacy laundry appliance, you have likely found yourself searching for a reliable wiring diagram for 3 prong dryer plug configurations. While the National Electrical Code (NEC) mandated 4-prong (NEMA 14-30) outlets for all new dryer installations starting in 1996, millions of homes built before this cutoff still feature the older 3-prong (NEMA 10-30) receptacles. As of 2026, these older 3-prong setups are legally 'grandfathered' in, meaning you are not strictly required to rip open your walls to upgrade the receptacle just to sell a home or pass a standard inspection.
However, from a safety and operational standpoint, understanding the exact terminal mappings, bonding requirements, and upgrade paths is critical. A miswired dryer cord doesn't just trip breakers; it can energize the metal chassis of your appliance, creating a severe electrocution hazard. This comprehensive upgrade and replacement guide will walk you through the anatomy of the NEMA 10-30 plug, provide the exact wiring mappings, and detail the step-by-step process for upgrading to a modern 4-prong setup.
Understanding the Wiring Diagram for 3 Prong Dryer Plug Setups
The NEMA 10-30 configuration is a 125/250-volt, 30-amp, 3-wire setup. It utilizes two 'hot' legs and a single combined neutral/ground wire. Because there is no dedicated equipment grounding conductor, the NEC historically allowed the dryer's metal frame to be bonded directly to the neutral wire.
Terminal Mapping and Wire Colors
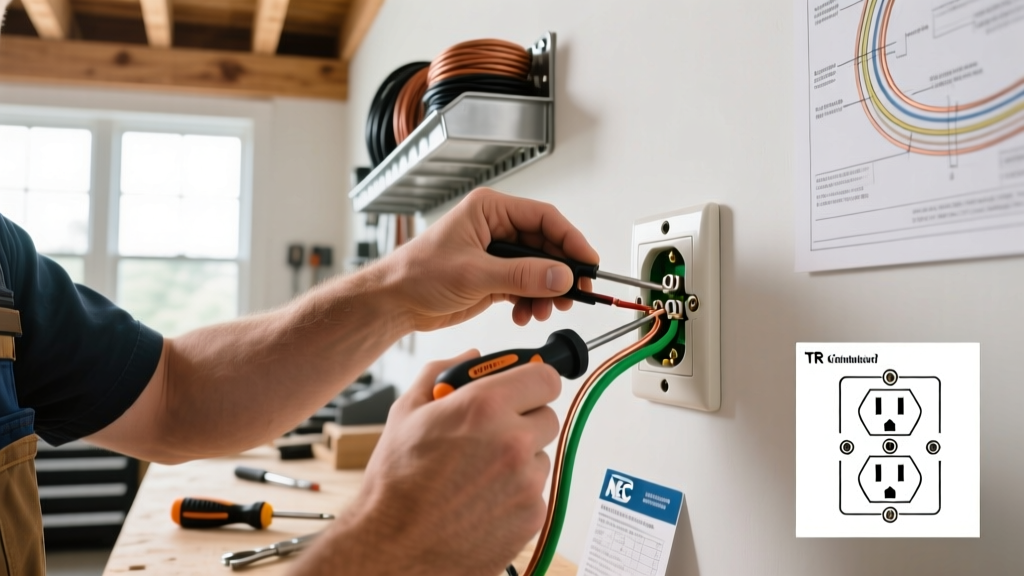
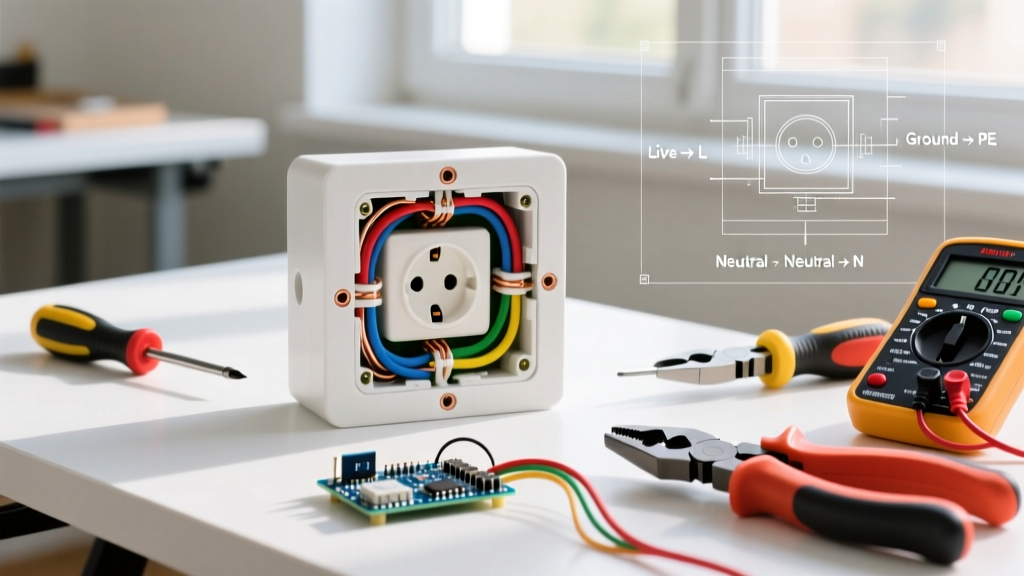
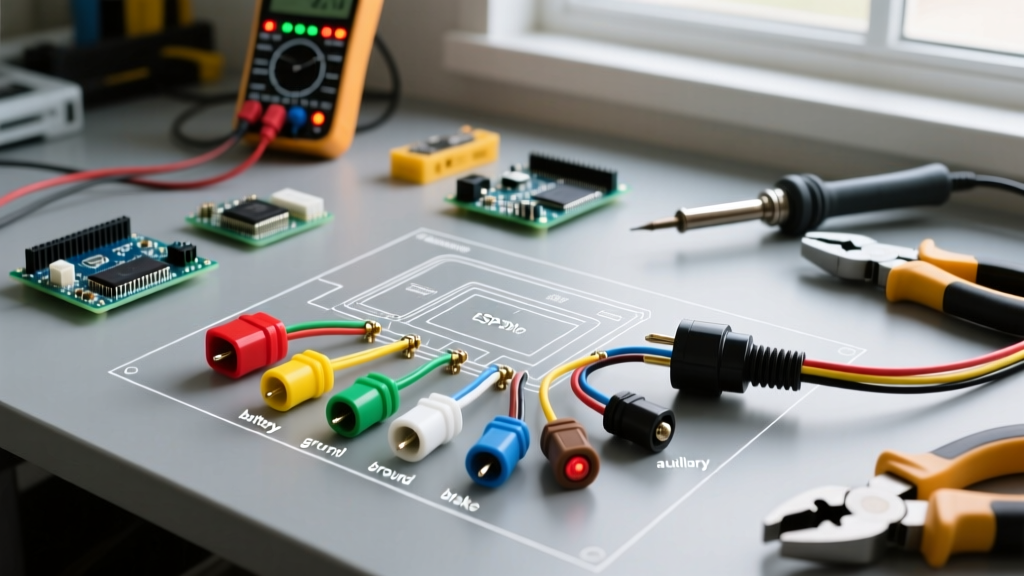
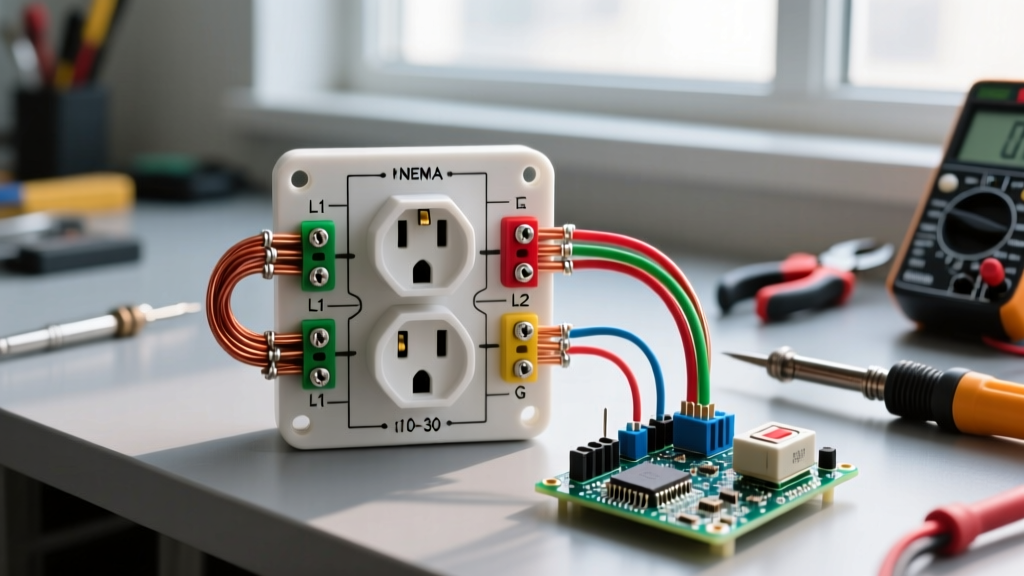
When looking at the back of your dryer where the cord connects, you will see a terminal block with three screws. Here is the exact wiring diagram mapping for a standard 3-prong dryer cord (NEMA 10-30P):
- Center Terminal (White Wire): This is the Neutral wire. In a 3-prong setup, this terminal must be bonded to the dryer's metal chassis using a grounding strap or a #10 AWG green bonding wire.
- Left Terminal (Black Wire): This is Hot Leg 1 (L1), carrying 120V.
- Right Terminal (Red Wire): This is Hot Leg 2 (L2), carrying 120V. Together with L1, they provide the 240V required for the heating element.
NEC Code Warning (Article 250.140): The National Fire Protection Association (NFPA) explicitly prohibits bonding the equipment ground to the neutral wire in new installations. If you are installing a new circuit in 2026, you must use a 4-wire cable and a NEMA 14-30 receptacle. The 3-prong bond is only permitted on existing, grandfathered branch circuits.
Step-by-Step Guide: Replacing a 3-Prong Dryer Cord
If your existing 3-prong cord is damaged, melted, or shows signs of arcing at the plug head, immediate replacement is required. According to the Electrical Safety Foundation International (ESFI), damaged appliance cords are a leading cause of residential electrical fires.
Tools and Materials Required
- Replacement 30-Amp 3-Prong Dryer Cord (e.g., Utilitech or GE WX09X10013, approx. $18-$25)
- 1/4-inch nut driver or hex socket (for terminal block nuts)
- Phillips head screwdriver (for access panel)
- Wire brush or sandpaper (for cleaning oxidized terminals)
- Strain relief clamp (usually included with the new cord)
The Replacement Procedure
- Kill the Power: Go to your main electrical panel and flip the double-pole 30A breaker to the OFF position. Verify with a non-contact voltage tester.
- Remove the Access Panel: Unscrew the rectangular metal cover on the lower back of the dryer.
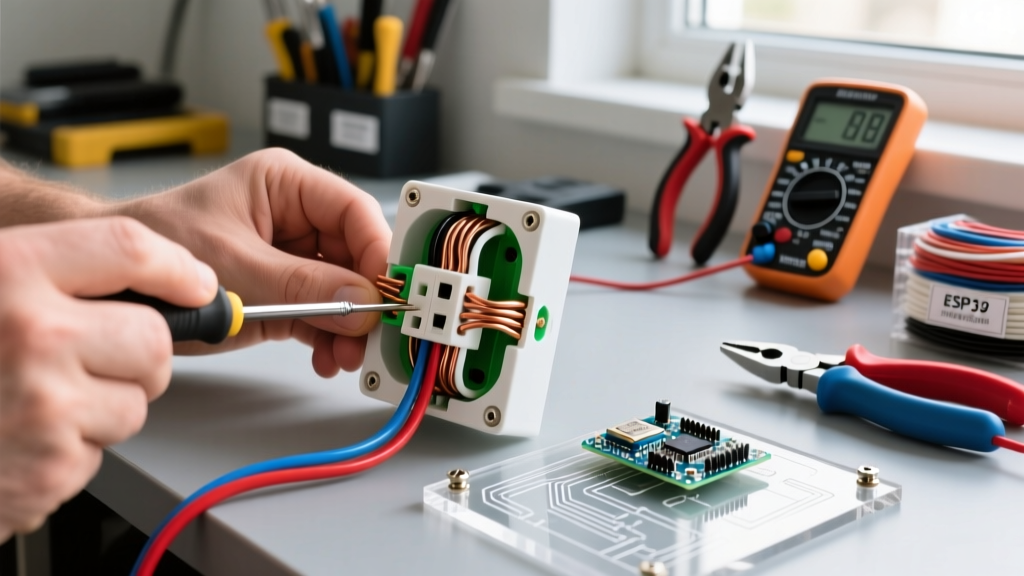
- Disconnect the Old Cord: Loosen the terminal nuts. Note the position of the white neutral wire and the grounding strap. Remove the old cord and strain relief.
- Clean the Terminals: Use a wire brush to remove any carbon buildup or oxidation on the copper terminal block. High resistance here causes melting.
- Install the New Strain Relief: Insert the new strain relief clamp into the knockout hole and tighten it securely to prevent the cord from being yanked out.
- Wire the New Cord: Feed the cord through the strain relief. Connect the Black wire to L1, the Red wire to L2, and the White wire to the center Neutral terminal.
- Verify the Bond: Ensure the metal grounding strap or green #10 wire is connecting the center Neutral terminal to the metal chassis ground screw. Do not skip this step on a 3-prong setup.
- Torque and Secure: Tighten the terminal nuts firmly. Pull gently on each wire to ensure a solid mechanical connection.
The Upgrade Path: Converting to a 4-Prong (NEMA 14-30)
While 3-prong outlets are grandfathered, upgrading your dryer to a 4-prong plug and replacing the wall receptacle with a NEMA 14-30R is the gold standard for safety. This separates the neutral (current-carrying) from the ground (safety-only), eliminating the risk of a broken neutral wire energizing your dryer's metal drum.
Comparison: 3-Prong vs. 4-Prong Configurations
| Feature | NEMA 10-30 (3-Prong) | NEMA 14-30 (4-Prong) |
|---|---|---|
| Wire Count | 3 (Hot, Hot, Neutral/Ground) | 4 (Hot, Hot, Neutral, Ground) |
| Chassis Bonding | Bonded to Neutral at appliance | Bonded to dedicated Ground wire |
| Safety Risk | High (Open neutral energizes chassis) | Low (Independent ground path) |
| NEC Status (2026) | Grandfathered only (No new installs) | Mandatory for all new circuits |
| Cable Type | 10/3 SE or USE | 10/3 NM-B with bare ground (or 10/4) |
How to Convert the Dryer Cord to 4-Prong
If your home's laundry room has already been upgraded to a 4-prong outlet, you must change the dryer's cord and, crucially, remove the neutral-to-chassis bonding strap.
- Purchase a 4-prong 30A dryer cord (NEMA 14-30P, approx. $22-$30).
- Remove the access panel and disconnect the old 3-prong cord.
- Remove the Bonding Strap: Unbolt the copper strap or green wire that connects the center neutral terminal to the dryer's metal frame. Fold it back or snip it off so it cannot accidentally touch the chassis.
- Connect the new 4-prong cord: Black to L1, Red to L2, White to Center Neutral.
- Connect the Green Ground Wire from the new cord directly to the metal chassis ground screw (the same screw the old bonding strap was attached to).
Material Costs and Breaker Specifications (2026 Pricing)
When planning an upgrade or replacement, budget for high-quality, UL-listed components. Avoid unbranded import cords found on third-party marketplaces, as they frequently use undersized 12 AWG wire disguised as 10 AWG, leading to severe overheating.
- Leviton 278-S00 (NEMA 14-30R Receptacle): $16 - $22
- Leviton 279-S00 (NEMA 10-30R Receptacle): $14 - $19
- 30A Double Pole Breaker: Square D HOM230CP (Homeline) or Siemens Q230 (Murray/Siemens panels) - $12 - $18
- 10 AWG Copper Wire (THHN/THWN): Approx. $1.10 - $1.40 per linear foot for individual conductors in conduit.
Common Failure Modes and Troubleshooting
Even with the correct wiring diagram for 3 prong dryer plug setups, electrical faults can occur. Here is how to diagnose the most common issues based on real-world service calls.
Symptom: Dryer Tumbles but Produces No Heat
The Cause: You have lost one of the 120V hot legs. The dryer motor only requires 120V to run, which it is getting from the surviving hot leg. However, the heating element requires the full 240V (L1 + L2) to generate heat.
The Fix: Check the double-pole breaker. Sometimes one half of the breaker trips while the other stays engaged. Flip the breaker firmly to OFF, then back to ON. If the issue persists, use a multimeter to check for 240V across the L1 and L2 terminals at the dryer's terminal block. If you only read 120V, you have a broken wire in the wall or a failed breaker.
Symptom: Mild Shock When Touching the Dryer Door
The Cause: In a 3-prong setup, this almost always indicates a broken neutral wire or a missing bonding strap. If the neutral return path is compromised, stray voltage seeks a path to ground through the user.
The Fix: Immediately shut off the breaker. Inspect the terminal block to ensure the white neutral wire is securely fastened and that the chassis bonding strap is intact. If the cord is melted or the neutral lug is burned, replace the entire cord and clean the terminal block.
Symptom: Breaker Trips Instantly Upon Starting
The Cause: A dead short. This usually happens during a 4-prong conversion if the installer forgot to remove the neutral-to-chassis bonding strap, effectively tying the neutral and ground together at the appliance and creating a parallel neutral path that trips GFCI/AFCI breakers or causes massive current imbalances.
The Fix: Open the access panel and verify the bonding strap has been completely removed and isolated.
Final Safety Directives
Working with 240-volt circuits leaves zero margin for error. The U.S. Consumer Product Safety Commission (CPSC) consistently reports that faulty electrical wiring and damaged appliance cords are primary culprits in residential structure fires. Never use an adapter plug to force a 3-prong cord into a 4-prong wall outlet, and never use an extension cord for a dryer. If your home's wiring lacks a proper ground or features degraded aluminum branch wiring from the 1970s, consult a licensed master electrician to evaluate the circuit's integrity before plugging in your appliance.