
Understanding the Red Light on Electrical Outlet GFCIs
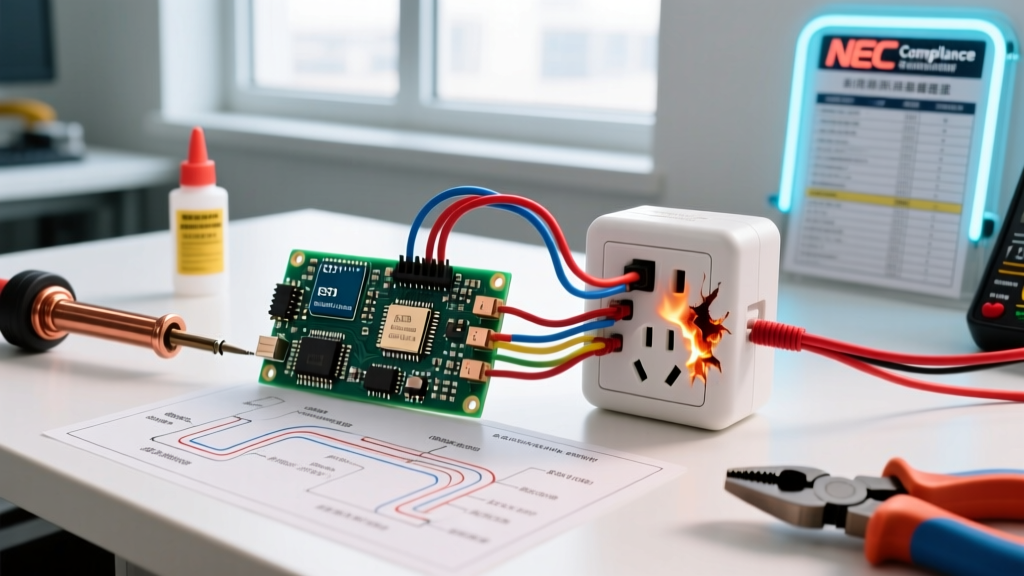
Encountering a red light on electrical outlet receptacles is one of the most common diagnostic indicators in modern residential wiring. Unlike standard duplex receptacles, Ground Fault Circuit Interrupter (GFCI) outlets are equipped with internal microprocessors and LED indicators to communicate their operational status. When you see a red light, the device is actively telling you that it has either detected a ground fault, identified a wiring error during installation, or reached the end of its operational lifespan.
As of 2026, the National Electrical Code (NEC) mandates GFCI protection in virtually all wet and damp locations, including kitchens, bathrooms, garages, and outdoor spaces. Whether you are upgrading an older home to meet current safety standards or replacing a faulty unit, understanding how to properly install a GFCI—and how to prevent that red light from triggering immediately upon power-up—is critical for both safety and code compliance.
Quick Diagnostic Rule: If you have just installed a new GFCI and the red light illuminates immediately after resetting, you have almost certainly reversed the LINE and LOAD wires. Modern smart GFCIs will block power to the face of the receptacle and display a solid red light to warn you of this miswiring condition.
Diagnostic Matrix: What the Red Light Means by Brand
Not all GFCI manufacturers use the same LED logic. Before beginning your installation, it is vital to know what the indicator light means for your specific model. Below is a comparison of the top three brands available in 2026.
| Brand & Model | Solid Red Light | Flashing/Blinking Red Light | Average Cost (2026) |
|---|---|---|---|
| Leviton SmartLockPro (GFNT1) | Tripped or Line/Load Reversal | End of Life (EOL) or Internal Fault | $18 - $22 |
| Pass & Seymour (X-GFTR15) | Tripped (Ground Fault Detected) | N/A (Uses solid red for all faults) | $24 - $28 |
| Eaton GFCI Self-Test | Tripped or Miswired | End of Life (Replace Immediately) | $16 - $20 |
Step-by-Step Installation: Wiring Without Triggering the Red Light
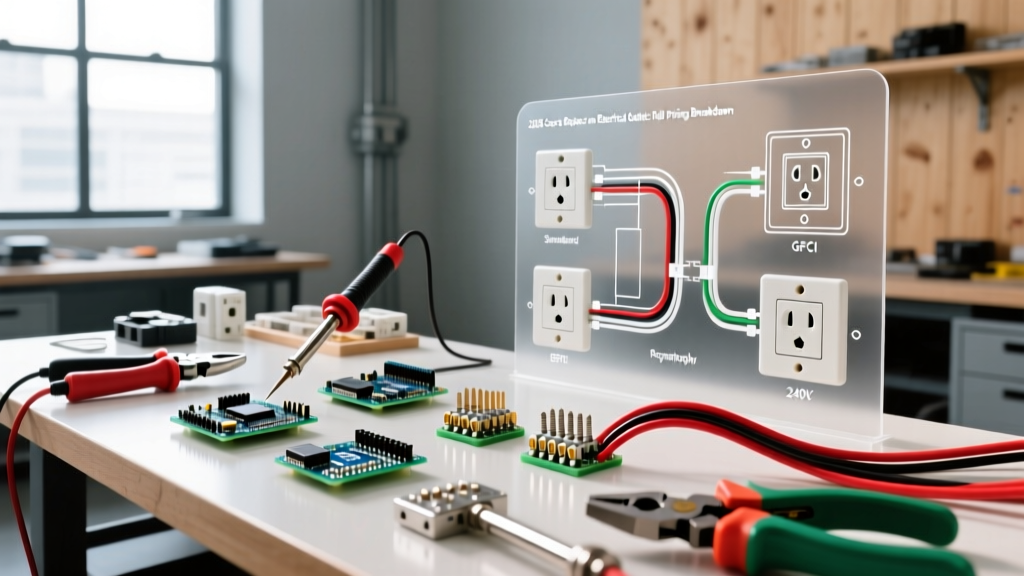
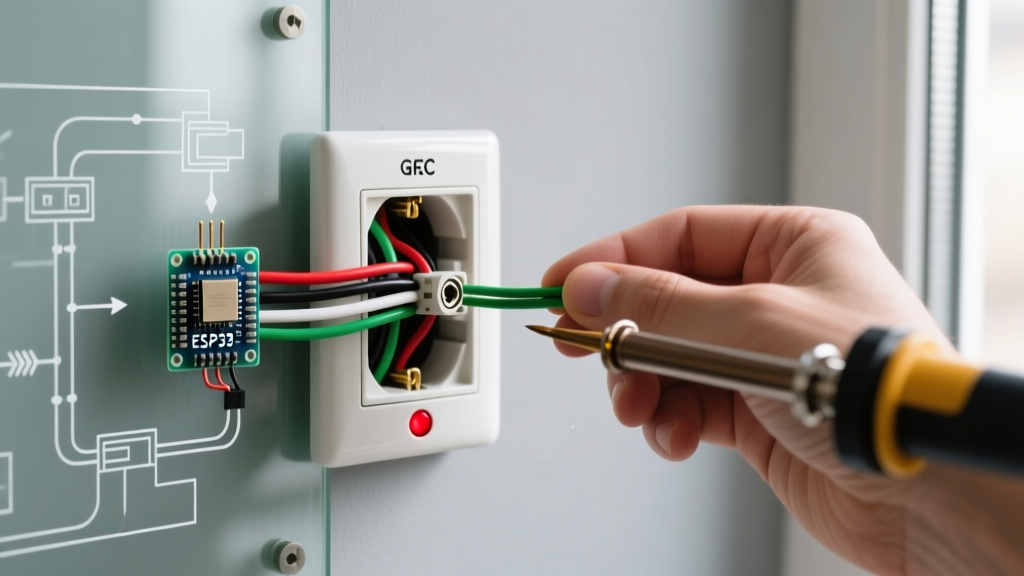
Installing a GFCI receptacle requires more precision than a standard outlet. The most frequent cause of a persistent red light on electrical outlet devices post-installation is improper termination. Follow this exact sequence to ensure a flawless setup.
Tools and Materials Required
- Voltage Tester: Klein Tools NCVT-3 (Non-contact voltage tester with dual-range sensitivity)
- Wire Strippers: Klein Tools 11063W (Katapult) for 14-12 AWG solid copper
- Screwdrivers: #2 Phillips and 1/4-inch slotted terminal drivers
- Receptacle: 15A or 20A GFCI (Match the amperage of your breaker; 20A circuits require 12 AWG wire and a 20A-rated GFCI face)
Phase 1: Power Verification and Line/Load Identification
Step 1: Turn off the circuit breaker supplying the outlet. Use your NCVT-3 to verify that power is completely dead at the receptacle face and inside the wall box.
Step 2: Remove the old outlet and pull the wires out of the box. You will typically see two sets of cables: one bringing power from the panel (LINE) and one continuing power to downstream outlets (LOAD).
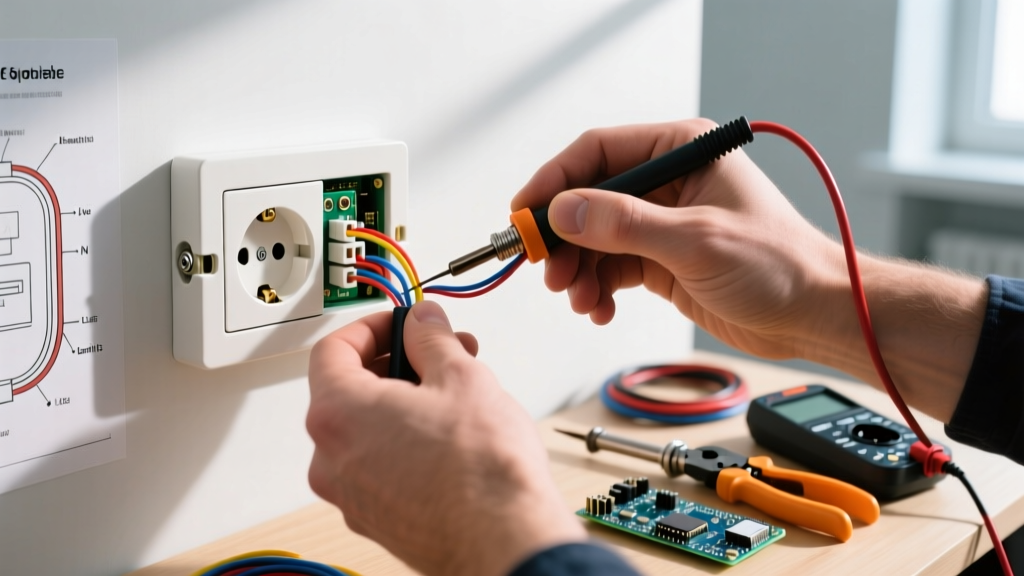
Step 3: If the wires are not labeled, you must identify the LINE. Turn the breaker back on only if safe and necessary, cap the bare wires, and use a multimeter to find the pair with 120V. Turn the breaker off again before proceeding. Mark the LINE wires with black electrical tape.
Phase 2: Precision Wire Stripping and Termination
Step 4: Strip exactly 3/4-inch of insulation from the ends of your 14 AWG or 12 AWG solid copper wires. Modern GFCIs use a pressure-plate terminal system. Do not hook the wire around the screw; insert the stripped wire straight into the back-wiring hole.
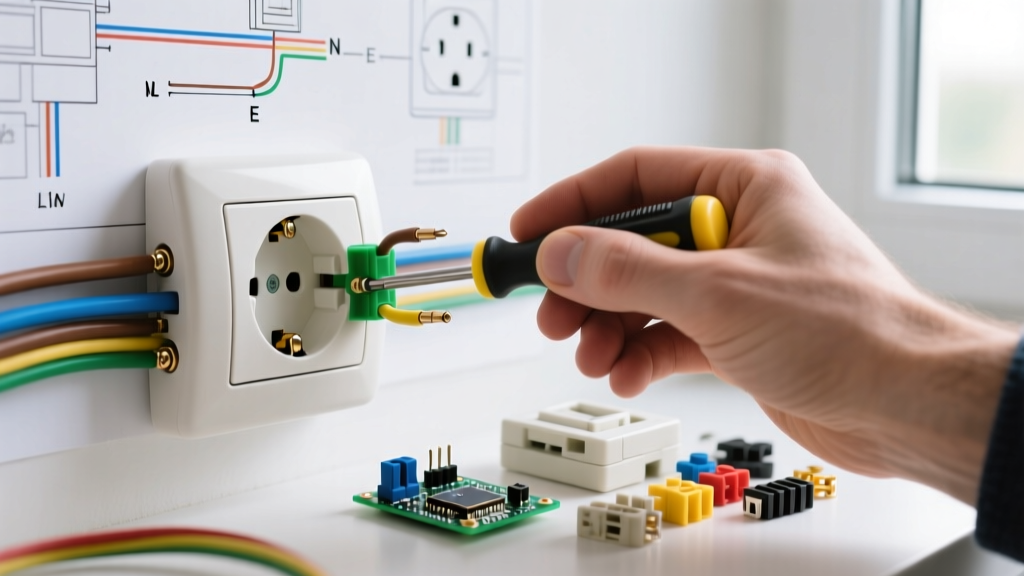
Step 5: Connect the LINE wires first. Insert the white (neutral) wire into the hole marked 'W' on the LINE side, and the black (hot) wire into the hole marked 'H' on the LINE side. Tighten the screws until the pressure plate firmly seats the wire. Do not over-torque, as this can crack the internal plastic housing.
Step 6: Connect the bare copper ground wire to the green grounding screw. Loop it clockwise around the screw and tighten.
Step 7: If you are protecting downstream outlets, connect the second set of wires to the LOAD terminals (white to 'W', black to 'H'). If this is the end of the run, leave the LOAD terminals empty and keep the yellow warning tape over them.
Phase 3: Mounting and the Reset Sequence
Step 8: Carefully fold the wires into the back of the electrical box. GFCI bodies are significantly deeper than standard receptacles. Ensure no bare ground wires are touching the brass or silver terminal screws, which will cause an immediate trip and a red light.
Step 9: Secure the device to the box using the provided mounting screws. Restore power at the breaker panel.
Step 10: Press the 'RESET' button firmly until it clicks. The indicator light should turn GREEN (or turn off completely, depending on the brand). If a red light on electrical outlet appears instead, proceed to the troubleshooting section below.
Advanced Troubleshooting: When the Red Light Won't Clear
If you have completed the installation and the device refuses to reset, displaying a solid or flashing red light, you are facing one of four specific edge cases.
- Line/Load Reversal (The 90% Culprit): Smart GFCIs like the Leviton SmartLockPro feature 'reverse line/load protection.' If you accidentally connected the incoming power to the LOAD terminals, the microprocessor detects the error, blocks power to the face of the outlet to prevent shock hazards, and illuminates a solid red light. Fix: Turn off the breaker, swap the wires to the LINE terminals, and reset.
- Downstream Ground Fault: If your red light illuminates immediately upon pressing reset, and you have wires connected to the LOAD terminals, a ground fault exists somewhere downstream. A compromised appliance, a pinched wire in a downstream junction box, or moisture in an exterior outlet is leaking current to ground. Fix: Disconnect the LOAD wires. If the GFCI resets successfully and shows green, the fault is downstream, not in the GFCI itself.
- Shared Neutral (Multi-Wire Branch Circuit): Older homes sometimes use a 3-wire cable (two hots sharing one neutral) for kitchen outlets. Standard GFCIs cannot handle shared neutrals; the unequal current between the hot and neutral will instantly trip the internal toroidal coil, triggering the red light. Fix: You must use a 2-pole GFCI breaker in the panel instead of a receptacle-level GFCI, or rewire the circuit to provide a dedicated neutral.
- End of Life (EOL) or Internal Failure: If the red light is flashing (on Leviton models) or if the unit is over 10 years old, the internal surge protection components (MOVs) or the sensing coil have degraded. GFCIs have a finite lifespan, especially in areas with frequent lightning or grid fluctuations. Fix: Replace the unit immediately.
NEC 2026 Compliance and Safety Standards
Adhering to the latest electrical codes is non-negotiable for safety and insurance purposes. According to the NFPA National Electrical Code, GFCI protection requirements have expanded significantly in recent editions. As of the 2026 NEC cycle, Article 210.8 requires GFCI protection for all 125-volt through 250-volt receptacles installed in areas where water and electricity are in close proximity, including basements, crawl spaces, and within 6 feet of wet bar sinks.
Furthermore, the Consumer Product Safety Commission (CPSC) strongly recommends monthly testing of all GFCI receptacles. Pressing the 'TEST' button should immediately trip the outlet, cutting power and often illuminating the red indicator light. Pressing 'RESET' should restore power. If the outlet fails to trip during a manual test, or if it resets but continues to show a red light, it has failed its primary safety function and must be replaced.
For manufacturer-specific diagnostic codes and warranty information, always consult the Leviton Technical Support Portal or the documentation provided by your specific device manufacturer. Proper installation and an understanding of these diagnostic lights ensure your home remains protected against lethal electrical shocks.