
Understanding the Socket Electrical Outlet
While master electricians typically use the term "receptacle" for wall-mounted power devices and "socket" for lamp holders, the phrase socket electrical outlet is widely used by homeowners and DIYers to describe the standard NEMA 5-15R 120V wall receptacle. According to the National Fire Protection Association (NFPA), electrical failures or malfunctions in these outlets and their internal wiring connections remain a leading cause of home structure fires. Routine inspection and precise testing are not just recommended; they are critical for life safety and property protection.
As we navigate the 2026 housing market and updated local adoptions of the National Electrical Code (NEC), understanding how to properly diagnose a socket electrical outlet goes far beyond simply plugging in a lamp. This comprehensive inspection and testing guide will walk you through visual assessments, thermal diagnostics, and precision multimeter measurements to ensure your 120V circuits are safe, compliant, and fully functional.
The Diagnostic Toolkit: What You Need
Before removing a single faceplate, you must assemble the correct diagnostic tools. Relying on guesswork or cheap, uncalibrated testers can lead to false readings and dangerous assumptions.
- Receptacle Tester: The Klein Tools RT210 (approx. $18) is a reliable drop-in tester that checks standard wiring and GFCI trip functionality.
- True-RMS Digital Multimeter: The Fluke 117 True-RMS Multimeter (approx. $195) is the industry standard for accurately measuring AC voltage, even on non-linear loads.
- Non-Contact Voltage Tester (NCVT): Fluke 2AC VoltAlert (approx. $35) for initial safety verification.
- Thermal Imaging Camera: FLIR C5 (approx. $450) for identifying high-resistance hot spots behind the faceplate.
- Torque Screwdriver: Wiha 28501 TorqueVario-S (approx. $130) to verify terminal screw tension to NEC standards.
Phase 1: Visual and Thermal Inspection
Testing a socket electrical outlet begins before you even touch the wires. Visual and thermal inspections reveal historical abuse, improper installations, and active degradation.
1. Faceplate and Yoke Assessment
Inspect the faceplate for discoloration, melting, or warping. Brown or black scorch marks around the D-shaped ground slot or the parallel neutral/hot slots indicate severe arcing. If the faceplate is cracked or does not sit flush against the drywall, the internal yoke may be under mechanical stress, which can misalign the internal brass contacts.
2. Thermal Scanning
With a load actively drawing power (such as a space heater pulling 12.5A), scan the outlet with a thermal camera. A healthy socket electrical outlet should remain within 5°F to 10°F of ambient room temperature. If you detect a hot spot exceeding 120°F on the faceplate, immediately shut off the breaker. This indicates a high-resistance connection, often caused by loose terminal screws or degraded internal contacts.
3. The "Backstabbing" Hazard
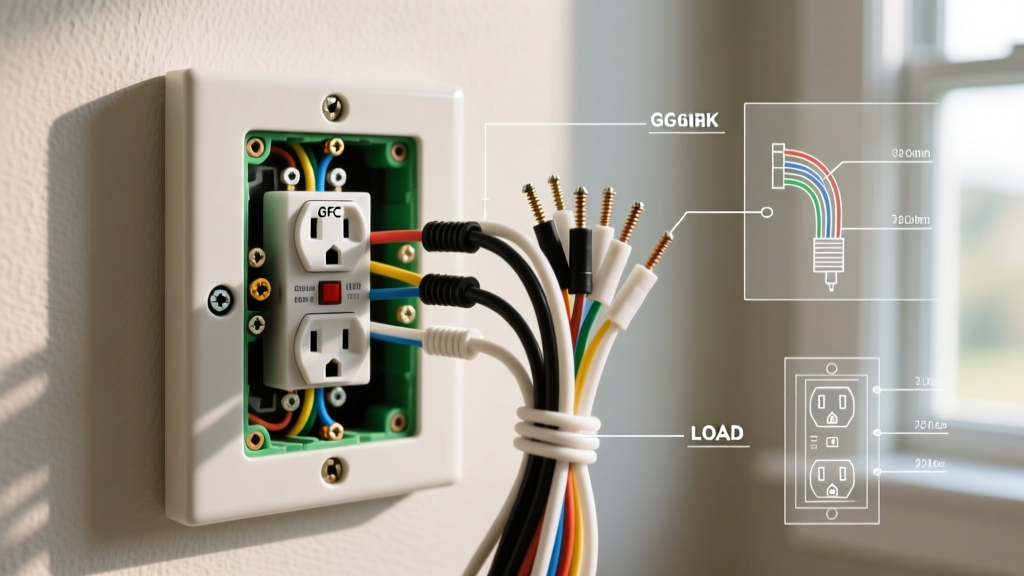
Once the power is verified OFF at the breaker panel and the faceplate is removed, inspect the wiring method. Many builder-grade outlets utilize "backstabbed" (push-in) connections. These rely on a small internal brass spring clip to grip the 14 AWG or 12 AWG solid copper wire. Over years of thermal cycling—heating under load and cooling when idle—this clip loses tension, leading to micro-arcing and eventual failure. Actionable advice: Always side-wire (wrapping the stripped wire clockwise around the terminal screw) or use pigtails with wire nuts for a permanent, low-resistance mechanical bond.
Phase 2: Drop-In Receptacle Testing
For a rapid, high-level health check of a standard socket electrical outlet, a drop-in receptacle tester is your first line of defense.
- Insert the Tester: Plug the Klein RT210 directly into the top and bottom sockets.
- Read the LEDs: Two amber lights indicate correct wiring. Any other combination (e.g., one amber, one red) indicates an open ground, open neutral, or reversed polarity.
- Test GFCI Functionality: If the outlet is a GFCI or is downstream of a GFCI, press the black "Test" button on the tester. This injects a 4mA to 6mA fault between the hot and ground slots, which should instantly trip the GFCI solenoid.
Expert Warning: Never rely solely on a drop-in tester for older homes. These devices can be fooled by a "bootleg ground"—a dangerous, illegal jumper wire connecting the neutral terminal to the ground screw to trick inspectors. Only a multimeter can definitively expose a bootleg ground.
Phase 3: Precision Multimeter Diagnostics
To uncover hidden faults and verify the integrity of the grounding system, you must perform a three-point voltage test using your True-RMS multimeter. Set the dial to AC Voltage (V~) and insert the probes into the socket electrical outlet.
| Test Points | Expected Voltage (120V System) | Fault Indicated if Abnormal |
|---|---|---|
| Hot to Neutral (H-N) | 114V - 126V | Open neutral, reverse polarity, or severe voltage drop from an overloaded circuit. |
| Hot to Ground (H-G) | 114V - 126V | Open ground, high-resistance ground path, or bootleg ground. |
| Neutral to Ground (N-G) | 0.0V - 2.0V | Neutral-ground bond fault, overloaded shared neutral, or reverse polarity. |
Understanding the Neutral-to-Ground (N-G) Voltage Drop
The most misunderstood measurement in outlet testing is the N-G voltage. In a perfectly balanced, unloaded circuit, N-G should read 0.0V. However, under load, the neutral wire carries current back to the panel, and due to the inherent resistance of the copper wire, a slight voltage drop occurs. An N-G reading of 0.5V to 1.5V is normal on a heavily loaded 15A circuit. If your N-G reading exceeds 2.0V, it indicates that the neutral wire is undersized, the circuit is severely overloaded, or there is a loose neutral connection somewhere upstream in the branch circuit.
Advanced GFCI and AFCI Socket Validation
Modern electrical codes require specialized protection in specific areas of the home. Testing these advanced socket electrical outlets requires understanding their distinct internal logic.
GFCI (Ground Fault Circuit Interrupter) Testing
GFCIs monitor the current differential between the hot and neutral conductors. If the imbalance exceeds 4mA to 6mA, the internal solenoid trips. While the drop-in tester simulates this by leaking current to the ground wire, the most definitive test is pressing the physical "TEST" button on the receptacle face. This button activates an internal test circuit that bypasses the ground wire entirely, proving the solenoid and logic board are functional even if the downstream ground path is broken.
AFCI (Arc Fault Circuit Interrupter) Testing
AFCIs are designed to detect the high-frequency signatures of parallel and series arcing. Critical distinction: A standard drop-in receptacle tester cannot properly test an AFCI socket electrical outlet. The drop-in tester only simulates a ground fault, not an arc fault. To properly test an AFCI receptacle, you must press the physical "TEST" button on the device itself, which forces the internal microprocessor to recognize a simulated arc signature and trip the contacts. According to the U.S. Consumer Product Safety Commission (CPSC), AFCIs are vital for preventing fires caused by damaged cords and loose connections, making this physical button test mandatory during any home inspection.
Torque Verification and NEC Compliance
The final, and often ignored, step in inspecting a socket electrical outlet is verifying terminal torque. The NEC (NFPA 70) Section 110.14(D) strictly mandates that electrical connections be torqued to the manufacturer's specified values using a calibrated torque tool. This rule has seen aggressive enforcement in the 2023 and 2026 code cycles.
For a standard commercial-grade 15A receptacle, such as the widely used Leviton 5262-SW, the manufacturer specifies a terminal screw torque of 12 to 14 inch-pounds. Under-torquing leads to loose connections and thermal arcing, while over-torquing can strip the brass threads or deform the wire, reducing the contact surface area. Use your Wiha torque screwdriver to click at the exact specification, ensuring a permanent, code-compliant termination.
Summary: When to Replace the Outlet
Even if a socket electrical outlet passes all multimeter and drop-in tests, physical wear dictates replacement. If the internal brass contacts have lost their tension—evidenced by a plug that easily falls out of the socket when bumped—the outlet is a fire hazard. The loose connection creates high resistance, generating localized heat that can ignite surrounding insulation or drywall paper. Replace any outlet that fails to grip a standard NEMA 1-15 or 5-15 plug firmly. For optimal safety and longevity, always upgrade to commercial-grade or spec-grade receptacles (which typically cost $3 to $6 each) rather than the $0.60 builder-grade residential models, as they feature thicker brass contacts and robust polycarbonate yokes.
For further reading on workplace and residential electrical safety standards, refer to the guidelines published by the Occupational Safety and Health Administration (OSHA), which provides extensive documentation on electrical hazard mitigation and proper equipment maintenance.